


 My Orders




10420 - Overview
Models starting with 10420
Click on the best match to narrow your results.
- 10420 (5900001-5999999 - 1995) Lawn Boy Lawn Mower (Gold Series Lawnmower)
- 10420 (4900001-4999999 - 1994) Lawn Boy Lawn Mower (Gold Series Lawnmower)
- 10420 (3900001-3999999 - 1993) Lawn Boy Lawn Mower (Gold Series Lawnmower)
- 10420 Dynabrade Sander Polisher (6" Sander)
- 10420-1 General Electric Range
- 10420-2 General Electric Range
Enter a part description. DIY Heroes keep it simple, eg. "belt" or "pump".
Search filter:
Clear Filter
Your search term must have 3 or more characters.

$22.52
In Stock
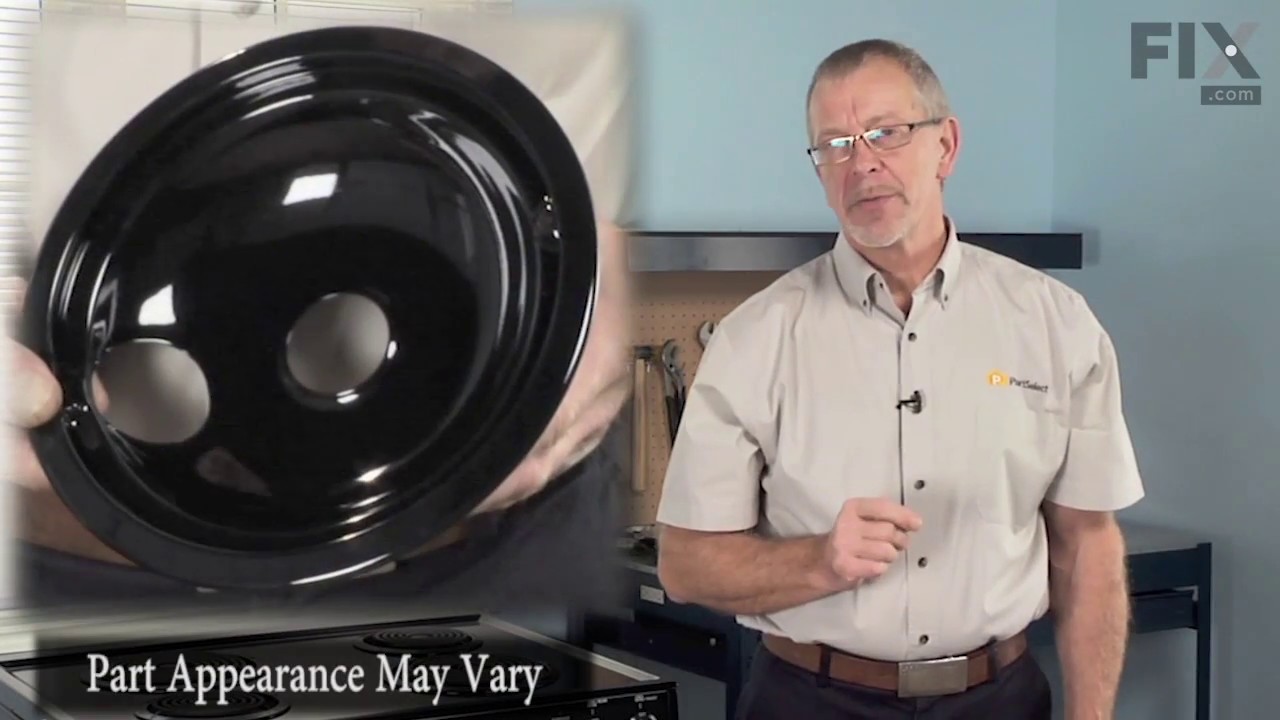
Burner Bowl - 8 Inch
Part #WB31T10015
This part is located beneath the element and catches any spills.

$18.22
In Stock
Burner Bowl - 6 Inch
Part #WB31T10014
This burner bowl is also known as a burner drip bowl or burner drip pan, and is designed for use with your cooktop or range. It is black in color and is approximately 6 inches in diameter. It can be found beneath the element and catches spills. If your old burner bowl is damaged or missing, you may need to replace it with this part.

No Longer Available
Door Handle End Cap
Part #WB7X7183
This oven door handle end cap is used on both the left and right hand sides. Sold individually.

$59.18
In Stock
Door Handle
Part #WB15K5076
This replacement door handle is designed to fit select range models and provides a secure grip for opening and closing the oven door. Measuring approximately 22 inches by 1 inch, it is constructed from durable black plastic for long-lasting performance. If your current handle is broken or missing, this genuine OEM part offers a reliable s...Read moreolution. Depending on your model, installation may require removing the inner panel of the oven door. Always refer to your owner's manual and wear work gloves for safety during installation.
Read less

$24.09
Special Order
Washer - 12 Pack
Part #WB1X119D

$6.55
In Stock
Stepped Washer
Part #614426
The Stepped Washer is used to secure the wheels onto the shaft of a push mower. It attaches to the wheel axle. If broken due to wear/fatigue, the wheel will come off and the part should be replaced. Installation is rated as "Easy" by customers and will require a socket set. This part is individually sold, gray, and constructed of metal. R...Read moreefer to your make, model and diagrams to check if this is the right part for you.
Read less

No Longer Available
Leveling Leg
Part #WB2X8248

$6.40
In Stock
Retaining Ring
Part #65-2720
This OEM Locking Ring holds components or assemblies onto a shaft or in a housing/bore when installed in a groove. Installation is rated as "Easy" by customers and will require pliers. The part secures the drive pinion gear to the drive shaft, and if broken due to wear/fatigue/damage, it will need to be replaced.

$111.62
Special Order
Gasket
Part #WB2X2058
This genuine OEM oven door gasket is designed to create a tight, heat-resistant seal between the oven door and the cooking cavity. By preventing heat from escaping, it helps maintain consistent cooking temperatures and supports efficient oven operation. Replacing a worn, torn, or damaged gasket can resolve issues such as heat loss, uneven...Read more cooking, or longer preheat times, restoring proper performance with a simple, direct-fit installation.
Read less

$6.55
In Stock
Shoulder Bolt
Part #614650
The Shoulder Bolt is a 3/8-16 x 3-5/8 bolt, certified by the original equipment manufacturer. It is a metal bolt which is individually sold and comes in black. Installation requires a wrench or socket and is rated as "Easy" by customers. It is mostly used to keep the wheel in place. It fits onto the unit frame and if broken or removed, th...Read moree wheel will fall off. Refer to your make, model and diagram to ensure this is the correct part.
Read less

$6.55
In Stock
Nut-lock, Ni
Part #3296-29
The Ni Lock Nut (Nylock Nut) is a Silver, 5/16x18, individually sold metal nut. It can be adjusted and replaced using a wrench or socket and torque wrench to the manufacturer specfications, and is used to secure the sheer pin in place on the augur. These nuts are a one time use part due to their locking mechanism. You'll know the nut has...Read more broken because the augur will not spin, and this is when the part should be replaced.
Customers found this to be an easy repair.
Read less

$6.40
In Stock
Washer
Part #40-1940
This OEM-sourced washer in your walk-behind lawnmower provides space and protects the rear wheel from rubbing against the pivot arm assembly, ensuring smooth wheel rotation. A damaged washer may appear worn or cracked, causing the rear wheel to feel misaligned or wobble excessively. If not replaced, it can lead to increased wear and expen...Read moresive repairs. To remove the existing washer, prop up the wheel with a two by four, use a wrench to remove the bolt securing the wheel, slide out the wheel, and then remove the bolt on the rear adjuster to take off the washer. Please note that this washer is sold individually, so make sure to check the quantity needed for your machine before making your purchase.
Read less
Exact Part matches for your search term

No Longer Available
No Longer Available
Common Symptoms of models starting with 10420
How this model fails, and the parts that fix it.

Watch our pros, then fix it yourself.
See how others fixed this model. Time, tools, difficulty, and steps that lead to victory!
View More
Search repair tips from other customers using simple keywords like "replace", "fit", "remove", "inspect". DIY doesn't mean you have to do it alone!
Search filter:
Clear Filter
Your search term must have 3 or more characters.
handle on range was broken
15 of 19 people
found this instruction helpful.
1] removed door and put it on bench
2] removed two[2] screws to open up face of door
3] wedged aa 2" x 4" between face of door and back of door
4] used nut-driver to remove the damaged end-cap [this part holds the stove handle in place]
5] put handle on one side to good end-cap and slipped new end-cap on handle and pu ... Read more t it opening where old end-cap came off
6]screwed in new part and screwed together face and back of oven door
7] put door back on oven
2] removed two[2] screws to open up face of door
3] wedged aa 2" x 4" between face of door and back of door
4] used nut-driver to remove the damaged end-cap [this part holds the stove handle in place]
5] put handle on one side to good end-cap and slipped new end-cap on handle and pu ... Read more t it opening where old end-cap came off
6]screwed in new part and screwed together face and back of oven door
7] put door back on oven
Read less
Other Parts Used:
Was this helpful?
Thank you for voting!