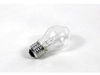
This 40-Watt light bulb is sold individually and is a genuine OEM replacement option for your home appliances. It is specially designed to withstand extreme temperatures, so this bulb is compatible wi...
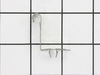
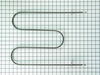
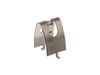
The metallic clip, or also known as a broil element support, is for a oven element on a range. This part holds the broil element in place on top of the oven. If your support clip is broken then this r...
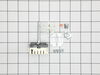
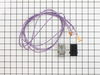
This is a surface burner terminal block kit, also known as range surface element receptacle, for an oven, range, or stove. The kit comes with the terminal block, mounting clip, and wires. This surface...
I opened the lid, and found that the terminal blocks were burnt, the wires were melted. I ordered one set of terminal block to replace the burnt one, and it worked. Before I started, I shut off the electricity in the whole house to be safe.
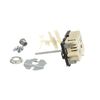
1. Removed the back panel. 2. Disconnected the wires from the old switch while connecting wires to the new switch one at a time. 3. Installed the new switch and broke off the excess metal on the post which fits into the burner knob on front of the range. 4. Replaced the burner knob and replaced the back panel.
TURN OFF ALL POWER TO KITCHEN. Took off all burner coils and plates below them. Lift hood. Locate part. Remove old part and replace with new part in same way as was previously installed. The wire that comes with the kit is actually too much wire, but just arrange it the best you can and leave it....no big deal. I didn't have a magnet
... Read more, but needed one. The wire from burner coil to switch runs through a harness which is screwed on to the body of the oven (below the range). Be careful NOT to drop it behind oven when taking it out. I dropped it and took forever to get it. That turned a 20 minuate job into an hour and a half. Otherwise this is an easy job that anyone can do. Refrigerator compressor is next. Have fun.