



 My Orders




10360A Admiral Refrigerator - Overview
Diagrams for 10360A
See every part. Know exactly what you need.


Enter a part description. DIY Heroes keep it simple, eg. "belt" or "pump".
Search filter:
Clear Filter
Your search term must have 3 or more characters.

$26.82
In Stock
Ice Cube Tray
Part #WP61002140
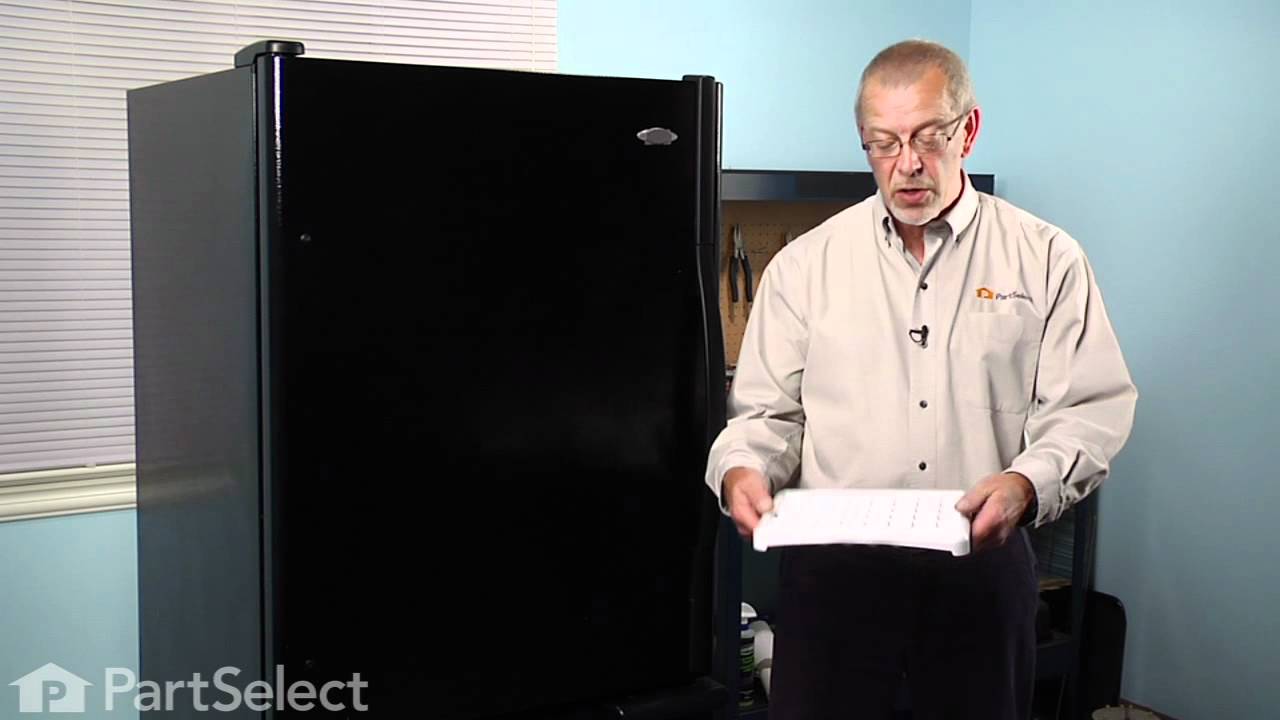
This ice cube tray is located inside your refrigerator and is eleven inches long, with 48 molds. It comes in white and is made entirely from plastic. If your tray is broken, cracked, or damaged, replacing this part can solve the problem. Here are some ice cube tray tips to consider: the easiest way to release the cubes is by giving the tr...Read moreay a twisting motion from both sides. If that does not work, set it on your counter for a couple minutes until the tray warms up and it should work. Remember not to beat the tray, especially on a hard surface, to prevent damage. Refer to manual instructions provided by the manufacturer if needed.
Read less

No Longer Available
Door Handle
Part #69168-4
This white handle comes with two screws and two decorative white screw covers.

$7.47
In Stock

No Longer Available

No Longer Available
SHELF TRIM
Part #65844-3
No Longer Available
TRIM, FRZ. DRAWER
Part #65914-3
No Longer Available
CNTRL HSG TRIM
Part #66203-3
No Longer Available
PLUG BUTTON
Part #66394-1
No Longer Available
INSERT
Part #66513-1
No Longer Available
USE WPL 12500108
Part #RA43872-1
No Longer Available
EVAP DOOR
Part #RA95152-1
No Longer Available
WIRE HARNESS
Part #66027-1
Watch our pros, then fix it yourself.
See how others fixed this model. Time, tools, difficulty, and steps that lead to victory!
View More