Make sure you haven't got the discount earlier.
Parts That Fix Maytag Washer MHW3505FW1 Leaking
Leaking is a commonly reported symptom for the MHW3505FW1 Maytag Washer, and we have put together a full guide on how to fix this. This advice is based on feedback from people who own this exact appliance. We have listed the most common parts for your MHW3505FW1 Maytag Washer that will fix Leaking. We have included repair instructions, and helpful step-by-step video tutorials. If you are experiencing this issue, not to worry, DIYers just like you have fixed this, and shared their experience to help you!
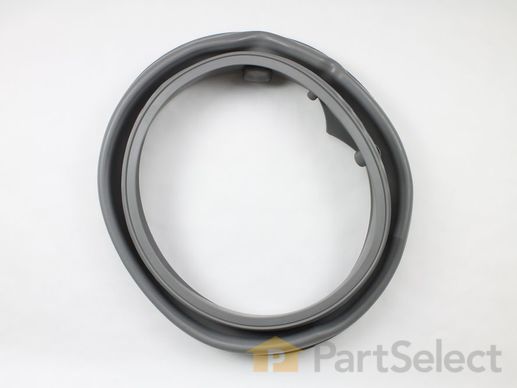
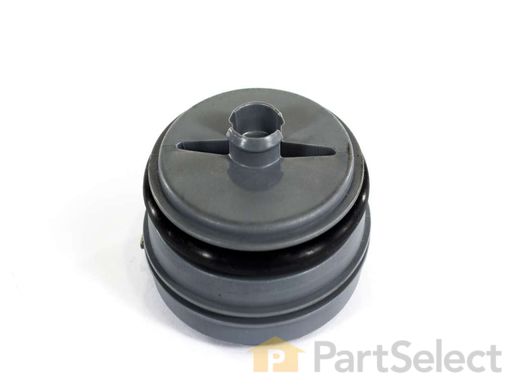
This is a door bellow, also known as a door seal gasket, made for various models of washing machine. This bellow is designed to seal the inner drum of the washer from the outside of the washing machine and its internal components. If your washer is currently experiencing issues with leaking, this gasket is likely worn out and in need of replacing. This gasket is made of gray rubber and is sold as an individual OEM part and is sold separately from its necessary clamp.
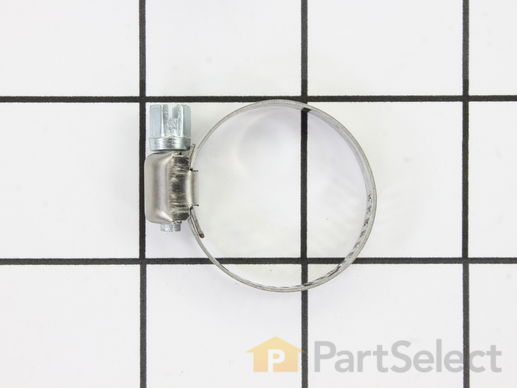
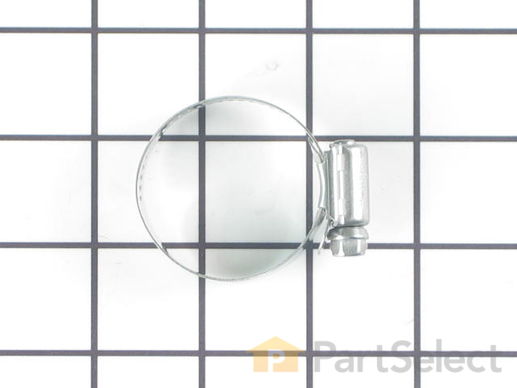
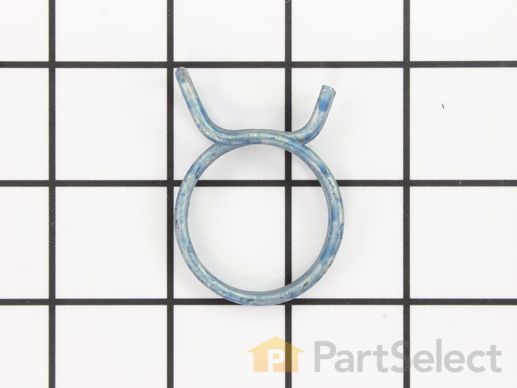
This hose clamp is used in a wide variety of household appliances. Most often it is found in washers, dishwashers, refrigerators, freezers, dehumidifiers, garbage disposals, or air conditioners. This clamp is used to securely attach a hose to another part of your appliance, which helps prevent leaks from those connections. Depending on the appliance, it can attach hoses to drain pumps, water inlet valves, pressure switches, and injector nozzles. We recommend you refer to model-specific diagrams for appropriate uses and exact placement. This hose clamp is made of metal, and is sold individually. To access and replace this part you will need a nut driver, pliers, and screwdrivers. Before you begin any repair work, make sure you have unplugged your appliance, and shut off the water supply if applicable.
Replacing your Kenmore Washer Hose Clamp

The hose clamp is used to hold the water hose in place which will prevent the hose from leaking water. Sometimes the clamp may lose its ability to latch on, causing a leaking washer. For the installation, you will need a flat head screw driver to replace the clamp and a drill to access the screws to remove the front of the washer. Be careful if you do not have specific clamp pliers as the clamp could fly off. Once the front of the washer has been removed, take a quick look for water damage or any obvious signs of where the leak is coming from. If it is not obvious, run water to test.
Replacing your Kenmore Washer Hose Clamp

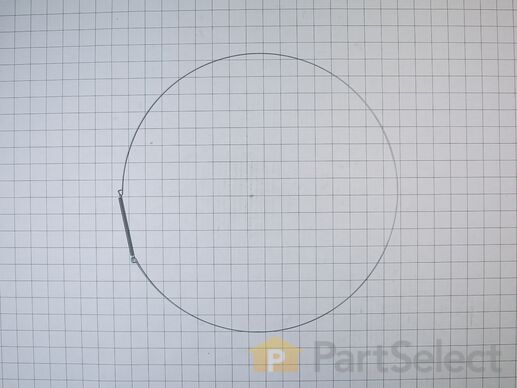
The door boot spring clamp holds the door boot in place.
Customer Repair Stories
Replaced a worn out door bellows
-
William from JONES, OK
-
Difficulty Level:Really Easy
-
Total Repair Time:30 - 60 mins
-
Tools:Nutdriver, Screw drivers
Customer Repair Stories
No cold water cycle and water constantly dripping into the tub
- Turned on a quick cycle to drain any water left in the pipes. Once no water was coming in I turned off the unit.
- Unplug the unit.
- Remove the cold and hot water lines from the back of the unit. Keep a bucket and towels nearby.
- Remove the 3 screws from the back to rem ... Read more ove the lid.
- Pull lid back about a 1/4" and lift up.
- The valve is located at the top rear where the water hoses attach to.
- Using plyers, remove the plastic clips from the valves holding the wires. Remember the location, you will re-attach those clips onto the new valve.
- Remove the single screw holding the valve on the back of the unit.
- Slide the valve just slightly and pull it inward towards the inside of the unit.
- Remove the electronic connections by pulling on the connectors. Remember the locations as you will re-attach them onto the new valve.
- Remove the two hoses that go to the detergent container. Using plyers to squeeze the metal retaining clip, slide it back, then pull the hose off. Do this for both hoses. Remember which hose goes to where.
- At this point, just reverse these instructions to install the new valve starting by attaching the new hoses to the detergent container.
- Then attach the electronic connectors.
- Attach the valve with the screw to the unit.
- Attach the wire clips back onto the valve.
- Attach the hot & cold water lines
- Turn on the water lines and check for leaks
- Plug unit in.
- Run a quick cycle to again check for leaks inside and outside.
- Replace the lid
- Re-install the 3 screws holding the lid.
-
Tim from Irvine, CA
-
Difficulty Level:Really Easy
-
Total Repair Time:30 - 60 mins
-
Tools:Nutdriver, Pliers, Screw drivers
The washer started displaying errors for water supply issues
2. Remove three screws on back of washer for top cover.
3. Slide top cover back 1/2-3/4 inch and remove from machine
4. Remove water inlet valve set screw to left of hot water supply connector.
5. From the inside of the washer, sli ... Read more de the inlet valve to the left, disconnect wiring, and wire clips.
6. Disconnect hoses from back of detergent dispenser.
7. Connect hoses from new inlet valve to back of detergent dispenser
8. Connect wiring, and wiring clips to new inlet valve.
9. Slide inlet valve back into place and install set screw.
10. Replace top cover and install three screws for top cover
11. Recommend replacing supply hoses (mine leaked, and were approx. 5 years old).
12. Install water supply, turn on water, check for leaks. Plug in washing machine.
Video demonstration: https://www.youtube.com/watch?v=yH0TppbTtI0
-
Andy from CENTERTON, AR
-
Difficulty Level:Really Easy
-
Total Repair Time:30 - 60 mins
-
Tools:Nutdriver, Pliers, Screw drivers
This clamp helps to prevent leaking by holding the end of water hose in place.
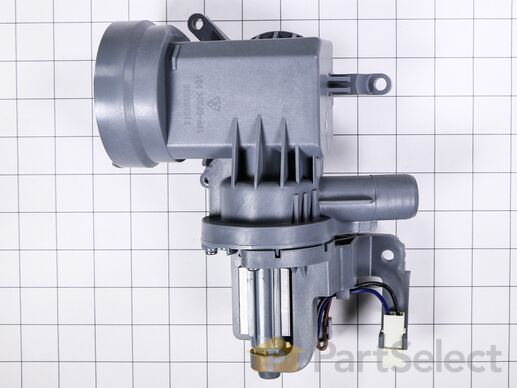
This drain pump for your washer is designed to remove the dirty water during and after the washing cycle. If your washer has water left in it after its washing cycle is over, or if your washer is experiencing leaks around the drain pump, the pump may be damaged or bad and in need of replacement. Ensure you remove and test your drain pump with a multimeter before replacing it. Replacing this pump will require some disassembly of your washer. This pump is sold individually, and does not come with any wire harness or other accessories.
Customer Repair Stories
Washer would not drain.
-
Justin from LAWRENCEBURG, KY
-
Difficulty Level:Really Easy
-
Total Repair Time:30 - 60 mins
-
Tools:Pliers, Socket set
Drain pump was cracked
-
JASON from HILLIARD, FL
-
Difficulty Level:Very Easy
-
Total Repair Time:Less than 15 mins
-
Tools:Nutdriver, Pliers
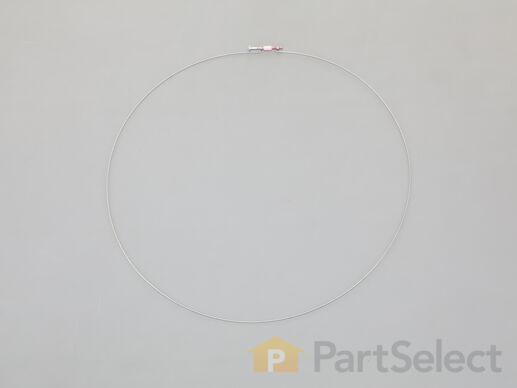
This is an OEM boot seal retaining ring for various models of front-load washing machines. This retaining ring is used to clamp down and secure the inner boot, also known as a seal or gasket, of your washing machine. Over time and with extended use, this retaining ring may break or become worn out, and need replacing. This ring measures features a diameter of approximately 16.3 inches and is made of metal. Because this ring is highly compressed, you will need a set of pliers to secure it around the boot seal of your washing machine. This retaining ring is sold individually, so it does not come with any other parts.
Customer Repair Stories
It took two of us to hold the ring and slide it on around the opening with the assistance of screwdrivers the spring was very tight
-
Terry from JUPITER, FL
-
Difficulty Level:A Bit Difficult
-
Total Repair Time:Less than 15 mins
-
Tools:Screw drivers


