Make sure you haven't got the discount earlier.
Parts That Fix Maytag Dryer MEDX700XL0 Door won’t close
Door won’t close is a commonly reported symptom for the MEDX700XL0 Maytag Dryer, and we have put together a full guide on how to fix this. This advice is based on feedback from people who own this exact appliance. We have listed the most common parts for your MEDX700XL0 Maytag Dryer that will fix Door won’t close. We have included repair instructions, and helpful step-by-step video tutorials. If you are experiencing this issue, not to worry, DIYers just like you have fixed this, and shared their experience to help you!
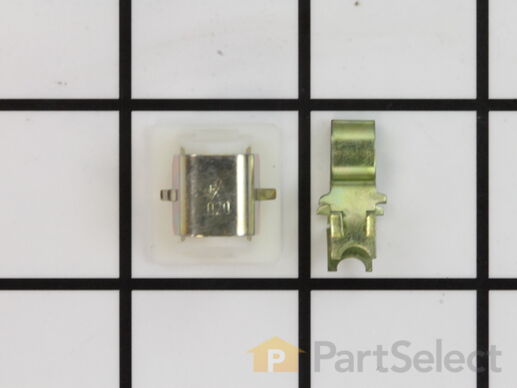
This door catch kit is designed for use in dryers. This is an authentic OEM replacement part. This catch assembly ensures the door of your appliance will close, and remain closed. It allows your appliance to both start and complete a full drying cycle. There are two pieces included in this kit, one catch, and one strike. You open and close the door on such a regular basis that this mechanism can wear out. It is a fairly common part to replace. You will need to remove the door of your dryer to install the replacement catch assembly.
Replacing your Maytag Dryer Door Catch Kit

Customer Repair Stories
Door Catch was broken
-
Inocencio from Edinburg, TX
-
Difficulty Level:Really Easy
-
Total Repair Time:Less than 15 mins
catch mounted on door broke
-
Paul from Mt. Pleasant, SC
-
Difficulty Level:Really Easy
-
Total Repair Time:Less than 15 mins
-
Tools:Screw drivers
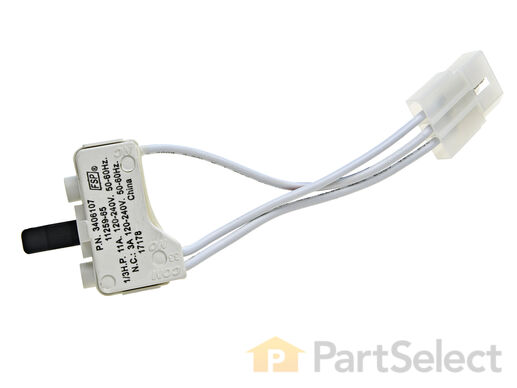
This dryer door switch is a simple on/off switch mechanism that prohibits the dryer from operating when the door is open, and operates the drum light. White in color and 6.5 inches long, this OEM switch is comprised of plastic and metal, and features the switch and three wires that comprise the part. Sold individually, this part attaches to the inside of the top end of the front panel. One end attaches to the wiring harness, the other goes through the panel to make contact with the door when the door is closed. Over time, this part can be subject to material fatigue or breakage due to frequent use or rough handling. If it breaks or is defective, you won't be able to start or stop your drying cycle, depending on the position your switch broke in. The easiest way to test this part for functionality is to test it by hand. Push on the black tab that sticks out of the front panel to make contact with your dryer door; if there is no resistance in the tab and it doesn't make a click sound, you may need to replace it.
Replacing your Whirlpool Dryer Dryer Door Switch

Customer Repair Stories
Dryer Would Not Turn Off With Door Open
-
RICHARD from NORCROSS, GA
-
Difficulty Level:Really Easy
-
Total Repair Time:15 - 30 mins
-
Tools:Nutdriver, Screw drivers
door switch was bad
-
pat from lisbon,, OH
-
Difficulty Level:Really Easy
-
Total Repair Time:15 - 30 mins
-
Tools:Screw drivers, Wrench set
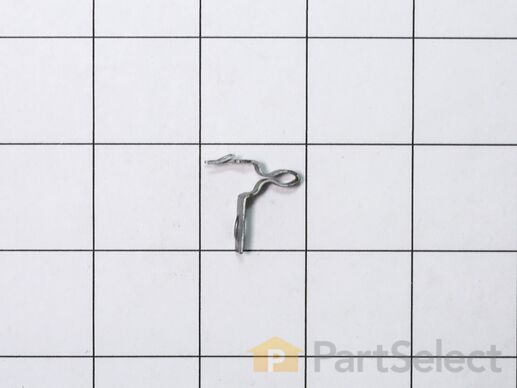
Sold individually.
Replacing your Whirlpool Dryer Door Strike

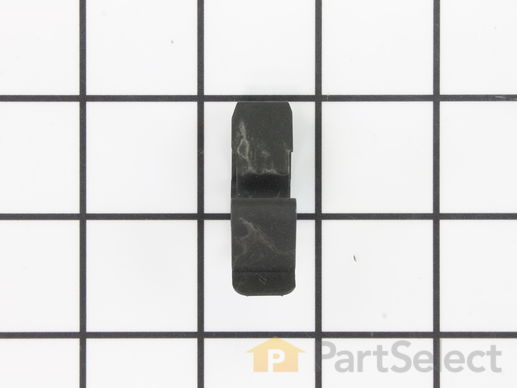
Sold Individually.
Customer Repair Stories
One was missing
-
Keith W. from Rushville, OH
-
Difficulty Level:Really Easy
-
Total Repair Time:Less than 15 mins
-
Tools:Pliers
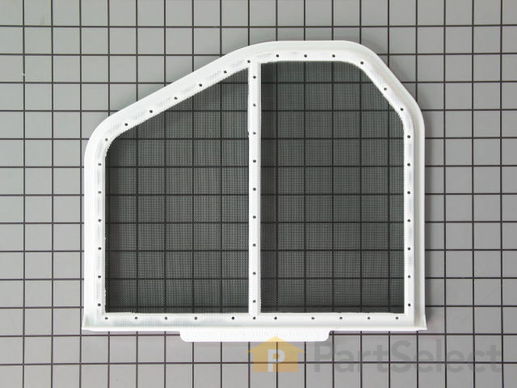
The filter collects lint during the drying cycle. This filter is 12 1/2 inches wide and 10 1/2 inches deep. Replacing the lint filter is an easy repair which requires no tools. When replacing the lint filter, check the filter slot for a buildup of lint, which can be a fire hazard. Continue to check often to make sure the filter and slot are both cleared of lint.
Replacing your Kenmore Dryer Lint Filter

Customer Repair Stories
Felt gasket on lint filter loose...
-
Catherine from Atascadero, CA
-
Difficulty Level:Really Easy
-
Total Repair Time:Less than 15 mins
felt strip came off lint screen
-
JEFFREY from FALL RIVER, MA
-
Difficulty Level:Really Easy
-
Total Repair Time:Less than 15 mins


