Parts That Fix Roper Refrigerator RT18BKXKQ00 Leaking
Leaking is a commonly reported symptom for the RT18BKXKQ00 Roper Refrigerator, and we have put together a full guide on how to fix this. This advice is based on feedback from people who own this exact appliance. We have listed the most common parts for your RT18BKXKQ00 Roper Refrigerator that will fix Leaking. We have included repair instructions, and helpful step-by-step video tutorials. If you are experiencing this issue, not to worry, DIYers just like you have fixed this, and shared their experience to help you!
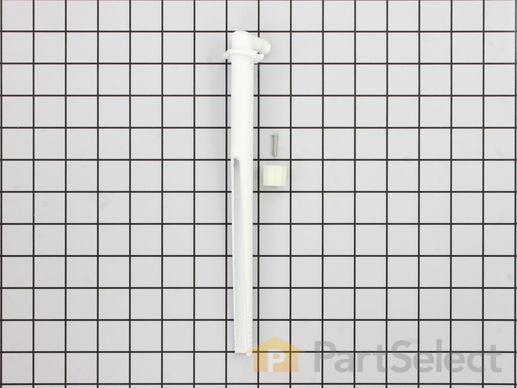
The icemaker water fill tube provides water to the icemaker so it can produce ice and dispense water. If you notice that your ice maker is not making or dispensing ice, or is leaking, you may need to replace the water fill tube. This water fill tube kit comes with a fill tube and a compression nut. This part is made of white plastic and is approximately 10 inches in length. The ice maker water fill tube is in the rear of the fridge. To complete this repair, you will need a 1/4 inch nut driver and a utility knife. Before beginning this repair, you may want to disconnect the water and power supply to the refrigerator.
Replacing your Kenmore Refrigerator Ice Maker Water Fill Tube Kit

Customer Repair Stories
Broken gooseneck on fill tube
Shut off water supply line, and turn of ... Read more f ice maker (lift the metal bar in the ice bucket all the way up). Loosen the hose fitting, and remove two screws. Pull out the old tube, and slide the new one in. You may have to wiggle the tube around from the inside to get the alignment correct. Replace screws and fitting. Turn water and ice maker back on, and check for leaks. It really is that easy! It took me longer to type this than to actually replace the part.
Only one potential catch. The instructions warn that you may have to cut the new tube to match the length of the old tube, so make sure you compare the length of the old and new tube. I didn't have to to do anything - the replacement part was the exact same length of the original. If by chance you do need to cut the tube, you'll need small saw of some sort, such as a coping or hack saw.
-
Thomas from Brunswick, OH
-
Difficulty Level:Really Easy
-
Total Repair Time:15 - 30 mins
-
Tools:Screw drivers
Broken elbow on icemaker water fill tube.
-
Charles from Orland Hills, IL
-
Difficulty Level:Really Easy
-
Total Repair Time:Less than 15 mins
-
Tools:Nutdriver
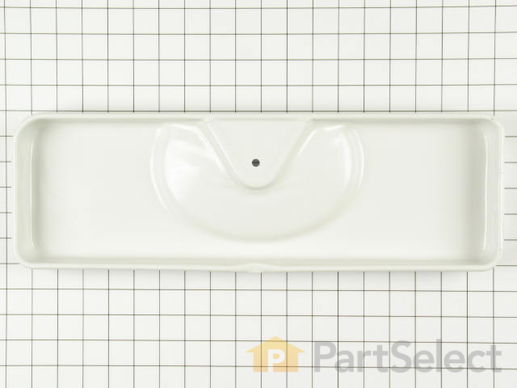
This tray is mounted on the compressor.
Customer Repair Stories
Water was running onto the floor
-
Charles from Milton, FL
-
Difficulty Level:Really Easy
-
Total Repair Time:Less than 15 mins
-
Tools:Wrench set
The tray evaporator developed a leak due to rust.
-
Matthew from Iselin, NJ
-
Difficulty Level:Easy
-
Total Repair Time:15 - 30 mins
-
Tools:Wrench set
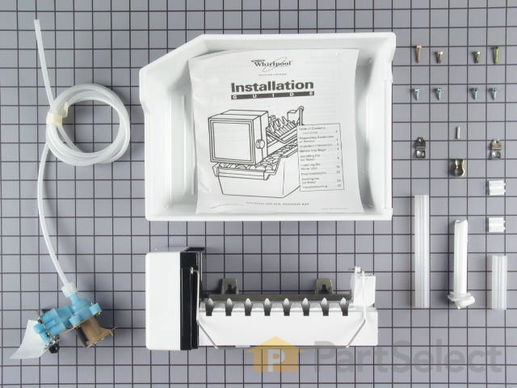
This genuine OEM ice maker kit is designed to fit refrigerators that did not originally come with an ice maker. This kit contains everything needed to install the new ice maker on your refrigerator including: the ice maker, ice bin, inlet valve, fill tube, and hardware. If your new ice maker does not function properly after being installed, check the freezer temperature. The freezer must to be around zero degrees Fahrenheit. Remember to disconnect the power and water supply to your refrigerator before beginning this installation. Make sure to check that your model is compatible with this part before ordering. Note: The manufacturer has updated this part. It may differ in appearance but will function the same as the original.
Replacing your Whirlpool Refrigerator ICEMAKER

Customer Repair Stories
REplaced ice maker
-
M from Lafayette, IN
-
Difficulty Level:Really Easy
-
Total Repair Time:Less than 15 mins
-
Tools:Nutdriver
Wanted to install ice maker in my freezer
I saw PartSelect on the search page and went to thier site.
I put in my modle number of the Whilpool Ice maker kit that was on the back of my freeze ... Read more r. PartSelect had the part in stock and approx $18.00 less than the other kits listed on the Whilpool site (that did not match my kit number). I orderd the kit on Sunday and it arrived on Wednesday. It took less than and hour to install. Every part I needed was included. The following day I installed the water line and now I have an extra icemaker.
-
Donald A. from ORLANDO, FL
-
Difficulty Level:Easy
-
Total Repair Time:30 - 60 mins
-
Tools:Nutdriver, Screw drivers


