Models > GDT655SSJ5SS > Symptoms > Leaking

Parts That Fix General Electric Dishwasher GDT655SSJ5SS Leaking

Leaking is a commonly reported symptom for the GDT655SSJ5SS General Electric Dishwasher, and we have put together a full guide on how to fix this. This advice is based on feedback from people who own this exact appliance. We have listed the most common parts for your GDT655SSJ5SS General Electric Dishwasher that will fix Leaking. We have included repair instructions, and helpful step-by-step video tutorials. If you are experiencing this issue, not to worry, DIYers just like you have fixed this, and shared their experience to help you!

Fixes Symptom 22% of time
★★★★★
★★★★★
8 Reviews

Rated by 6 customers 


Easy 

30 - 60 mins 

Ratings submitted by customers like you who bought this part.   

$ 17.02
  In Stock
PartSelect Number PS11721490
Manufacturer Part Number WD08X22095

Customer Repair Stories

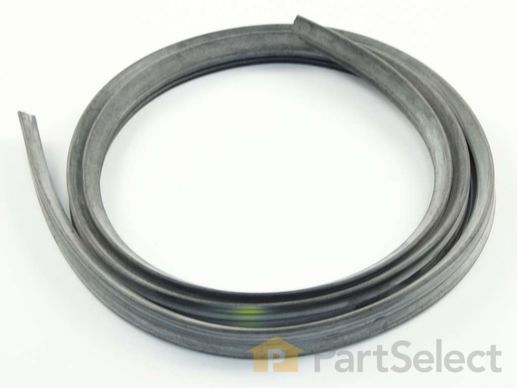
Water leaking from bottom of Dishwasher

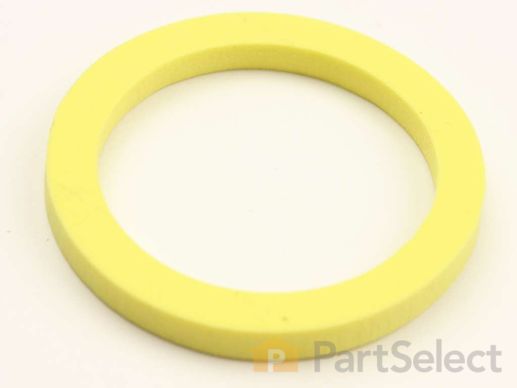
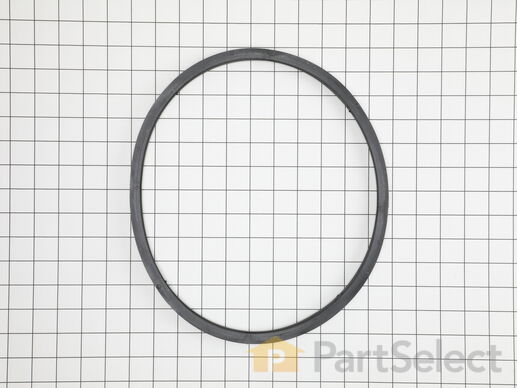
Replaced old gasket with new one. More difficult than expected, because new gasket was much stiffer than old one. Also, the yellow centering spot on gasket (to line up with top latch) was nearly impossible to see. Unfortunately, this did not solve the problem for me, so money was wasted. Bought new dishwasher.
  • G from GLEN COVE, NY
  • Difficulty Level:
    A Bit Difficult
  • Total Repair Time:
    15 - 30 mins
4 of 5 people found this instruction helpful.
Was this instruction helpful to you?
Thank you for voting!

Dishwasher leaking from the bottom of the door.

Process of elimination and a visit to my local repair store told me it was wise to try the tub gasket, and according to partselect.com, it solved the problem a majority of the time. My local repair dealer agreed: Try it. They agreed because for them to replace a lower door gasket AND the $10 tub gasket... if they came out, the service call and parts would equal half the cost to replace the whole dishwasher. So I bought a tub gasket from partselect.com and replaced the old one. It worked, it was easy, so if your same make & model is leaking? Try it first. That's my advice.
  • Marty from TRAVERSE CITY, MI
  • Difficulty Level:
    Easy
  • Total Repair Time:
    Less than 15 mins
7 of 13 people found this instruction helpful.
Was this instruction helpful to you?
Thank you for voting!
Fixes Symptom 21% of time
★★★★★
★★★★★
16 Reviews

Rated by 3 customers 


A Bit Difficult 

More than 2 hours 

Ratings submitted by customers like you who bought this part.   

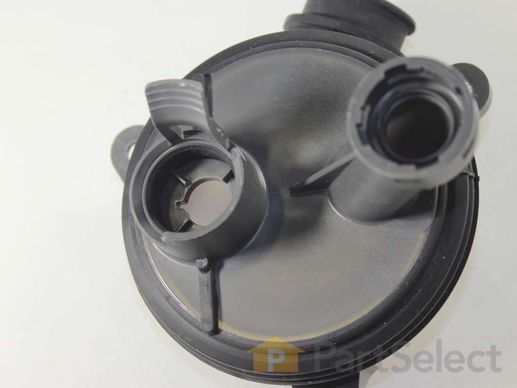
This diverter valve assembly is sourced from the original manufacturer for use in dishwashers. The assembly controls the flow of water between different parts of the appliance. It directs water to either the upper or lower spray arms during different stages of the wash cycle, ensuring efficient cleaning of dishes throughout the dishwasher. The valve may become damaged or worn down over time due to frequent use and exposure to heat and chemicals. If the assembly is faulty, you will likely notice leaking from under the door and less water reaching the spray arms. It is best to replace the assembly promptly to avoid further damage to the dishwasher.

$ 95.71
  In Stock
PartSelect Number PS12710077
Manufacturer Part Number WD19X25278

Customer Repair Stories

Diverter assembly leaking

This is a replacement that is straightforward but a bit mechanical. For an experienced engineer it was no problem but for the common household this is a repair best left to the pros. Fixed the issue no problem and the dishwasher is working perfectly now.
  • Lisa from PULASKI, TN
  • Difficulty Level:
    Really Easy
  • Total Repair Time:
    30 - 60 mins
  • Tools:
    Nutdriver, Screw drivers
4 of 4 people found this instruction helpful.
Was this instruction helpful to you?
Thank you for voting!

Strange noise coming from the dishwasher, later a small leak appearing underneath

A noisy dishwasher and water coming from underneath was being caused by a torn hose that is factory connected to the diverter. It was a little difficult to see at first as the hose sits slightly kinked when in it's normal position. Access to the diverter involves removal of the circulation pump. I ordered a new diverter which comes with metal screw on clamps. The main difficulty in installing is the positioning and alignment of the diverter and pump. My first effort resulted in a ripping of the attached diverter hose as I attempted to secure. I ordered another diverter. This time I used a lubricant to allow movement of the connecting hoses and made sure to not overtighten the clamps. I used a small mirror to make sure that the various hoses sat properly. Alignment took a bit of time. I then gently tightened the hoses. I ran the dishwasher, and found a leak, meaning that I needed to tighten these clamps a bit more. This is a doable repair that needs patience. The dishwasher is now very quiet and runs great!
  • Donaldo from ALTADENA, CA
  • Difficulty Level:
    Difficult
  • Total Repair Time:
    More than 2 hours
  • Tools:
    Nutdriver, Screw drivers, Socket set
5 of 5 people found this instruction helpful.
Was this instruction helpful to you?
Thank you for voting!
Fixes Symptom 19% of time
★★★★★
★★★★★
31 Reviews

Rated by 7 customers 


Really Easy 

30 - 60 mins 

Ratings submitted by customers like you who bought this part.   

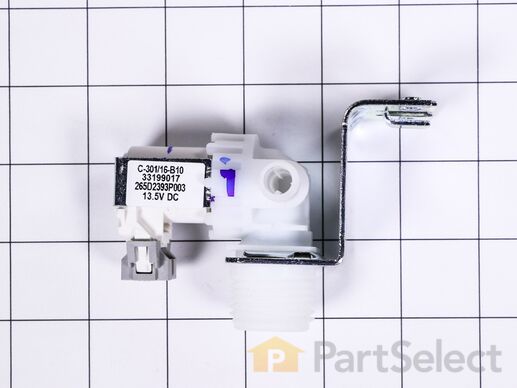
This is a washer inlet valve assembly for your dishwasher. This valve allows water to flow into your dishwasher at the proper rate. If your dishwasher tub is not filling with water or filling when the appliance is not in use, you may need to replace the inlet valve. It measures approximately 3 inches by 4 inches and is made of metal and white plastic.

$ 32.42
  In Stock
PartSelect Number PS12743161
Manufacturer Part Number WD15X26140

Customer Repair Stories

Dishwasher would not start Would run if you added 2 qt. water manually

Unplugged power.
Shut off water supply.
Remove the kick panel.
Unscrewed dishwasher from under cabinet and side screws. lower feet to reduce tension.
As you slide the dishwasher out, be sure all lines (Drain, water supply, electric are free to move with dishwasher.
I was able to hold the dishwasher at an angle to easily get to the valve. After removing the the valve, i screwed the new valve back into place. I removed the Line between the valve and Dishwasher. Putting the line on the new valve. I removed the water supply line from the old valve and installed it on the new valve.
Placed the dishwater back in place and screed it back in. I ran the cycles. everything works!
I replace the kickpaner a couple of hours later. Check to make sure there were now leaks.
  • Mark from FAIRFAX, VA
  • Difficulty Level:
    Easy
  • Total Repair Time:
    15 - 30 mins
  • Tools:
    Nutdriver, Pliers, Screw drivers
4 of 4 people found this instruction helpful.
Was this instruction helpful to you?
Thank you for voting!

No water

just bolted on the new one and hooked up the hose
  • Jeffrey from BENNINGTON, VT
  • Difficulty Level:
    Very Easy
  • Total Repair Time:
    Less than 15 mins
  • Tools:
    Screw drivers
7 of 8 people found this instruction helpful.
Was this instruction helpful to you?
Thank you for voting!
Fixes Symptom 12% of time
★★★★★
★★★★★
7 Reviews

$ 8.54
  In Stock
PartSelect Number PS8769905
Manufacturer Part Number WD24X20586
Fixes Symptom 7% of time
★★★★★
★★★★★
4 Reviews

Rated by 2 customers 


A Bit Difficult 

30 - 60 mins 

Ratings submitted by customers like you who bought this part.   

$ 32.15
  In Stock
PartSelect Number PS8688151
Manufacturer Part Number WD08X10092

Replacing your General Electric Dishwasher DOOR VENT SEAL

Replacing your DOOR VENT SEAL
Fixes Symptom 5% of time
★★★★★
★★★★★
4 Reviews

Rated by 1 customer 


Really Easy 

15 - 30 mins 

Ratings submitted by customers like you who bought this part.   

$ 22.71
  In Stock
PartSelect Number PS16618969
Manufacturer Part Number WD24X29378

Customer Repair Stories

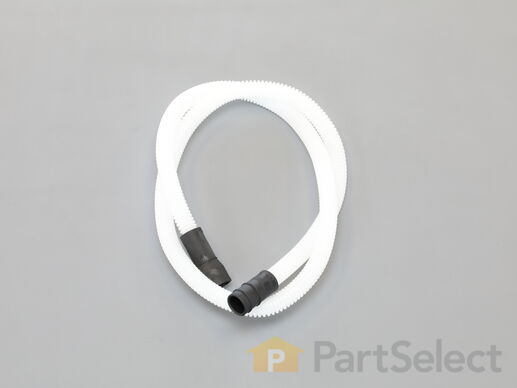
I had a hole in the drain line of my dishwasher.

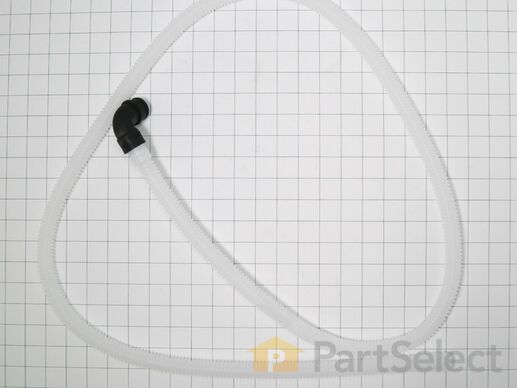
It was relatively easy to fix. I unscrewed the mounting screws from the cabinet, slide the dishwasher out to access the pump under the dishwasher, I did raise the dishwasher on the left side and steadied with a stool to make access to the pump fitting easier. Then I loosed both clamps at the ends of the hose ie. from the dishwasher pump and the connection to the sink drain line, pulled the clamp off of the end that connects to the pump and placed it on the new hose connection, I removed the old hose, connected the new one and tightened the drain line connections. I placed the hose in the hose holders on the side of the dishwasher slid the dishwasher back into place and secured it in place with the mounting screws.
  • Tina from SOUTH WEST CY, MO
  • Difficulty Level:
    Really Easy
  • Total Repair Time:
    15 - 30 mins
  • Tools:
    Pliers, Screw drivers
4 of 4 people found this instruction helpful.
Was this instruction helpful to you?
Thank you for voting!
Fixes Symptom 3% of time
★★★★★
★★★★★
3 Reviews

$ 22.00
  In Stock
PartSelect Number PS11766955
Manufacturer Part Number WD08X22758
Fixes Symptom 3% of time
★★★★★
★★★★★
14 Reviews

Rated by 6 customers 


Easy 

30 - 60 mins 

Ratings submitted by customers like you who bought this part.   

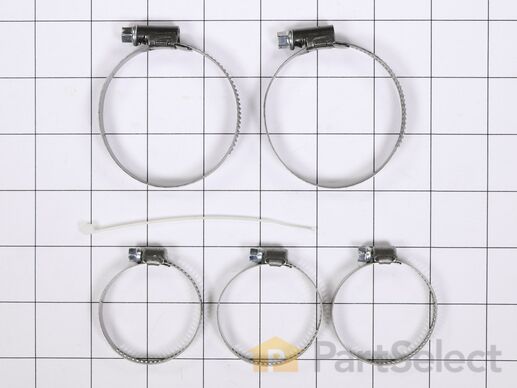
This part contains the Piranha clamps in kit WD35X10382

$ 125.15
  In Stock
PartSelect Number PS11772000
Manufacturer Part Number WD26X23258

Customer Repair Stories

Dishwasher ran but didn't wash

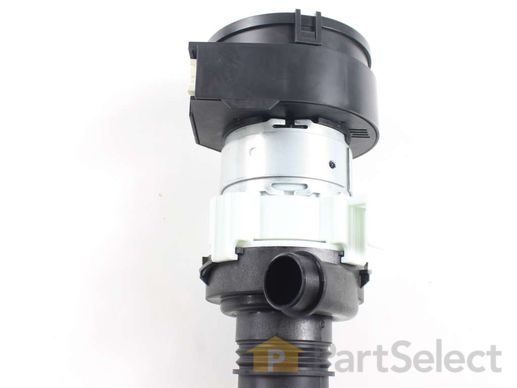
I got lucky and found the diagnostic test instructions tucked inside the washer under the kick plate. From there I ran the tests on each component until I narrowed it down to the pump. The pump cost me less than local dealers. The install went well. Watched the online videos to make sure I was doing it right. Was actually very easy and saved hundreds over a service call.
  • Timothy from CASTLE ROCK, CO
  • Difficulty Level:
    Easy
  • Total Repair Time:
    30 - 60 mins
  • Tools:
    Pliers, Screw drivers, Socket set
6 of 6 people found this instruction helpful.
Was this instruction helpful to you?
Thank you for voting!

Sprayer arms didn't operate and dishes were not cleaned

We bought this GE dishwasher new. After 9 months, we started noticing the dishes were not cleaning well. Eventually, the machine just filled up with water and drained. The washing arms didn't work. I replaced fill valve, but that didn't solve it. A GE Tech ran a diagnostic and informed us the pump motor was bad. It was off warranty and repairs would be $300. However, he noted it was easy to do on my own. Two pipe clamps. The part from PartsSelect was 40% less than ordering from GE and was a GE part. Replacement took half an hour and that includes getting it wrong once (one connection leaked due to a bad job attaching the pipe clamp). Works like a champ now.
  • Eric from THORNTON, PA
  • Difficulty Level:
    Really Easy
  • Total Repair Time:
    15 - 30 mins
  • Tools:
    Pliers, Screw drivers, Socket set
8 of 9 people found this instruction helpful.
Was this instruction helpful to you?
Thank you for voting!
Fixes Symptom 2% of time
★★★★★
★★★★★
2 Reviews

$ 27.99
  In Stock
PartSelect Number PS6011670
Manufacturer Part Number WD24X10062

Replacing your General Electric Dishwasher DRAIN TUBE Assembly

Replacing your DRAIN TUBE Assembly
Fixes Symptom 2% of time

Rated by 1 customer 


Very Difficult 

More than 2 hours 

Ratings submitted by customers like you who bought this part.   

$ 76.40
  In Stock
PartSelect Number PS6011682
Manufacturer Part Number WD35X10382
Fixes Symptom 2% of time
★★★★★
★★★★★
1 Review

Rated by 1 customer 


A Bit Difficult 

30 - 60 mins 

Ratings submitted by customers like you who bought this part.   

$ 13.92
  In Stock
PartSelect Number PS12170922
Manufacturer Part Number WD12X23557
Fixes Symptom 1% of time
★★★★★
★★★★★
2 Reviews

$ 17.40
  In Stock
PartSelect Number PS16742696
Manufacturer Part Number WD01X31618