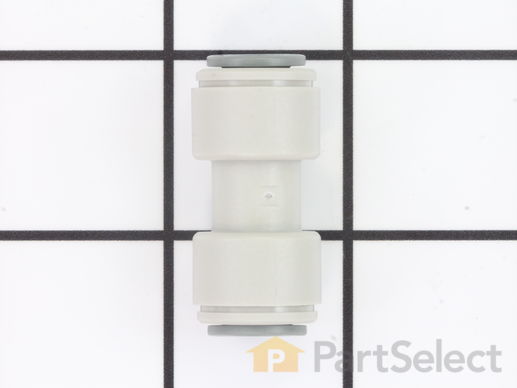
Union Connector - 5/16 Inch to 5/16 Inch WR02X11330
Rated by 30 customers
Easy
30 - 60 mins
Ratings submitted by customers like you who bought this part.
Get this part fast! Average delivery time for in-stock parts via standard shipping: 1.8 days.
Union Connector - 5/16 Inch to 5/16 Inch Specifications

How Buying OEM Parts Can Save You Time and Money
Replacing your General Electric Refrigerator Union Connector - 5/16 Inch to 5/16 Inch

-
5 Stars 7
-
4 Stars 0
-
3 Stars 1
-
2 Stars 0
-
1 Star 2
- < Prev
- 1
- Next >

- < Prev
- 1
- Next >
- < Prev
- 1
- 2
- 3
- Next >
-
Doug from MODESTO, CA
-
Difficulty Level:Really Easy
-
Total Repair Time:Less than 15 mins
-
Tools:Nutdriver, Pliers, Wrench (Adjustable)
-
Hillary from MONTCLAIR, NJ
-
Difficulty Level:Very Easy
-
Total Repair Time:Less than 15 mins
-
woon ming from new york, NY
-
Difficulty Level:Really Easy
-
Total Repair Time:Less than 15 mins
-
JOSEPH from SURFSIDE, FL
-
Difficulty Level:Easy
-
Total Repair Time:30 - 60 mins
-
Larry from Castlewood, VA
-
Difficulty Level:A Bit Difficult
-
Total Repair Time:30 - 60 mins
-
Tools:Wrench (Adjustable)
-
Joseph from Stewartsville, NJ
-
Difficulty Level:Easy
-
Total Repair Time:30 - 60 mins
-
Tools:Wrench set
-
randy from vancouver, WA
-
Difficulty Level:Really Easy
-
Total Repair Time:15 - 30 mins
-
Tools:Nutdriver, Screw drivers, Wrench set
-
Eugene from Palm Springs, CA
-
Difficulty Level:Difficult
-
Total Repair Time:1- 2 hours
-
Tools:Nutdriver, Screw drivers
-
George from Brooklyn, NY
-
Difficulty Level:Easy
-
Total Repair Time:30 - 60 mins
-
Tools:Pliers, Screw drivers
-
Gerald from San Clemente, CA
-
Difficulty Level:Easy
-
Total Repair Time:15 - 30 mins
-
Tools:Nutdriver
- < Prev
- 1
- 2
- 3
- Next >
Ask our experts a question about this part and we'll get back to you as soon as possible!
- < Prev
- 1
- Next >

9 people found this helpful.

3 people found this helpful.

1 person found this helpful.

1 person found this helpful.

1 person found this helpful.


1 person found this helpful.
- < Prev
- 1
- Next >

Manufacturer Part Number: WR02X11330

Item is in stock and will ship today if your order is placed before 4:00 PM Eastern Standard Time.
If your order is placed after 4:00 PM EST, the in stock items will ship on the next business day.
Item is not in stock and usually ships 3-5 business days from the time you place your order.
Item is not in stock and usually ships 10-15 business days from the time you place your order.
This item is no longer being made by the manufacturer, and cannot be added to your shopping cart.


