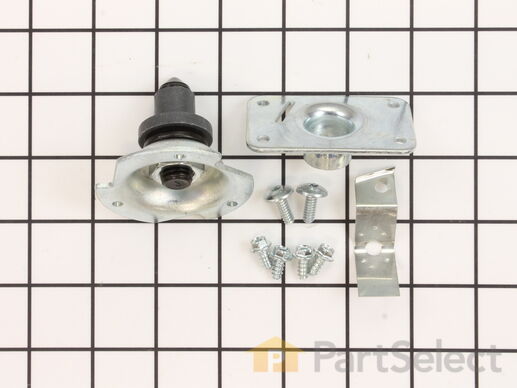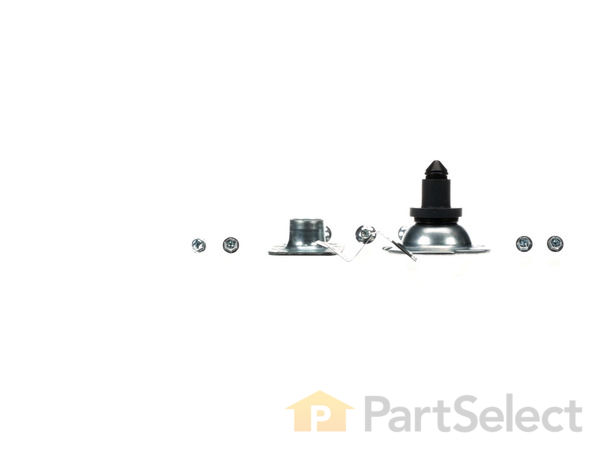
Rear Drum Bearing Kit WE25M40
Rated by 64 customers
Easy
1- 2 hours
Ratings submitted by customers like you who bought this part.
Get this part fast! Average delivery time for in-stock parts via standard shipping: 1.8 days.
Rear Drum Bearing Kit Specifications

How Buying OEM Parts Can Save You Time and Money
Replacing your General Electric Dryer Rear Drum Bearing Kit

-
5 Stars 20
-
4 Stars 3
-
3 Stars 0
-
2 Stars 0
-
1 Star 1
- < Prev
- 1
- 2
- 3
- Next >
- < Prev
- 1
- 2
- 3
- Next >
- < Prev
- 1
- 2
- 3
- Next >
Reviewed YouTube videos.
Patience is required, take your time, take photos of the wires and also make a written wiring chart. This was the flaw in my planning. Reference the schematics f ... Read more rom PartsSelect to number the controls. Do NOT use masking tape to identify the wires as they will have all stuck together by the time you go to reinstall them.
Most difficult process was removing and identifying the numerous wires to the back panel. They have push connectors, but some were very difficult to remove. The people doing the "how to" videos no doubt had them partially released and that made it look easy. Examine the connectors before removing to identify how they are captured by the connector. A paper clip "tool" I made enabled me to release some of the capture lugs, but some were so tight, I had to use small needle-nose pliers to open up the lug to release the wire on the connector.
When reinstalling, re-tighten those connectors.
Replacing the parts was much easier than the wiring disconnect/reconnect process. I'm happy to report that replacing the rear bearing and the front 2 green and 2 white shim/bearings immediately and completely solved my problem. For about $150, I restored my dryer to "like-new" functionality and got a lot of satisfaction from doing it. The project took about 4 hours, which could have been reduced to 2 hours had I know about the clip release and wiring identification process. Also, make sure you thoroughly vacuum out your unit while it is disassembled. Good luck!!!
-
mike from SUMMERVILLE, SC
-
Difficulty Level:A Bit Difficult
-
Total Repair Time:More than 2 hours
-
Tools:Nutdriver, Pliers, Screw drivers, Wrench (Adjustable)
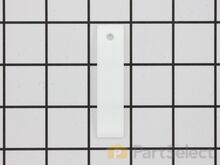
I ordered all the following parts which I fel ... Read more t were likely excessively worn--white and green bearing slides (two of each required), rear drum bearing kit, drive belt, and idler pulley wheel--to address the noisiness issue.
For your consideration: Since our dryer is 12 years old and would be disassembled anyway, I decided to order a new dryer drum belt and idler pulley, to replace these two constant-use items as preventive maintenance.
Two notes.
One: When replacing the dryer drum bearing parts, you need a T25 torx bit to loosen and remove the three torx-head screws. But using my T25 torx bit-head-style screwdriver, it was impossible to loosen them. Fortunately, I had a T25 torx bit, which I could mount in a socket wrench, which DID allow me to loosen those three torx-head screws without damage/breakage. WHEW! Recommend you are similarly prepared!
Two: If you purchase the "Rear Drum Bearing Kit," it already comes with the the "Drum Bearing Sleeve" and "Retainer O-Ring" components I thought I would also need--no need to purchase separately. I returned those two items, unopened, for a refund.
All together, from dryer disassembly to, component replacement, to a thorough vacuuming/cleaning, to reassembly and an operational check, it took about four hours. The dryer is now nearly noiseless again! Success!
I consider myself reasonably good with tools and have a fair amount of electrical and mechanical skill. My wife assisted with extra hands a couple times, too, seriously reducing my frustration level. Depending on your abilities, you'll take more time or less time than the four hours it took me. I'm certain I saved at least a couple hundred dollars by doing this maintenance myself.
In summary, the PartSelect person taking my order was knowledgeable and professional, I received my parts two days after ordering, the parts worked perfectly, and the company refunded my two, unopened returned parts promptly. Overall, a terrific experience. I highly recommend them to any capable do-it-yourselfer.
Thanks, PartSelect!
-
DENNIS from RALEIGH, NC
-
Difficulty Level:A Bit Difficult
-
Total Repair Time:More than 2 hours
-
Tools:Pliers, Screw drivers, Socket set
-
Bryon from PASADENA, MD
-
Difficulty Level:Easy
-
Total Repair Time:15 - 30 mins
-
Tools:Nutdriver, Screw drivers
-
Shelly from MURFREESBORO, TN
-
Difficulty Level:A Bit Difficult
-
Total Repair Time:1- 2 hours
-
Tools:Screw drivers, Socket set
-
scott from ALTON, NH
-
Difficulty Level:Really Easy
-
Total Repair Time:More than 2 hours
-
BJ from WHEAT RIDGE, CO
-
Difficulty Level:A Bit Difficult
-
Total Repair Time:More than 2 hours
-
Tools:Screw drivers, Socket set
-
Carlton from Bedford, TX
-
Difficulty Level:Easy
-
Total Repair Time:1- 2 hours
-
Tools:Nutdriver, Pliers, Screw drivers
-
Robert from Salem, MA
-
Difficulty Level:Easy
-
Total Repair Time:More than 2 hours
-
Tools:Screw drivers, Socket set
-
susan from Cypress, TX
-
Difficulty Level:Really Easy
-
Total Repair Time:More than 2 hours
-
Tools:Nutdriver, Screw drivers, Socket set
-
Thomas from Fort Myers, FL
-
Difficulty Level:Easy
-
Total Repair Time:1- 2 hours
-
Tools:Screw drivers
- < Prev
- 1
- 2
- 3
- Next >
Ask our experts a question about this part and we'll get back to you as soon as possible!
- < Prev
- 1
- 2
- Next >

21 people found this helpful.

14 people found this helpful.

11 people found this helpful.

3 people found this helpful.

2 people found this helpful.

1 person found this helpful.

1 person found this helpful.

1 person found this helpful.


- < Prev
- 1
- 2
- Next >
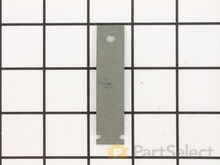

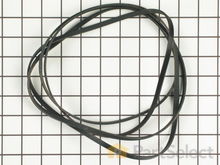
Manufacturer Part Number: WE25M40

Item is in stock and will ship today if your order is placed before 4:00 PM Eastern Standard Time.
If your order is placed after 4:00 PM EST, the in stock items will ship on the next business day.
Item is not in stock and usually ships 3-5 business days from the time you place your order.
Item is not in stock and usually ships 10-15 business days from the time you place your order.
This item is no longer being made by the manufacturer, and cannot be added to your shopping cart.


