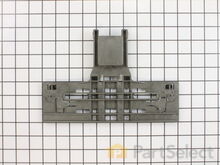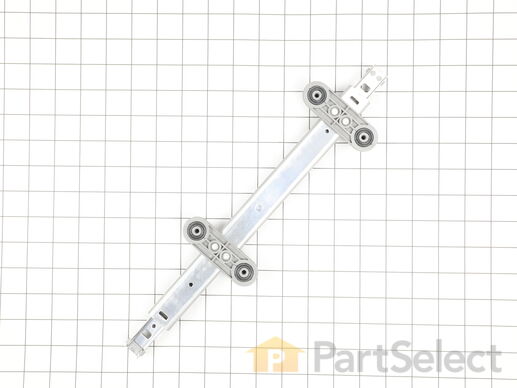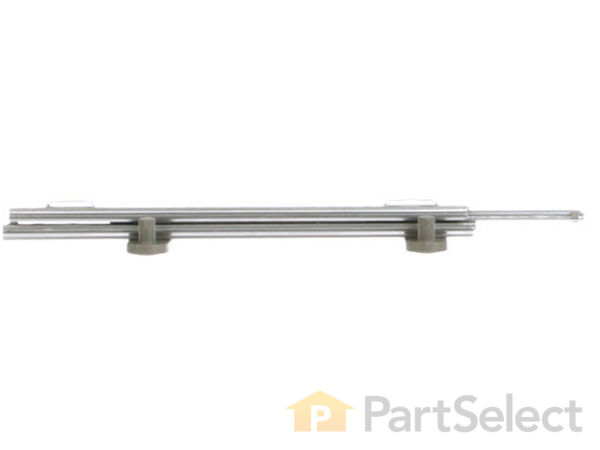
Dishwasher Dish Rack Slide Track - Left Side W11259785
Rated by 15 customers
Easy
1- 2 hours
Ratings submitted by customers like you who bought this part.
Get this part fast! Average delivery time for in-stock parts via standard shipping: 1.8 days.
-
5 Stars 28
-
4 Stars 5
-
3 Stars 0
-
2 Stars 0
-
1 Star 0
- < Prev
- 1
- 2
- 3
- Next >
- < Prev
- 1
- 2
- 3
- Next >
- < Prev
- 1
- 2
- Next >
-
JAMES L from WARRENTON, VA
-
Difficulty Level:Really Easy
-
Total Repair Time:30 - 60 mins
-
Tools:Nutdriver
This repair was fairly simple. First, toggle the circuit breaker off and turn off the water supply under ... Read more the sink. Remove gray plastic covers to expose and remove Phillips head screws on each side of inner door frame then remove plastic kick plate before sliding the dishwasher out roughly 20”. The insulation needs to be folded back (tab release back bottom corner) to expose the four rack fasteners on each side. A small socket bit (I used a slow speed hand drill) makes quick work of removing old tracks but make sure one hand is inside on the track to catch what’s left of it. Replace both tracks (the second will fail) arrow pointing up using the fasteners you removed. Reset the insulation and make sure water, drain and electrical connectors are all in good order before sliding dishwasher back and fastening side frame screws to adjoining cabinets (tip: use painter’s tape or similar to keep screw head connected to screwdriver). Replace plastic caps and the kick plate. I had to replace the upper rack adjuster before reinstalling the upper rack on the new tracks. Check the bottom filter and reservoir for any plastic bits or ball bearings and remove them before turning power and water back on. Enjoy not having to hand wash dishes again. For me, about 40 minutes.
-
William from JACKSON, NH
-
Difficulty Level:Really Easy
-
Total Repair Time:30 - 60 mins
-
Tools:Screw drivers, Socket set
-
Richard from LARSEN, WI
-
Difficulty Level:Very Easy
-
Total Repair Time:Less than 15 mins
-
Tools:Screw drivers
-
Gregory from SAINT PAUL, MN
-
Difficulty Level:A Bit Difficult
-
Total Repair Time:1- 2 hours
-
Tools:Nutdriver, Screw drivers, Socket set
-
Bob from WESTWOOD, MA
-
Difficulty Level:A Bit Difficult
-
Total Repair Time:More than 2 hours
-
Tools:Pliers, Screw drivers, Socket set, Wrench (Adjustable)
-
Judith from BROKEN ARROW, OK
-
Difficulty Level:Very Difficult
-
Total Repair Time:1- 2 hours
-
Royce from GREENSBORO, NC
-
Difficulty Level:Really Easy
-
Total Repair Time:30 - 60 mins
-
Tools:Screw drivers
Once dishwasher is removed from under locate the 4 screws on right side that hold racks remove them.
I would recommend replacing both skids on both si ... Read more de while you have the dishwasher pulled out.
Very easy to replace new rack slid once old rack removed.
The rack come assembled with skid and plastic holders.
This repair is a 10 minute repair per side.
Thanks Bob Seese
-
BOB from CUYAHOGA FLS, OH
-
Difficulty Level:Very Easy
-
Total Repair Time:15 - 30 mins
-
Tools:Socket set
Use a 1/4" nut driver to remove the bottom front (kick) plate from the appliance. There are two screws, one at each end. There should also be two screws fastening the dishwasher to the countertop. You'll need to open the dishwasher door to see these and remove them. At the bottom of the dishwasher again, you might need to screw the front (2) leveling feet in to lower the dishwasher and provide clearance. Once done, just (gently, slowly) pull the appliance out of the cabinet. Check to make sure your power wiring, drain hose, and water supply hose are all long enough to do this. If necessary, disconnect any of these that are too short. if your power wiring is short, as mine was, you'll need to disconnect the circuit breaker, then remove the junction box at the lower front right side of the dishwasher, then disconnect the power and ground wires.
Once out of the cabinet, use a 5/16" nut driver to remove the four screws holding each rack slide in place and remove the track. The rubber mounts will come out with the track (new tracks include new rubber mounts). Clean any residue from the track mounting area inside the tub before installing the new track. This whole replacement process should take a total of 3-4 minutes per side.
To finish up, just reverse the process. When sliding the dishwasher back into place, make sure the fiberglass insulation stays in place completely around the outside of the tub.
Because the tile on my kitchen floor does not continue under the dishwasher (tile was installed after the cabinets), it was absolutely necessary to turn in the leveling feet to get the appliance out. Since this also makes it very difficult to get a wrench around the plastic feet, I used a very small socket (3/16"?) on the top of the leveling feet stems. This makes it really easy to turn the feet.
I the appliance designers had engineered things better by fastening the tracks from inside the tub, this would be a 5-minute job. But it's still not bad at all.
-
John from LAFAYETTE, IN
-
Difficulty Level:Easy
-
Total Repair Time:30 - 60 mins
-
Tools:Nutdriver, Pliers, Screw drivers, Socket set, Wrench set
-
Robert from TERRELL, TX
-
Difficulty Level:Very Easy
-
Total Repair Time:15 - 30 mins
-
Tools:Socket set
- < Prev
- 1
- 2
- Next >
Ask our experts a question about this part and we'll get back to you as soon as possible!
- < Prev
- 1
- 2
- Next >

74 people found this helpful.

37 people found this helpful.

31 people found this helpful.

7 people found this helpful.

6 people found this helpful.

5 people found this helpful.

3 people found this helpful.

3 people found this helpful.

3 people found this helpful.

- < Prev
- 1
- 2
- Next >


Manufacturer Part Number: W11259785

Item is in stock and will ship today if your order is placed before 4:00 PM Eastern Standard Time.
If your order is placed after 4:00 PM EST, the in stock items will ship on the next business day.
Item is not in stock and usually ships 3-5 business days from the time you place your order.
Item is not in stock and usually ships 10-15 business days from the time you place your order.
This item is no longer being made by the manufacturer, and cannot be added to your shopping cart.


