This is a burner electrode for your oven, range, or stove. This part has a male spade. It helps your burner ignite by creating a spark, producing a flame, and lighting the surface burner. If your burner will not heat properly, you may have to replace the burner electrode. Your electrode is located under your burner. This is an OEM replacement part that will be sourced from the genuine manufacturer. This part measures less than 1.5 inches long. It is sold individually. If you need a wire lead to complete your repair, you can purchase them locally.
How Buying OEM Parts Can Save You Time and Money
Troubleshooting
This part fixes the following symptoms:
Gas igniter glows | but will not light | Will Not Start | Element will not heat
This part works with the following products:
Cooktop, Range.
This part works with the following products:
Jenn-Air, KitchenAid, Maytag.
Part# WP74009336 replaces these:
AP6011124, 74009336, 7432P121-60, WP74009336VP
Customer Reviews
Average Rating:
★★★★★
★★★★★
12 Reviews
4.6
Filter By Rating:
5 Stars
10
4 Stars
1
3 Stars
0
2 Stars
0
1 Star
1
Sort by:
< Prev
1
2
Next >
Search filter:
Clear Filter
Your search term must have 3 or more characters.
Keep searches simple. Use keywords, e.g. "leaking", "pump", "broken" or "fit".
Sorry, we couldn't find any existing reviews that matched. Try using some different or simpler keywords.
★★★★★
★★★★★
Douglas R - March 24, 2021
Verified Purchase
Right part first time
Great web site, accurate
★★★★★
★★★★★
Robert P - June 3, 2019
Verified Purchase
Easy fix
Came as ordered
★★★★★
★★★★★
Betty H - April 16, 2019
Verified Purchase
Easy repair
It was exactly what I needed. Works perfectly.
★★★★★
★★★★★
Gregory W - March 12, 2019
Verified Purchase
Super easy to order part and repair my stove!
Great site and service. Thanks for making it so easy and saving me a ton of $$$$.
★★★★★
★★★★★
James S - March 12, 2019
Verified Purchase
Ring prevent correct positioning
With the ring, inserting from below prevents this part to be positioned correctly and does not work. You will need to snip off part of the ring in order to push the part into place.
★★★★★
★★★★★
Reginald V - March 10, 2019
Verified Purchase
Easy repair, part worked great
The part was correct and came faster than expected. Stove is up and working correctly. Repair instructions were right on the money.
★★★★★
★★★★★
Carl D - March 4, 2019
Verified Purchase
Excellent
Ordered part. Arrived on time and undamaged. Works great!
★★★★★
★★★★★
Steven P - January 9, 2019
Verified Purchase
Perfect, as described!
Part was exactly as described, shipped quickly. Quality product and service. Will definitely buy again.
★★★★★
★★★★★
Joseph C - October 6, 2018
Verified Purchase
Easy to put in was great
Part showed up everything went well TY.
★★★★★
★★★★★
Steve P - August 16, 2018
Verified Purchase
Easy to put in... great instructions on web
Fast delivery.... well packaged.... worked great
< Prev
1
2
Next >
Customer Repair Stories
Average Repair Rating: 3.6 / 5.0, 25 reviews.
What's this?
Sort by:
< Prev
1
2
3
Next >
Search filter:
Clear Filter
Your search term must have 3 or more characters.
Keep searches simple. Use keywords, e.g. "leaking", "pump", "broken" or "fit".
Sorry, we couldn't find any existing installation instruction that matched.
Burner would not light
removed the two screws holding the burner to the cooktop, disconnected the wire clip from the electrode then removed worn out electrode from burner. Re-attached the new electrode to the burner, re-attached the igniter wire then put the burner assembly back onto the cooktop
Tim from SCHWENKSVILLE, PA
Difficulty Level:
Very Easy
Total Repair Time:
Less than 15 mins
Tools:
Screw drivers
3 of 3 peoplefound this instruction helpful.
Was this instruction helpful to you?
Thank you for voting!
Replaced electrode. Complications heat soldered set screw to electrode
Installation is simple and very straight forward. Problem, was i stripped the torx screw to release electrode because the screw was frozen. I then tore electrode out leaving space to use penetrating oil (inaffective ) then using a chisel to pop the screw out. It came out intact and did not damage the threads in the burner. So what could
... Read more have been a 20 minutes job, turned into over an hour. But still worth doing myself.
Read less
Edward from FAYETTEVILLE, GA
Difficulty Level:
Easy
Total Repair Time:
1- 2 hours
Tools:
Pliers, Screw drivers
2 of 2 peoplefound this instruction helpful.
Was this instruction helpful to you?
Thank you for voting!
Six burner gas cooktop, two units not lighting properly
It was very simple two Phillips head screws to remove the burner and one screw to remove the ignitor. It was probably less than a 5 minute job per burner. Unfortunately one burner had a very rusty screw holding the ignitor and the head stripped out. I tried a stripped screw removal tool with no success so I used a drill press to drill the
... Read more screw out. It still took less than 30 minutes. Now both burners work like new
Read less
Louis from SUMMERVILLE, SC
Difficulty Level:
Easy
Total Repair Time:
30 - 60 mins
Tools:
Pliers, Screw drivers
3 of 3 peoplefound this instruction helpful.
Was this instruction helpful to you?
Thank you for voting!
Replacing burner electrode
This should be a 5 min job. Lift off the burner cover, remove two screws to lift of the burner base and then remove a Phillips head screw that hold the burner igniter in place.
Unfortunately, the screw holding the burner igniter was rusted and it could not be loosened. WD-40 did not touch it. I used a stronger penetrant, "Blas
... Read moreter". Still it would not budge. Then I used a small Phillips head screwdriver and a hammer which I used as an impact driver. I twisted the screwdriver slightly to loosen and hit it was a hammer. Then I twisted the screwdriver slightly to tighten and again hit it with a hammer. After the penetrant and a couple of more tries, the rusted screw finally moved!!!
With no rust, this should be an easy 5 minute replacement. The burner now works great!!!
Read less
Richard from WOODLAND, CA
Difficulty Level:
A Bit Difficult
Total Repair Time:
More than 2 hours
Tools:
Screw drivers
2 of 2 peoplefound this instruction helpful.
Was this instruction helpful to you?
Thank you for voting!
Two burners click, but do not light
I had the front right burner and back left burner always click, but never light without help from a match or lighter. So I saw how you can use rubbing alcohol to clean the ignitors with a Q-Tip. I did that, but the ceramic on the back left ignitor broke off with just a gentle cleaning. I ordered a replacement ignitor which came quickly. W
... Read morehile waiting I had to try to get off the burner, as the Torx (star) screws were both not budging even with a little WD40. I ended up drilling both screws out. When the ignitor came I replaced it quite easily. However, all five burners started clicking and kept on clicking once I plugged the cooktop back in. Problem number two - the Spark Module or wiring had a problem. It was the Spark Module and I'll describe that repair with the next installation s=instruction I fill out.
Removed the gas deflector; unscrewed the burner body; pulled off the ignition wire; unscrewed the bad electrode; screwed in the replacement electrode; reversed the steps. Voila! Perfect operation once again. My one mistake? Ordered the wrong electrode initially. Make sure you get the right part the first time around.
Philip from CONCORD, CA
Difficulty Level:
Very Easy
Total Repair Time:
Less than 15 mins
Tools:
Screw drivers
2 of 2 peoplefound this instruction helpful.
Was this instruction helpful to you?
Thank you for voting!
Cracked porcelain on burner, no spark
The porcelain cracked on the burner igniter, it wouldn’t spark and light the flame. I got tired of using the fireplace lighter to light this main burner.
If you have to replace your igniter, it should be very very easy. Remove the two torx screws Holding the cast iron burner to the stainless steel top. Pull it up and the wir
... Read moree connected to the igniter should pull through the small hole in the stainless steel top. Turn the cast-iron base over, pull the wire off, and there is a little screw Fastening the igniter to the bottom of the cast-iron Base. Remove the old igniter and screw the new igniter in place, reattach the wire, and screw the base down to the stainless steel top. That’s it, or how it should be. After years of spaghetti water, gravy, etc. boiling over, I was only able to remove one of the torx screws after using some WD-40 and a torch to heat it up. The other screw sheared off at the head. And a little screw holding the igniter in place, the Phillips head was stripped! I had to leave the roof or the igniter in place, break off all the porcelain, and then break the rest of the metal off leading the screw in place. So I had to use my Dremel grinder to remove some of the metal on the new igniter, then use some tinfoil underneath it to stabilize it in place and then tighten the cast-iron base down using only one screw. Even with one screw and using the tinfoil, it is stable and everything works now. This $27 part was a heck of a lot cheaper than paying $5000 for a new range top!
Read less
Mark from BLUE RIDGE, GA
Difficulty Level:
Easy
Total Repair Time:
30 - 60 mins
Tools:
Pliers
2 of 2 peoplefound this instruction helpful.
Was this instruction helpful to you?
Thank you for voting!
Ignitors with VERY weak sparks (2 Burners)
Should have read the partselect instructions first 1.) unplugged range 2.) unscrewed (torque screws - good thing I had some) burners - one screw was corroded into the top and snapped - will require a drill to remove and replace metal screw. 3) slid electrical wire from contact 4.) unscrewed (with phillips) Burner Electrode assembly (also
... Read morecorroded - took some force) replaced electrode assy and reversed steps. Works perfect.
The ceramic on the electrode broke due to water over boiling the week of Thanksgiving. When i tried to loosen the screw to replace the electrode it broke off inside the threads. Ordered whole new unit overnight. Back in business in five minutes. Thanksgiving was back on!! Thanks!
The ignitor went out on one of the burners of the gas range
Remove the burner cover to reach the burner assembly. From the top of the cooktop you will see 2 screws holing the burner assembly. Using a T drive (6 point screwdriver)remove both screws and the burner assembly will come out of the cook top. Using a phillips head screw driver, remove the old ignitor from the burner assembly. Mine was
... Read more galled up, so I had to use some penetrating oil and let it sit for a half hour. I then used a hammer and a phillips head screwdriver to tap the screw as I twisted to un-tightened the screw. Once it broke loose, I placed the new ignitor and reassembled the burner into the stove.
Read less
Ed from Overland Park, KS
Difficulty Level:
A Bit Difficult
Total Repair Time:
15 - 30 mins
Tools:
Screw drivers
1 of 4 peoplefound this instruction helpful.
Was this instruction helpful to you?
Thank you for voting!
< Prev
1
2
3
Next >
Questions and Answers
Ask our experts a question about this part and we'll get back to you as soon as possible!
18 questions answered by our experts.
Sort by:
< Prev
1
2
Next >
Search filter:
Clear Filter
Your search term must have 3 or more characters.
Keep searches simple. Use keywords, e.g. "leaking", "pump", "broken" or "fit".
Sorry, we couldn't find any existing answers that matched.Try using some different or simpler keywords, or submit your new question by using the "Ask a Question" button above!
Robert
December 19, 2019
Is the same electrode used on all 4 burners? Our dual high btu burner needs an electrode, but it looks a little bigger than the others and is in a different spot. It's the front left burner.
For model number jgs8850BDB
Hello Robert, thank you for your question. The burners have two different electrodes. The one for the front left burner is Dual Burner Igniter Part #: PS11744473. I hope this helps!
12 people found this helpful.
Was this helpful?
Thank you for voting!
Abby
August 19, 2019
One of our large burners will light if we use a match but it will not light on its own. Do I need the burner electrode or the burner head with electrode?
For model number JGCP636ADP
Hello Abby, Thank you for the question. Replacing the electrode on its own should fix the issue. Good luck with the repair!
6 people found this helpful.
Was this helpful?
Thank you for voting!
Carol
September 18, 2019
The front right burner continues to spark and click except when burning, even when it is off and when other burners are lit. I have to be using that burner or to unplug the unit and light burners manually in order to stop the clicking. I have cleaned and dried all burners etc.
For model number JGD8430ADS14
Hello Carol, thank you for writing. You will want to replace the Spark Module, part number PS11744407 for your model. Good luck with your repair!
3 people found this helpful.
Was this helpful?
Thank you for voting!
Donna
December 18, 2019
KitchenAid pro 6 burner cooktop. When turning on a burner we notice other burners sparking as if they are attempting to ignite. What will resolve this issue?
For model number KGCU467VSS
Hello Donna, thank you for your question. This issue is probably caused by a faulty spark module PartSelect Number PS11743887. If the burners are all sparking the electrodes would not be the issue. I hope this helps.
3 people found this helpful.
Was this helpful?
Thank you for voting!
Wes
March 5, 2019
How do you test to be sure igniter is bad? Or if burner switch to igniter is bad?
For model number JGD8430ADB
Hello Wes, Thank you for the question. You will need to test to see if there is continuity across the leads. If there is no continuity, it will need to be replaced. Hope this helps!
1 person found this helpful.
Was this helpful?
Thank you for voting!
Robert
February 7, 2020
Only two out of 6 spark igniters are working on my jen-air counter top stove? How can i verify what part i need.
For model number Jgc8536ads
Hi Robert. When troubleshooting a gas range it is best to get a in person qualified technician to troubleshoot. Thank you for your question and good luck with your repair.
1 person found this helpful.
Was this helpful?
Thank you for voting!
Mahesh
July 6, 2021
For 2 out of 5 burners, ignitor continues to spark even after burner turned on, lit and in hi Flame. Ignitor stops after 10 15 min of cooking.
For model number JGC8536ADW
Hello Mahesh, Thank you for the question. We suggest testing the Switches of the burners with the issue. We hope this helps!
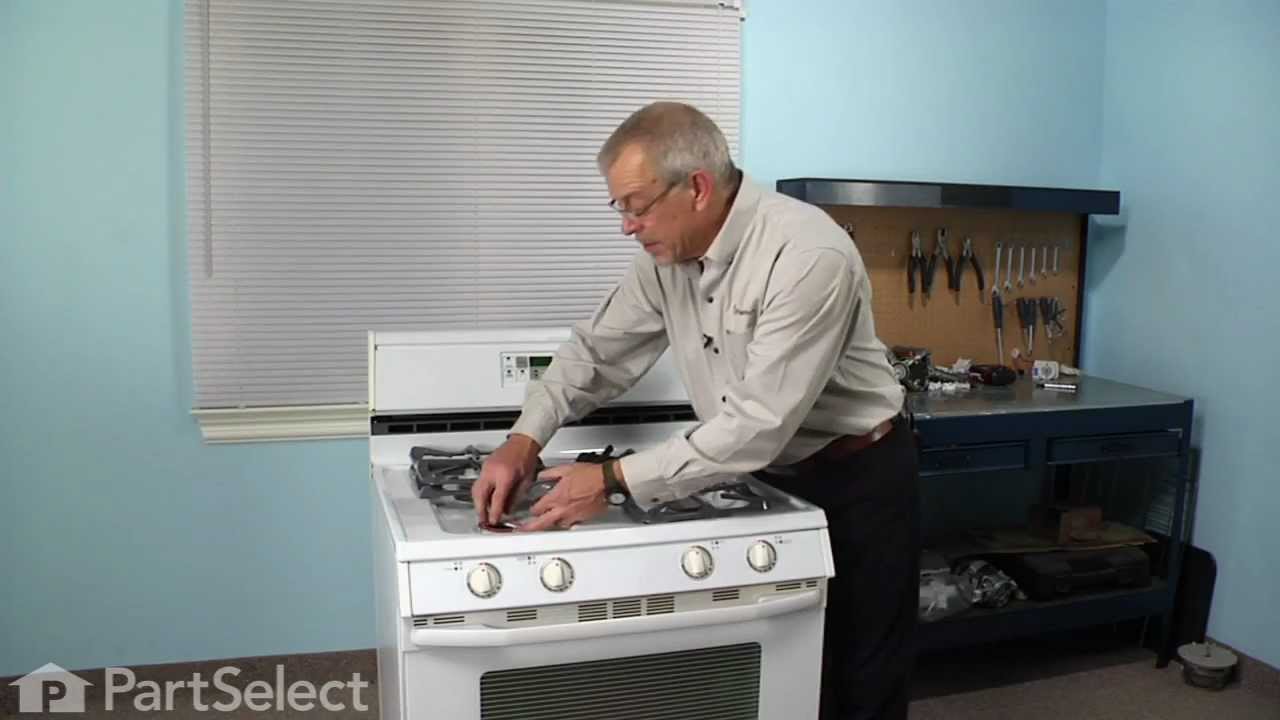
How do you replace these ignitors on the kitchen aid glass cooktop?
For model number KGCT365T AL
Hi Laird,
Thank you for your question. Here is a link to one of our YouTube videos that you may reference on how to install the burner electrode, https://www.youtube.com/watch?v=37D_vhIT7q8&t=6s. The stove in the video may appear different from yours, but it will give you a general idea on how to install the part. We hope this helps! Good luck with the repair!
1 person found this helpful.
Was this helpful?
Thank you for voting!
Frank
December 27, 2021
What does it mean when all ignighters keep clicking at once
For model number Jgc8536ads
Hello Frank, Thank you for your inquiry. Before a gas burner lights, the igniters click briefly before lighting. If they keep clicking, the possible causes are the burner caps are misaligned, there's moisture or debris around the burner heads, or it could be caused by the spark module, the spark ignition switch, the electrodes or the wiring. First make sure the burner heads are clean and free from debris by gently cleaning them with a toothbrush and a straightened pin or needle, making sure they are completely dry before replacing them, you can do so with a piece of paper towel or a hair dryer. Make sure the caps are correctly aligned and clean as well. You can test the module, switch and igniter with a multimeter. If you are unfamiliar with how a multimeter functions, we have videos available to assist you. Check the wiring for any visible damage or loose connections. Good luck with your repair.
Hi Dino,
Thank you for your question. If your burner clicks, but will not light, the burner cap may be out of alignment. If it is not in the correct position readjust it. If you have recently cleaned cooktop or if there was a recent spill on the cooktop, the igniters will not light and you will hear a clicking sound.
Use a cloth to absorb the excess moisture and allow the stovetop to dry completely. If you have any questions, please let us know. We are open 7 days a week. We look forward to hearing from you!
1 person found this helpful.
Was this helpful?
Thank you for voting!
< Prev
1
2
Next >
✖
Ask a Question
Ask our experts a question on this part and we'll respond as soon as we can.