This thermostat helps to regulate the dryer's internal temperature.
How Buying OEM Parts Can Save You Time and Money
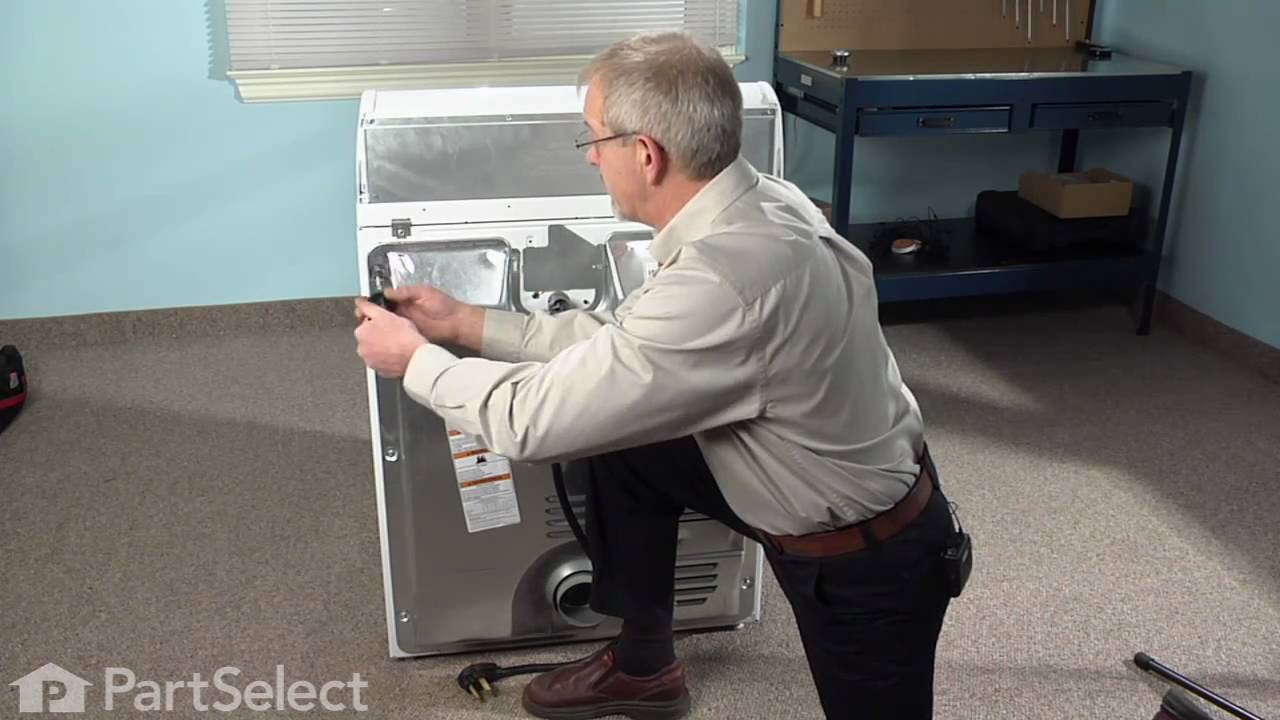
Troubleshooting
This part works with the following products:
Dryer.
This part works with the following products:
Samsung, Amana, Maytag, Inglis.
Part# WP35001087 replaces these:
AP6008681, 35001087, DC47-00016A
Customer Repair Stories
Average Repair Rating: 2.7 / 5.0, 5 reviews.
What's this?
Sort by:
< Prev
1
Next >
Search filter:
Clear Filter
Your search term must have 3 or more characters.
Keep searches simple. Use keywords, e.g. "leaking", "pump", "broken" or "fit".
Sorry, we couldn't find any existing installation instruction that matched.
Dryer won't start
Ordered part on 8/24/22. Received wrong part twice now. It is 9/10/22 and I am waiting for the third. Right part number on package but it contains the wrong part. Beyond mad!
Paul from ANDES, NY
Difficulty Level:
Really Easy
Total Repair Time:
30 - 60 mins
Tools:
Screw drivers
1 of 2 peoplefound this instruction helpful.
Was this instruction helpful to you?
Thank you for voting!
Heat for 1 minute then no heat
In my case, it was the solenoids. Take off the top be removing two screws on back, then slide the top back and off. Then remove little screws on top that hold the plastic bar with the electronic controls. This very easily will pop up, don’t unplug it, just lay it aside on top of machine. Under this you can see the white metal piece that
... Read morecontains the door. This whole piece comes off with the door in place. Look for four screws across the top, remove em. Then open the door, there are two facing out about 10 inches apart. Remove em. Now slide whole door out (sort of a hinge on the bottom) from the top. After it pops out from the tops, lean it out about 1 foot then pull up hard. It comes off at the bottom. Gently unplug the door, you will see the wire to unplug. I used a small screwdriver to gently pry the plug apart to get it started. After the front panel is removed, you can see the gas valve lower right. On top of the gas valve which is about 5 inches by 5 inches, you will two black cylinders on top of it. Cylinders that are 1.5 inches tall and about 1 inch wide. These are your solenoids. These create an electromagnetic field that opens the gas valve. There is a silver colored piece of metal on top of them holding them in place with two screws on top. Take this cover off the two black solenoids (Black cylinders). Then remove the cylinders after gently unplugging them. Do not just pull on the wires. Use an ohm meter to test the old ones after you slide them up and off what looks like a silver post. There are two metal tabs on one where the plug plugs onto it. Set your ohm meter for 1000 and touch the two metal tabs. Your meter should say there IS a circuit. If your meter says there is no circuit your solenoid is bad. The other solenoid has threee tabs. Hold your solenoid with the metal plugs down and the cylinder is standing upright. Have the three prongs facing you. The prong on the left as you face the solenoid it is your common. Touch this prong and then with the other wire touch the middle prong. You need to see a circuit that is closed, or connected. If there is no circuit your solenoid is bad. Now touch your two testing wires on the two outside prongs. You still need to see a circuit. If no circuit you have bad solenoid. Replace em. The solenoids die slowly over years. Your dryer will start to take longer to dry. This is sign of dying solenoids. To the left of the gas valve you can see the sensors that determine if the air coming out of the dryer is damp or dry. Replace them at the same time. Where you are the burner, on the left of the 5 inch wide tube it is in you will see a sensor, rectangle shape 2 inch by 1 inch. This determines if the lighter is glowing. Replace it at this same time. On top of the burner tube, top right, hard to reach, there is another sensor that shuts it all down if it is over heating. There are two wires plugged into it. Use a MAGNETIC and very short philips head to remove it. Slowly, don’t drop the screws. Pull the whole sensor out while plugged in, then unplug it using a screw driver to help get it started unplugging. When the new sensor goes in, screw it on place first. Do not try to screw the new one in with wires on it. It is not easy, but you can do it. Use a small flash light etc to help see. Once screwed on, plug in your wires. It does not matter which wire goes on which end. So after you replace all your sensors (4 total) and you replaced those two round black solenoids, you can put it all back together.
Do not buy cheap piece of sh-t parts. The cheap ones are made in China with short cuts, low quality metal and ceramics. Cheap. Use authentic Maytag parts, each sensor should be like $30. I replaced all of mine for $180. I now have a brand new unit as far as the electronics are concerned, good for another 10 years.
Callled the service company to diagnose the problem. Watched him take machine apart. He found the problem. Told me the parts that I needed. Didnt know what they were. Went to partselect.com looked my model up and found parts and ordered. Followed same steps as repair guy: Two screws in back of machine then slide top off. Six screws in
... Read morefront to remove front door ( 4 screws on top 2 on bottom) Changed the thermostat and thermistor. Saved 320 dollars :)
The dryer was packed with lint and burnt lint. It was so bad I had to disassemble the entire dryer to fully vacuum it out. Thermostat and thermistor were fairly straight forward. The large wiring harness was difficult. Had to remove the top, control panel, front drum support, blower fan and housing, and finally the rear drum support.
... Read moreI left the old harness on the dryer, and then started around the motor as that was easy to reference in the new wiring harness. I proceeded to remove the old harness, and place the new harness in the retaining clips one clip at a time first moving towards the burner, and then going up the rear of the dryer and finally into the computer board. I had placed groups of screws in very small zip lock bags and labeled them as I took the dryer apart. This helped to remind me where all the screws went when I reassembled. Remember to NOT touch the ignitor with your fingers. Something about the oils on your fingers I was told. Reassemble in reverse order. Rear drum support, motor, gas valve (I had to remove all to clean),Turned the gas on after I reinstalled the gas valve to check for leaks, Drum and belt, attach belt, front drum support, lint trap, front panel/door, and finally the top. Then vent & plug it in and turn it on. Good luck.
dryer just powers on and nothing happens display is lit
remove top of dryer,remove dryer door, then remove front of dryer themostat is in front on exhaust duct has one white and one yellow wire two screws hold it in . Door switch is a push in connection with a three wire connector.
Ask our experts a question about this part and we'll get back to you as soon as possible!
4 questions answered by our experts.
Sort by:
< Prev
1
Next >
Search filter:
Clear Filter
Your search term must have 3 or more characters.
Keep searches simple. Use keywords, e.g. "leaking", "pump", "broken" or "fit".
Sorry, we couldn't find any existing answers that matched.Try using some different or simpler keywords, or submit your new question by using the "Ask a Question" button above!
Larry Jackson
February 22, 2018
Is wp35001087 the same part as wp3500193 just without the bracket?
For model number Ned7200tw
Hi Larry,
Thank you for your question. No, they are different parts. I hope this helps. Thank you and have a great day!
2 people found this helpful.
Was this helpful?
Thank you for voting!
Brian
October 17, 2019
The dryer has no heat, is it the thermostat and where is it located? It does run fine just no heat.
For model number YIED7200TW
Hi Brian, it is likely the heating element part WP35001247. The only way to test it is with a multi-meter.
Thank you for your question and good luck with your repair!
2 people found this helpful.
Was this helpful?
Thank you for voting!
Thomas
January 13, 2024
If a model number is not listed on your cross refer ence list, does that mean the part is NOT used on my appliance. Thank you. Tom. I'm just double checking.
For model number SDG5701AWW
Hello Thomas, thank you for your question. Yes, that is correct. For the model SDG5701AWW, it has the High Limit Thermal Fuse PS11742274 and a Dryer Cycling Thermostat PS11741405. We have an installation videos for both on our site for your convenience. Thank you and have a great day.
Our dryer barely get warm. After 2 or 3 cycles it sometimes get really hot to the point where we can't touch the filter and inside. Could a faulty Thermostat be the problem?
For model number MDG9700AWM
Hello James, thank you for reaching out. Yes, the issue could be most probably with the thermostat, part number PS11741821. We would suggest replacing it to fix the issue. We hope that helps!
1 person found this helpful.
Was this helpful?
Thank you for voting!
< Prev
1
Next >
✖
Ask a Question
Ask our experts a question on this part and we'll respond as soon as we can.