Parts That Fix Whirlpool Washer WTW5300SQ0 Leaking
Leaking is a commonly reported symptom for the WTW5300SQ0 Whirlpool Washer, and we have put together a full guide on how to fix this. This advice is based on feedback from people who own this exact appliance. We have listed the most common parts for your WTW5300SQ0 Whirlpool Washer that will fix Leaking. We have included repair instructions, and helpful step-by-step video tutorials. If you are experiencing this issue, not to worry, DIYers just like you have fixed this, and shared their experience to help you!
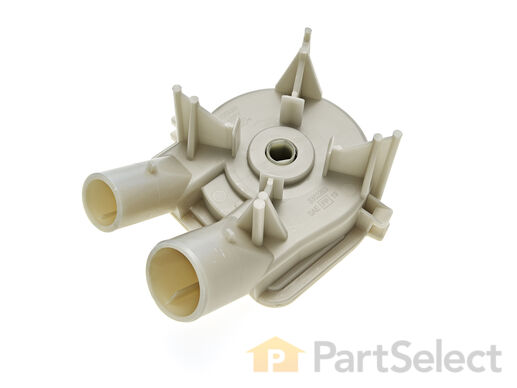
The direct drive drain pump (Whirlpool Direct Drive Washer Pump, Drain Pump, Washer Drain Pump, Water Pump) removes water from the washer during the drain cycle without the use of a belt. The pump is supposed to drain the water from the washer; if the water isn’t draining or if there is a leak, you may have a problem with your pump. You must replace this part if there is a blockage or clog. Although the symptoms may point to a malfunctioning drain pump, there could actually be a problem with one of the connecting hoses. This pump connected directly to the motor, and comes in white plastic. This replacement part features 1 direct drive water pump with 2 ports for water to pass through: a large one and a smaller one.
Replacing your Whirlpool Washer Direct Drive Water Pump

Customer Repair Stories
bad water pump
-
carrie from magna, UT
-
Difficulty Level:Easy
-
Total Repair Time:30 - 60 mins
-
Tools:Nutdriver, Pliers, Screw drivers, Wrench (Adjustable)
Water leaking on floor
-
Stanley from Warwick, RI
-
Difficulty Level:Really Easy
-
Total Repair Time:15 - 30 mins
-
Tools:Pliers, Screw drivers
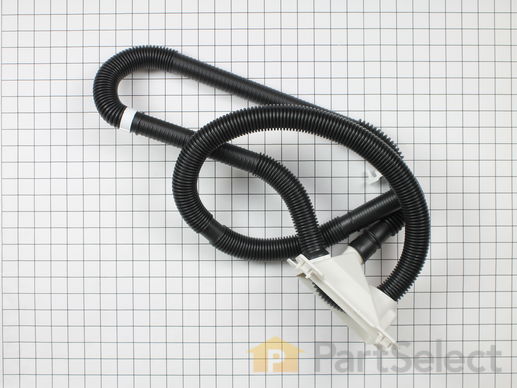
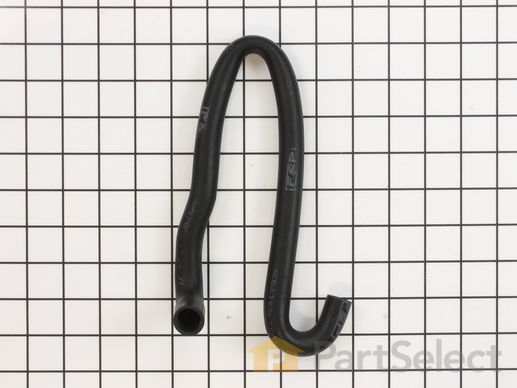
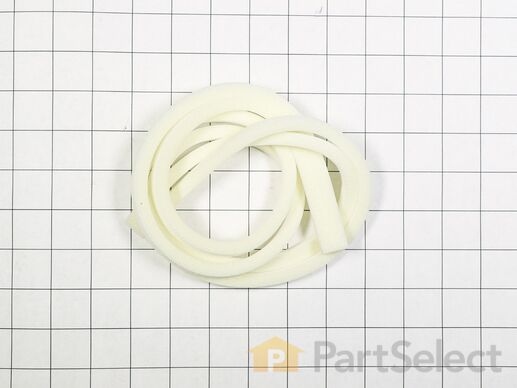
This drain hose is 42" long and includes the clamps.
Customer Repair Stories
Leaking discharge hose
-
wayne from webster, KY
-
Difficulty Level:Easy
-
Total Repair Time:15 - 30 mins
-
Tools:Pliers, Screw drivers
I bought a used washer from a friend and they had cut the drain hose short .
-
Francis from Yuba City, CA
-
Difficulty Level:Really Easy
-
Total Repair Time:30 - 60 mins
-
Tools:Pliers
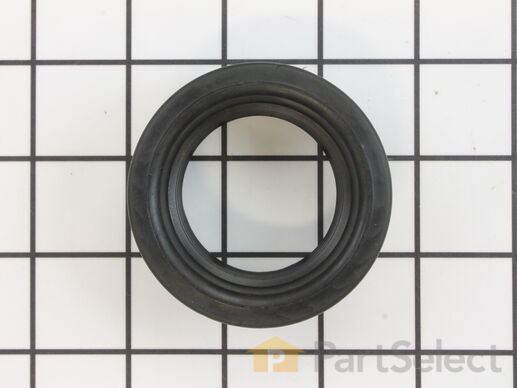
This part may also be referred to as a main outer tub seal. This part prevents leaking from the bottom of the tub. The gasket is approximately 2 inches in diameter to the outer edge, black in color, and made of plastic material. To perform this repair, you will need to disconnect the power, drain hose, and the inlet hose. You will need to remove the entire outside cabinet to have access to the tub assembly. The tub will need to be removed entirely. This is a genuine part that is sourced directly from the manufacturer.
Replacing your Kenmore Washer Centerpost Gasket

Customer Repair Stories
The middle tub would not come out
Finally I replaced the center nut loosely than putting a piece of wood on top of it and with me holding the tub slightly high - my wife than whacked it hard several times , ... Read more I also was turning the tub every whack
When it came out it was full of rust and grime - it would have never come out without what we did
Replacing the the rubber washer was easy - machine works and no more leaking- thank you for your video which really helped to start the job
-
Jayanti from SNELLVILLE, GA
-
Difficulty Level:Very Difficult
-
Total Repair Time:More than 2 hours
-
Tools:Nutdriver, Pliers, Screw drivers, Socket set, Wrench (Adjustable), Wrench set
leaking from tub
Pried off agitator cap & reached into agitator to pry out another cap to access 7/16 bolt. Checked over the agitator parts for wear (dogs) Took agitator, top outer (white) and inner (brown) tub rings off.
Sprayed lots of liqid wrench around spanner nut and drive block and gave it time to work. Used spanner tool to get spanner nut off. Hard work. Pounded and pounded and pounded and pounded with hammer. It gave a tiny bit. Then I got an idea: I pounded it back the other way, as you would to tighten. This helped. I then pounded back the other way and did this again. It worked amazingly well.
Got to drive block and it was rusted out along the bottom and also hard to get off. The diagram showed a "lock" (horseshoe shaped thing) on top of it, but mine was all in one piece but I couldn't tell that. I sprayed and pryed and pounded from the bottom and it split in half. It needed to be replaced anyway.
The inner tub was also hard to get out and I used some dish liquid. I pushed down, (using the rags here, the edges can cut you). I twisted, I pulled. I pushed, I pulled, I cussed, and begged. I then went to bed and then next day I pushed backwards and forwards and side to side & finally it came off. Then I undid the brackets on the bottom of the outer tub along the bottom and disconnected the clear hose in back. When loosening the black hose clamp in front to the pump, water started to come out of the hose so I grabbed a cool whip container to catch it. It smelled yucky. Once I had the outer tub off I put the new seal in, using some plumber's grease to help get ithe tub over the shaft..Then I hooked up the hoses & brackets on the bottom of the outer tub. I cleaned out the outer tub, as there was crud in the bottom. Then I poured about 5 gallons of water in it to see if the seal was set in right. Make sure the drain hose hasn't fallen out! (You can leave this water in the tub, you'll find out why) I cleaned up the rust on tube of the inner tub with steel wool and inspected everything else. Something didn't look quite right about the outer shaft that goes around the spin tube. It looked like something should go there. I discovered there SHOULD have been a seal there but one was never put in. So I put one in. I used a little grease to help put the new drive block on, and tightened the spanner nut with the spanner wrench. I put everything else back on EXCEPT for the cabinet-with the console attached. Ha Ha All the other directions I read wrote to take the console off first. If I had done that I wouldn't have been able to do the most important part of the job: testing the result. I finished filling the tub to the lowest water level to watch it go thru it's cycles and checked for leaks. If the console was "flopped over" the back how can you check? (I don't play with wiring)
I turned off the water & unplugged the washer and slid the cabinet on.. I tipped the console back to access the large gold squiggly brackets that hold the cabinet to the back and reattached them to the back, by removing them, hooking them onto the back, and snapping them into place. I double-DOUBLE checked to see if anything had come loose, then slid the console first on top of the back and put the two screws back in. The screws on my machine are not covered up by the end caps, but they are at a wierd angle, so I held the console up slighly and started the screws first. As they tightened down the console slid into the holes on the cabinet.
There is a small sppliance shop in my town & the guy loaned me the spanner wrench. It was very nice of him.I guess I will have to give his & his famil
-
Debra from Milton - Freewater, OR
-
Difficulty Level:A Bit Difficult
-
Total Repair Time:More than 2 hours
-
Tools:Pliers, Screw drivers, Socket set
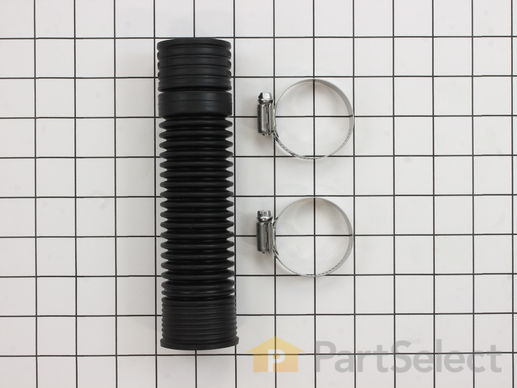
This kit comes with the clamps.
Replacing your Whirlpool Washer Tub-to-Pump Hose Kit

Customer Repair Stories
hose leaking
-
michael from BURBANK, IL
-
Difficulty Level:Really Easy
-
Total Repair Time:30 - 60 mins
-
Tools:Pliers
pipe had a hole
-
eddie from lockesburg, AR
-
Difficulty Level:Really Easy
-
Total Repair Time:15 - 30 mins
-
Tools:Screw drivers
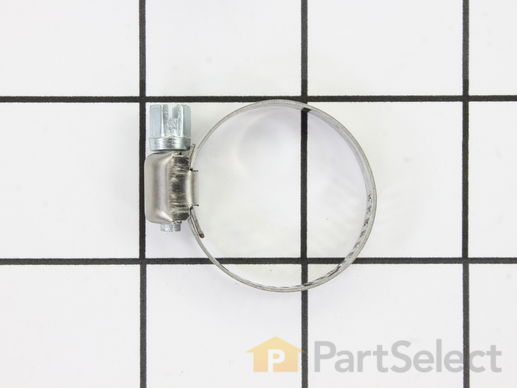
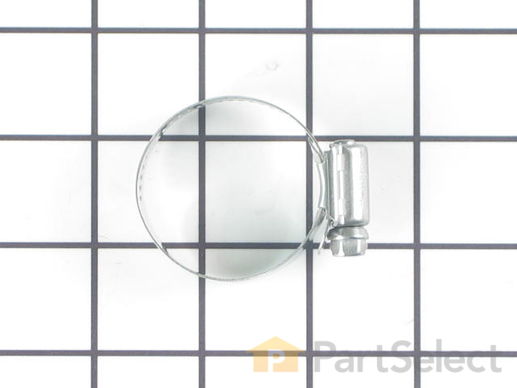
This hose clamp is used in a wide variety of household appliances. Most often it is found in washers, dishwashers, refrigerators, freezers, dehumidifiers, garbage disposals, or air conditioners. This clamp is used to securely attach a hose to another part of your appliance, which helps prevent leaks from those connections. Depending on the appliance, it can attach hoses to drain pumps, water inlet valves, pressure switches, and injector nozzles. We recommend you refer to model-specific diagrams for appropriate uses and exact placement. This hose clamp is made of metal, and is sold individually. To access and replace this part you will need a nut driver, pliers, and screwdrivers. Before you begin any repair work, make sure you have unplugged your appliance, and shut off the water supply if applicable.
Replacing your Kenmore Washer Hose Clamp

Sold Individually.
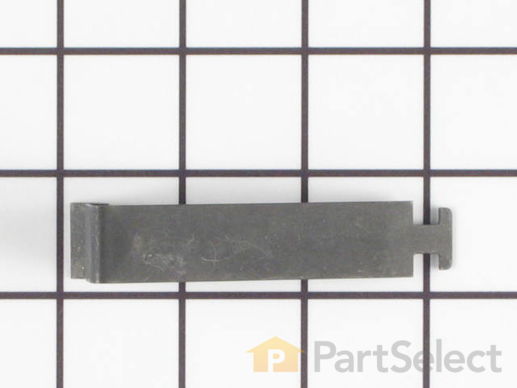
Replacing your Whirlpool Washer Pump Retainer

Customer Repair Stories
Pump requires 2 retainers. I had 1 good retainer on the top and little tension on the bottom.
I used a small metal ammo box to hold up the washer.
The bottom pump retainer is easy reach and remove with a flat screwdriver. I was able to pry off with my hand.
Replace retainer insert into slots on drive motor and twist.
I used a pair of Channellock pliers to lif ... Read more t retainer while pressing along the
side till it snaped into place.
Remove the support box and put washer back.
Then tip washer forward to reset self-leveling mechanism.
-
Frank from ROSWELL, NM
-
Difficulty Level:Really Easy
-
Total Repair Time:15 - 30 mins
-
Tools:Pliers, Screw drivers
Retainer clip for the pump missing, caused pump to fail
The part got there in less that 24 hours from the time I placed the order, with standard shipping! I was impressed.
-
Matt from Roca, NE
-
Difficulty Level:Really Easy
-
Total Repair Time:Less than 15 mins
-
Tools:Pliers
The hose clamp is used to hold the water hose in place which will prevent the hose from leaking water. Sometimes the clamp may lose its ability to latch on, causing a leaking washer. For the installation, you will need a flat head screw driver to replace the clamp and a drill to access the screws to remove the front of the washer. Be careful if you do not have specific clamp pliers as the clamp could fly off. Once the front of the washer has been removed, take a quick look for water damage or any obvious signs of where the leak is coming from. If it is not obvious, run water to test.
Replacing your Kenmore Washer Hose Clamp

This hose goes from valve to inlet.
Customer Repair Stories
Factory hose wore thin over time and water pressure caused blowout
Removed two screws at rear of control panel and separated the rear cabinet panel from the front cabinet enough to get to the water valve. I then disconnected the break hose from the valve by compressing the spring clamp. I then disconnected the ... Read more other end from the washer water inlet by also releasing another spring clamp.
The new hose was installed using the same clamps. The cabinet was reassembled and washer tested for leaks.
-
Joseph from PLANO, TX
-
Difficulty Level:Very Easy
-
Total Repair Time:15 - 30 mins
-
Tools:Pliers, Screw drivers, Wrench (Adjustable)
The water intake hose had a hole and was leaking. I think a rat chewed it.
-
JANET from GERMANTOWN, NY
-
Difficulty Level:Really Easy
-
Total Repair Time:30 - 60 mins
-
Tools:Pliers, Screw drivers, Wrench (Adjustable)
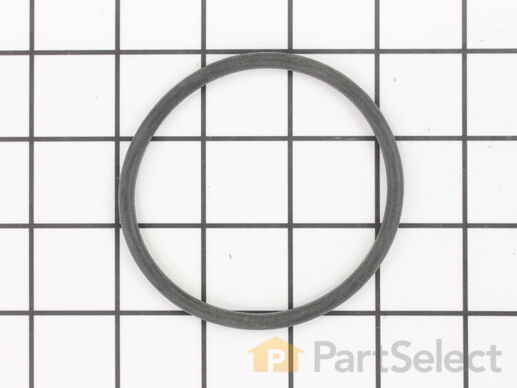
This is an inner cap seal, but may also be known as an O-ring, and it is a part for your washing machine. Some symptoms replacing this part will fix include: leaking from your appliance, uncontrollable shaking and moving, loud noise, pumps but will not spin, or if your appliance will not agitate. This model is off-black in color and 3 inches in diameter. You will find this part inside the agitator in the middle of your washing machine. It is recommended to wipe down the barrier before putting the new seal on.
Replacing your Whirlpool Washer Seal, Inner Cap

Customer Repair Stories
The cap thingy seal broke and splattered fabric softener.
-
Diane from Corvallis, OR
-
Difficulty Level:Really Easy
-
Total Repair Time:Less than 15 mins
The seal in the upper agitator cap broke
-
Veronica L from Junction City, KS
-
Difficulty Level:Really Easy
-
Total Repair Time:Less than 15 mins
This part prevents water from flowing back into your main water supply line.
Replacing your Whirlpool Washer Water Inlet Syphon

Customer Repair Stories
water inlet siphon leaking , broken tub counterweight spring
-
Lawrence from LAKE DELTON, WI
-
Difficulty Level:Easy
-
Total Repair Time:30 - 60 mins
-
Tools:Nutdriver, Pliers, Screw drivers
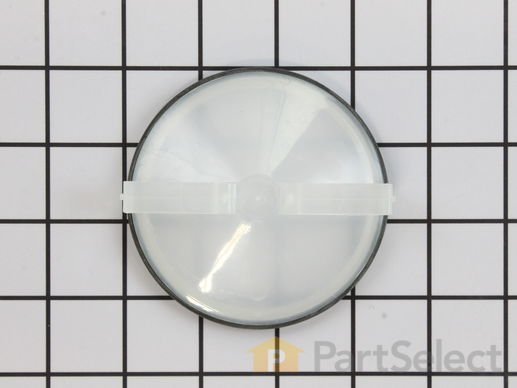
The O-Ring is included with this cap. It can be purchased separately as Part #WPW10072840.
Replacing your Whirlpool Washer Agitator Cap Barrier with Seal

Customer Repair Stories
The seal was broken on the agitator cap barrier
-
Ralph from New Milford, NJ
-
Difficulty Level:Really Easy
-
Total Repair Time:Less than 15 mins
-
Tools:Screw drivers
Found seal had split on agitator cap
Thanks for making finding part ... Read more so easy . . . .
-
Kim from Cleveland, OH
-
Difficulty Level:Really Easy
-
Total Repair Time:Less than 15 mins
Sold individually.
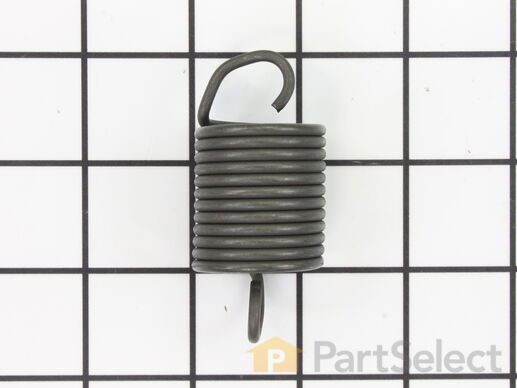
This tub spring is also known as suspension spring, balance spring, or counterweight spring. It is sold individually. The function of the part is to counterbalance the weight of the motor on the front of the front-load washer so the washer tub sits straight and even during the spin cycle. You may need to replace the spring if tub is sitting tilted forward. A broken spring will result in the tub being off-balance during the spin cycle which can cause further damage to washer parts. It is recommended to check all suspension springs as they often wear at the same rate. Tools needed for repair are a Phillips screw driver, flat blade screw driver, and a pair of pliers.
Replacing your Whirlpool Washer Tub Spring

Customer Repair Stories
Tub banged against the front of case during spin
-
Peter from Boca Raton, FL
-
Difficulty Level:A Bit Difficult
-
Total Repair Time:Less than 15 mins
-
Tools:Screw drivers
sounded out of balance even after shifting clothes
The schematic does not show where it hooks up. So after I did what I thought looked right, the machine still did not wo ... Read more rk properly. Then I replaced the three suspension springs and that didn't solve the problem.
I found a whirlpool "do-it-yourself" repair book at the library and was prepared to tear into the machine. However, I did not have the tub balancing spring in the correct spot at one end. It hooks up from one of the outer bracket to the back of the housing unit along between the legs. There is a hole that had rusted through. I simply drilled a new hole nearby and low and behold it works!
Easy fix - the frustration was with the poor schematic.
-
Lori from Parchment, MI
-
Difficulty Level:Easy
-
Total Repair Time:15 - 30 mins
-
Tools:Pliers
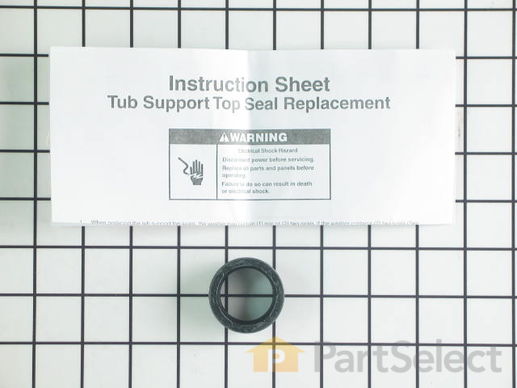
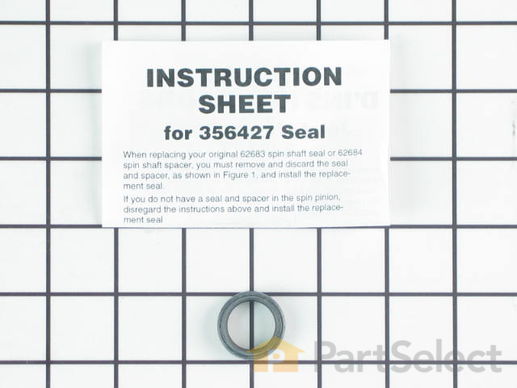
This seal is for the top of basket drive tube shaft.
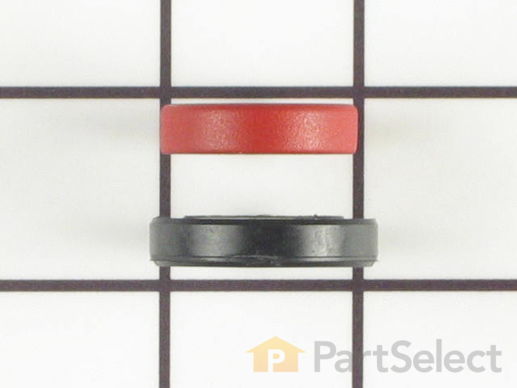
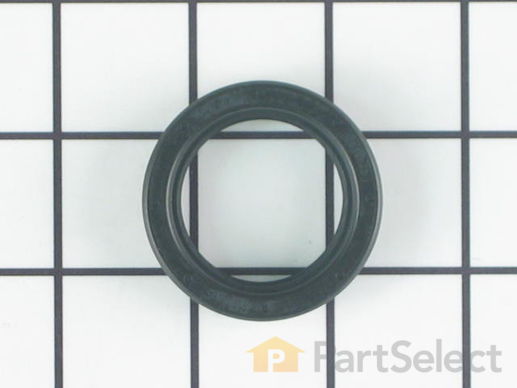
This two piece oil seal kit comes in two pieces and is used for the gearcase input shaft of your washer.
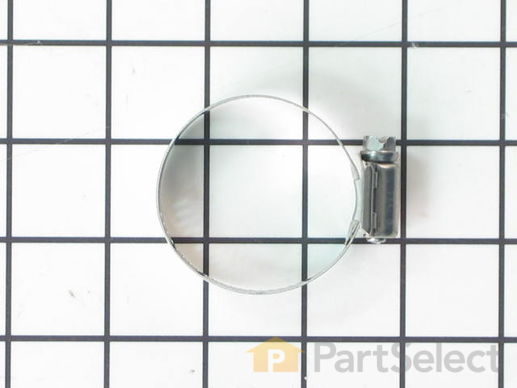
Note: This part has been updated by the manufacturer. It may appear different but will still function the same as the original. The hose clamp is about 2 inches in diameter and made of stainless steel. A hose clamp generally attaches hoses and tubes to various equipment This part consists of a band and a screw that tightens along the slots when it is turned. This part works with washers, dishwashers, food waste disposers, and ice makers. This will need to be replaced if you notice leaking coming from the appliance.
For upper outer tub ring assembly.
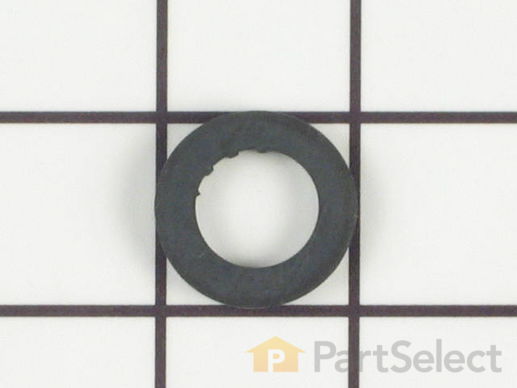
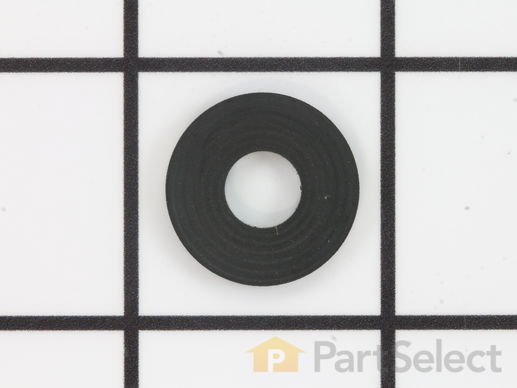
If your clothes washer is leaking, it is likely that there could be an issue with one of the hoses. If the hoses are in working order, you should check the washers connecting the hose to your unit. Rubber washers are tasked with enhancing the seal between the hose and washer. A faulty or damaged washer will not be able to perform this properly, and water will be able to leak from the poor connection. This OEM part is sold individually, so make sure you order the quantity that is needed. The washer measures 1 1/16 inches x 5/8 inches.
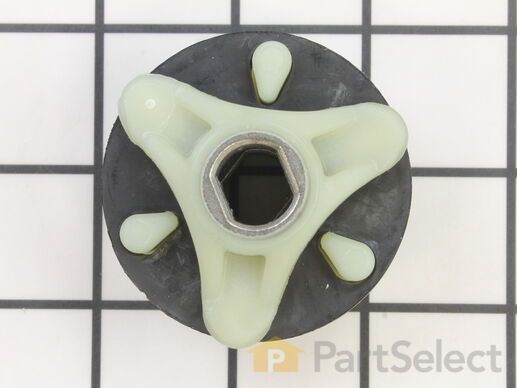
This direct drive motor coupling (Direct Drive Washer Motor Coupling, Motor Coupling, Washer Motor Coupling, Coupling Kit) provides a cushioned connection between the transmission and the motor shaft. It attaches to the direct-drive transmission and the motor shaft. If this part is defective it will affect the agitator in your washer because of its direct connection with the motor. Your washer may not agitate, spin slowly, or not spin at all. The coupling must be replaced when there is no longer a consistent connection between the transmission and the motor shaft. The coupling can wear over time because of its location between two major parts of the dryer. It is subject to material fatigue over time from normal use, or breakage caused by frequent overloading. The part measures approximately 2 inches in diameter, and is constructed of plastic and metal. This model comes in black/white.
Replacing your Whirlpool Washer Direct Drive Motor Coupling

Customer Repair Stories
Broken Coupling
1. Removed hoses from the pump
2. Removed Wiring harness from the motor
3. Unscrewed saftey screws from both clamps which hold the motor against the motor bracket.
4. Using a screw driver I easily removed/pryed the clamps from the motor.
5. I then removed the broken plastic coupler from the motor sha ... Read more ft and installed the new one coupler.
6. I did the same thing on the clutch side.
7. I set the Rubber coupler in clutch side.
8. Put motor back on until couplers joined together.
9. Placed Brackets back on Motor (patience here).
10. screwed back saftey screws on clamps.
11. connected hoses back.
Thats it... 45 minutes at most .. Save me from having to buy a new easher. I was convinced I was going to have too until I peeked underneatch the washer and saw the rubber coupler on the ground...
-
Hugo from Frisco, TX
-
Difficulty Level:Really Easy
-
Total Repair Time:30 - 60 mins
-
Tools:Pliers, Screw drivers, Socket set
No movement from Basket & agitator
First take off the water pump by removing the two clips that hold it in place. Place a shallow pan under the pump to catch the water that is in the pump and hoses. Open the hose clamps with a pair of pliers or channel locks (better) and slide the hoses off of the water pum ... Read more p.
The motor comes off next. Unplug the electrical connector from the motor and two wires from the capacitor. Remove the two screws holding the clamps in place and then pop off the two clamps. You will need to hold up the motor with one hand while you remove the clamps or it will fall to the floor once the clamps are removed.
One piece of the coupling assemble will be attached to the motor and the other will be attached to the gearcase drive shaft. If you want to clean up the mess created by the shredded rubber center piece of the coupling assembly you will have to take off the motor mounting plate. It is held on by two bolts and removing it makes installing the coupling easier but probably not necessary.
Push the back half of the coupling on to the gearcase drive shaft until the shaft is flush with the face of the coupling. Install the new rubber center piece on to the coupling then re-install the motor mounting plate. Install the other half of the coupling on to the motor shaft and lift the motor up to the coupling. You have to rotate the motor shaft by spinning the fan blades until the coupling lines up so you can slide it into the other half of the coupling. Then just reattach the motor, connectors and water pump in the reverse order of disassembly.
-
Jeff from Wayne, NJ
-
Difficulty Level:Easy
-
Total Repair Time:30 - 60 mins
-
Tools:Pliers, Screw drivers, Socket set
This part prevents the agitator shaft from leaking oil onto the transmission.
Customer Repair Stories
Slipping Spin clutch due to leaking gear-case seal.
2. Turn the water off.
3. Disconnect the supply and discharge hoses.
4. Open the cover and remove the cap/cover of the agitator. Use socket wrench to remove the bolt securing the agitator. Pull up on the agitator and remove it.
5. Lay washing machine down on it's front. Remove the inlet and outl ... Read more et drain hoses from the discharge pump.
6. Remove the 2 "faston" connectors from the motor start capacitor (looks like a D cell flashlight battery). Rock the connectors back and forth and pull gently until they come off. Polarity doesn't matter but to be safe make note of the positions.
7. Press the release clip on the motor connector and pull to disconnect it. Move the wiring harness out of harms way.
8. Remove the 3 bolt securing the motor and transmission assembly to the bottom of the tub. Pull the drive assembly out of the machine and place it on a suitable work surface.
9. Examine the tub brake assembly (still on the bottom of the tub), the clutch assembly (on the motor/transmission assembly you just removed and everything else for wear or damage. Now if you decide to proceed with repair continue with the following steps. If not you're done.
10. Remove the inverted cup washer from the agitator shaft of the assembly. Remove the "U" clip from the shaft and remove the clutch mechanism from the drive assembly. Make a sketch of the position of each of the removed components to aid in reassembly.
11. Now you can see the gear case cover and it's seal. If it is leaking (as mine was) you will need to replace it.
12. With the assembly level remove the bolts around the cover and remove the cover. Place the cover on a flat surface and with a screwdriver or punch drive the old seal out of the cover from the outside in.
13. Clean the seal area and check for damage. Clean the cover and transmission housing surfaces of old gasket material. There is a factory sealant available for reassembly but I chose an automotive RTF @ $4 vs $24 and it worked OK.
14. Installing the seal requires some tools and experience to done successfully. The right size sockets or piece of pipe, coupled with an arbor press or vise will get the seal in. The cover is delicate so if in doubt find a machine shop.
15. Support the outside of the cover on a hard surface and with a socket or short pipe length, PRESS (don't hammer) the new seal into the gear case cover.
16. Make sure there is lubricant in the gear case. Not overflowing but maybe 1/2 full when view with cover off on a level surface.
17. Apply some RTV sealant to trhe cover and install it. Tighten bolts evenly. Light torque (1-2 ft-lb).
18. Reassemble washing machine and test for leaks and proper operation.
-
Thomas from Pascoag, RI
-
Difficulty Level:A Bit Difficult
-
Total Repair Time:1- 2 hours
-
Tools:Pliers, Screw drivers, Socket set
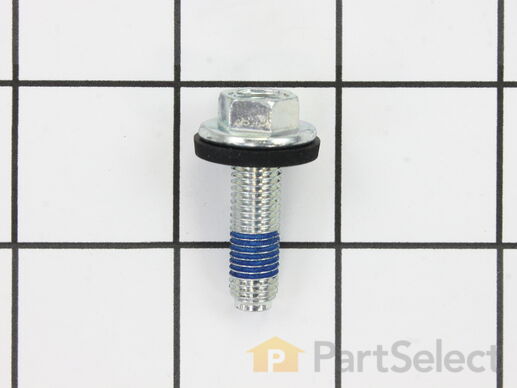
This kit contains one screw with rubber gasket and threaded sealant. The screw head is 7/16".
Replacing your Kenmore Washer Agitator Bolt

Customer Repair Stories
The agitator had stopped working
-
Jack from Matthews, NC
-
Difficulty Level:Easy
-
Total Repair Time:15 - 30 mins
-
Tools:Socket set
could not get the bottom agitator to release, so finally just left it in place, first bolt I had did not fit right so ordered one directly from your store also had to wait dor my tools to get in
-
Linda Dianne from Poteau, OK
-
Difficulty Level:A Bit Difficult
-
Total Repair Time:More than 2 hours
-
Tools:Socket set
This part goes on the agitator retaining bolt.
Replacing your Whirlpool Washer Washer

Customer Repair Stories
agitator broke
-
Joseph from Kalkaska, MI
-
Difficulty Level:Really Easy
-
Total Repair Time:Less than 15 mins
-
Tools:Socket set
The suspension spring supports the outer tub and keeps the tub steady during loads that could cause an unbalance. If this part breaks, is worn down or has stretched out and lost its spring, it could cause the load to be off-balance which can lead to excessive shaking, moving, noise, and leaks. For this repair, you will need a 1/4 nut driver, a putty knife, a flat blade screwdriver, and a pair of needle-nose pliers. Disconnect the power supply, fill hoses, and drain hose to give you safe and easy access (have a container nearby for water left in drain hose). This item is sold individually, which is important as you may need to repair multiple springs in your appliance, which carries three suspension springs. As an inexpensive part, we recommend purchasing several at a time, as they can be very useful to have on-hand.
Replacing your Whirlpool Washer Suspension Spring

Customer Repair Stories
Washer tub off balance and noisy
Laid washer on its front and replaced the two more visible springs fairly easily from underneath using a little leverag ... Read more e with a 2 x 4 to take any residual tension off the springs.
Then I turned the washer over on its back (gently and with a little support (board or old thick towel) so the weight of the unit didn't rest entirely on the water intake connectors
Again, lifted the tub with 2 x 4 and disconnected the power and control connector to the motor to make a little more room to get to the spring.
If you do this, be sure to re-connect that connector before you put the washer back and test, otherwise it will fill and then sit.... I had to siphon the tank out, disconnect everything, flip it over and re-connect that power connector!! After that the unit ran better than before, especially on the spin cycle. Over all this washer is 15 years old and worn a bit so we are still careful not to overload it and balance the loading as much as possible. Large bedspreads and king size sheets or mattress covers will always spin out of balance but for 90% of regular washing it was an improvement.
-
Gregory from Kent, OH
-
Difficulty Level:A Bit Difficult
-
Total Repair Time:30 - 60 mins
-
Tools:Pliers
tub off center, rubbing on outer tub in spin
Washer works great now.
-
Charles from Rose Bud, AR
-
Difficulty Level:A Bit Difficult
-
Total Repair Time:1- 2 hours
-
Tools:Pliers
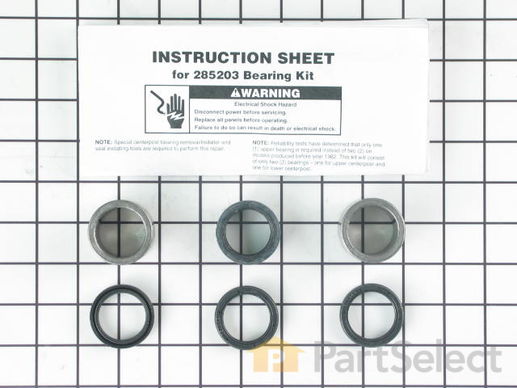
This assembly comes with one transmission stem seal, two center post bearings, and three agitator shaft seals.
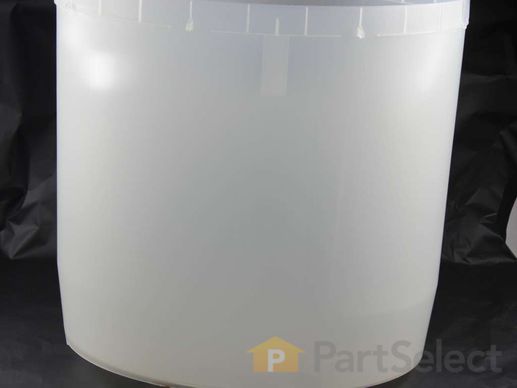
This part holds the water during the wash cycle and houses the spin basket.
This hose can handle hot or cold water and is five feet long.
Replacing your Kenmore Washer Inlet Hose - 5 FT

Customer Repair Stories
Old hot water inlet hose had budge at both ends.
-
Jimmy from MEMPHIS, TN
-
Difficulty Level:Very Easy
-
Total Repair Time:Less than 15 mins
-
Tools:Pliers
Leaking water inlet hoses.
-
Helen from NASHUA, NH
-
Difficulty Level:Really Easy
-
Total Repair Time:30 - 60 mins
Customer Repair Stories
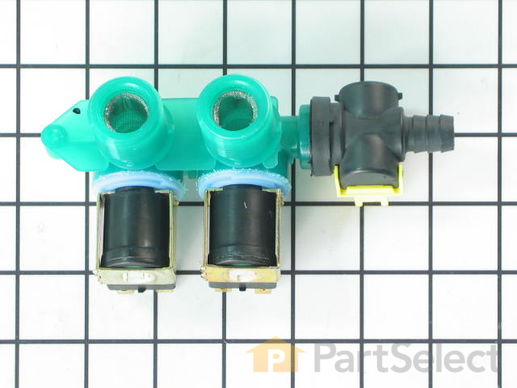
washer cold water cycle would only dribble out no matter what setting
Remove drain hose from plumbing
Turn off water valves to washer hot & cold, (may need pliers if tight).
Remove hoses from washer water inlet valve, use small bucket to catch any water draining from hoses.
Loosened two Phillips head screws one located in each corner behind contr ... Read more ol panel, then tilt panel back exposing two large clips.
Using a flat blade screwdriver carefully pry clips up and remove.
Grab cabinet and carefully tilt back and slide out of the way.
Remove electrical connectors from hot and cold solenoids (Note their location). Remove other electrical connector (if equipped).
Remove small sheetmetal screw from back of washer holding valve in place.
Remove valve and discard.
Install new valve in reverse order of removal.
NOTE: With cabinet removed inspect other items for wear and or damage, clean all crud from the cabinet and spray WD-40 on sliding parts of adjustable feet (trust me, save yourself some headache here).
Warning: Inspect your water hoses if they are rubber replace them as the are prone to failure; install nylon re-enforced ones.
When hose are all installed turn on water and check for leaks.
-
darrell from NEWPORT NEWS, VA
-
Difficulty Level:Really Easy
-
Total Repair Time:30 - 60 mins
-
Tools:Pliers, Screw drivers, Socket set
Machine did not stop filling
- unplug power
- undo hot/cold water hoses
- remove two screws holding the control panel (box on top with the knobs) to the machine top
- unhook two brass colored clips holding control panel to machine top
- unplug the wiring harness secured to the top
... Read more - remove two bolts on top of back, and two on bottom
Very easy once you get started. The inside of the machine was very accessible and everything is very modular and easy to replace.
The problem for me was that after diagnosing the problem online and receiving the part, I found the *real* reason the machine did not stop filling. Inside the control panel was a large mouse nest (made mostly with a chewed wiring schematic) and mouse. It had chewed completely through the rubber hose connecting the water level switch to the tub. So when the tub filled, the switch never got the signal to shut off. Got rid of the mouse and replaced the hose. Wound up installing water mixing value anyway since I had the part and the machine apart. The old valve had a lot of crud built up in it. With the new value the water pressure was much better.
So the moral might be to take your machine apart and have a look around before ordering the part...it may not be what you think...
-
Steve from New Hope, PA
-
Difficulty Level:Easy
-
Total Repair Time:1- 2 hours
-
Tools:Screw drivers, Socket set
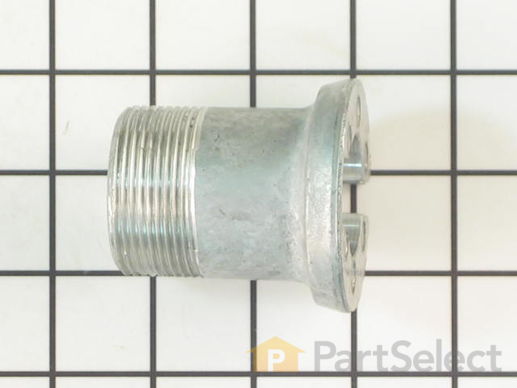
This part is for large capacity belt drive and direct drive appliances.
Replacing your Kenmore Washer Drive Block - 2 5/16 Inch High

Customer Repair Stories
No spin on spin cycle
-
Thomas from Port Jervis, NY
-
Difficulty Level:Really Easy
-
Total Repair Time:30 - 60 mins
-
Tools:Wrench (Adjustable)
Loud Banging Sound At The End Of Spin Cycle
-
John from Hawley, PA
-
Difficulty Level:Easy
-
Total Repair Time:30 - 60 mins
-
Tools:Pliers, Screw drivers, Socket set
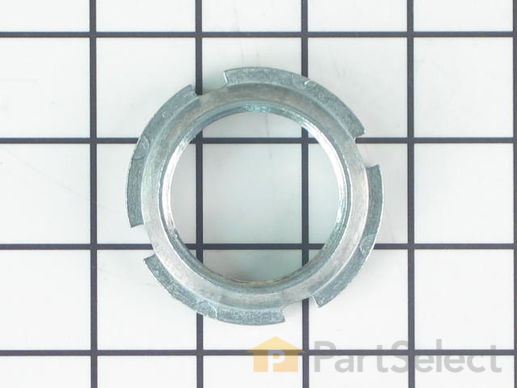
Right hand threaded nut holds the tub in place in direct drive, top loading washing machines. To remove the spanner nut you will need a spanner wrench.
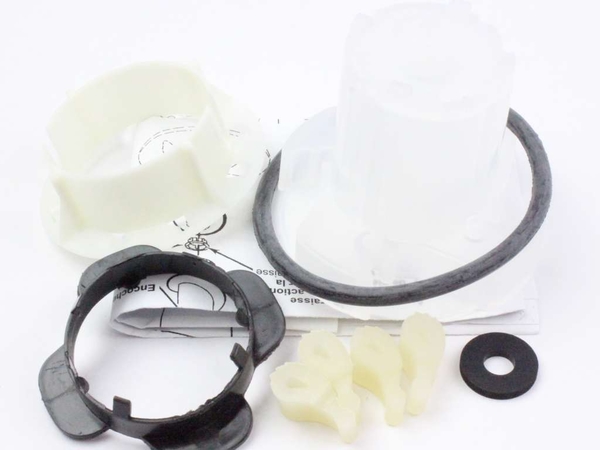
This kit (Medium Cam Agitator Repair Kit, Washer Agitator Cam Repair Kit, Cam Agitator) is used to repair the agitator. These parts are located inside the agitator auger near the top. You will need to remove the softener dispenser first if your model is equipped with one. This part is driven by the output shaft of the transmission to move the clothes during a wash cycle. The agitator auger rotates one way but not the other, which forces the laundry down and out for a constant tumbling during the wash cycle. The agitator is subjected to a lot of force during the washer wash cycle. Constant and frequent use of the appliance can cause damage, especially during heavy loads. If you’re experiencing a noisy agitator, or an agitator that spins freely in both directions, then it may be in need of repairs. If your agitator is no longer agitating properly, your clothes will not tumble, and will not be washed properly. The agitator repair kit includes an agitator cam, 4 directional cogs, a bearing, thrust spacer, inner cap seal, and a washer. It is constructed of plastic and rubber, and comes in black/white.
Replacing your Whirlpool Washer Agitator Repair Kit

Customer Repair Stories
agitator making noise and didn't want to turn
A Piece of Cake. thanks to Parts Select, I have a few more years with this machine. I was really hating to purchase a new machine. So for less than $25.00 with no service call "I Fixed It!"
-
Jo Anne from Crossville, TN
-
Difficulty Level:Really Easy
-
Total Repair Time:Less than 15 mins
-
Tools:Socket set
Upper portion of agitator, no longer pushing clothing down.
One bolt held the entire agitator unit in the washer, as well as held the upper and lower halves together. Once that nut was removed the two halves seperated and the plastic clutch pieces could easily be replaced wtih the new onces in the repai ... Read more r kit.
Very easy do-it-yourself repair! Took about 20 minutes because I was being cautious. Next time I could do it in 5 minutes.
-
Matt from Pawtucket, RI
-
Difficulty Level:Easy
-
Total Repair Time:15 - 30 mins
-
Tools:Pliers, Socket set
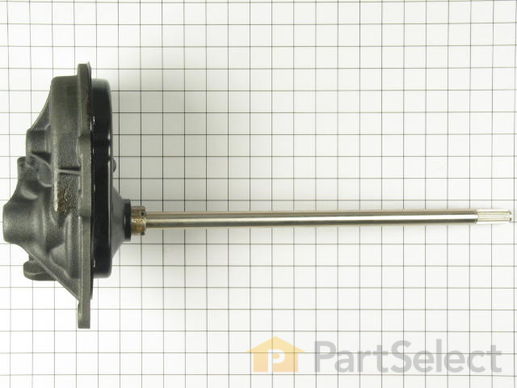
This is used in your direct drive washer that has a neutral drain.
Replacing your Whirlpool Washer Gearcase

Customer Repair Stories
The spin gear was striped.
-
Aaron from Lake Mills, WI
-
Difficulty Level:A Bit Difficult
-
Total Repair Time:1- 2 hours
-
Tools:Pliers, Socket set
The washer wouldn't spin or agitate.
-
david from Monroe, MI
-
Difficulty Level:Very Difficult
-
Total Repair Time:More than 2 hours
-
Tools:Nutdriver, Pliers, Screw drivers, Socket set
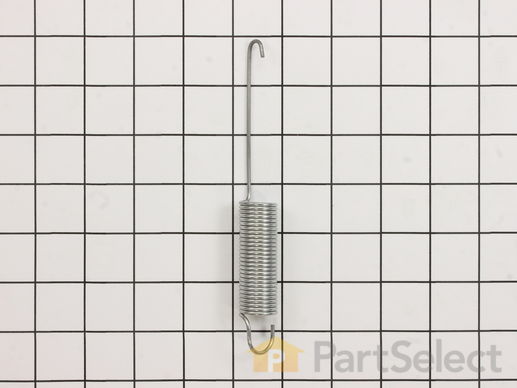
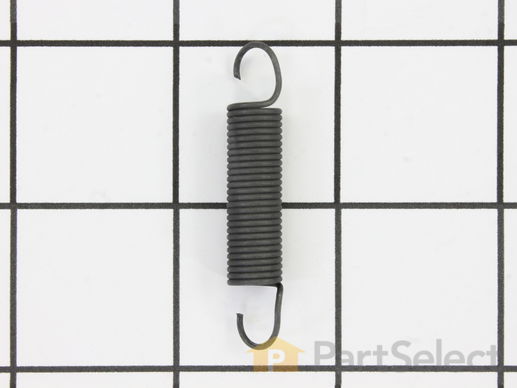
This spring is used on the leveling components in a washer. Please note, this spring may differ in appearance, but functions the same as original.
Replacing your Whirlpool Washer Leveling Spring

Customer Repair Stories
Was heavily shaking.
-
Robert from LEWISTON, ID
-
Difficulty Level:A Bit Difficult
-
Total Repair Time:30 - 60 mins
-
Tools:Pliers, Screw drivers, Socket set
Washer tub goes out of balance in spin cycle.
-
Dale from DOTHAN, AL
-
Difficulty Level:Really Easy
-
Total Repair Time:15 - 30 mins
-
Tools:Screw drivers


