Parts That Fix General Electric Washer WBVH5300K0WW Burning smell
Burning smell is a commonly reported symptom for the WBVH5300K0WW General Electric Washer, and we have put together a full guide on how to fix this. This advice is based on feedback from people who own this exact appliance. We have listed the most common parts for your WBVH5300K0WW General Electric Washer that will fix Burning smell. We have included repair instructions, and helpful step-by-step video tutorials. If you are experiencing this issue, not to worry, DIYers just like you have fixed this, and shared their experience to help you!
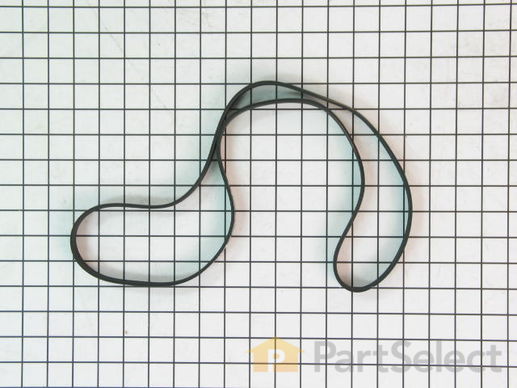
The main drive belt is designed to work with the motor pulley and spin the drum until it comes up to speed. NOTE: Per factory measures 48.4" at rest & 51.2" when working.
Replacing your General Electric Washer Drive Belt

Customer Repair Stories
was in need of a belt
-
Savian from Pahrump, NV
-
Difficulty Level:Really Easy
-
Total Repair Time:Less than 15 mins
Driving Belt worn/broken
on the back panel. I then loosen the (1) motor bolt that
you can adjust for tightness after you put the new
drive belt on the round pulley. Make sure the bolt in the center of the round pulley is tight. The round pulley should not wabble. Make sure not to over tighten ... Read more the drive belt on the motor. A slight play is fine. Put back
panel on and plug electrical cord. Run washer cycle
on and check. Should be OK.
-
Bernard from Antelope, CA
-
Difficulty Level:Really Easy
-
Total Repair Time:15 - 30 mins
-
Tools:Socket set, Wrench (Adjustable)
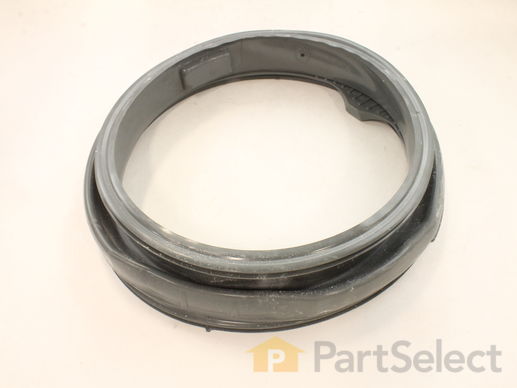
Also known as Bellow. The part may differ in appearance but functions same as original.
Replacing your General Electric Washer Door Boot Seal

Customer Repair Stories
The rubber gasket on my front loader had a rip in it and soap and water would leak out at the bottom making a nice puddle to walk in on.
-
Gerard from Pompano Beach, FL
-
Difficulty Level:Easy
-
Total Repair Time:1- 2 hours
-
Tools:Screw drivers
Water leaking from the door.
Unsure of how to replace the gasket, I used a phillips screwdriver to pull the door and front panel ... Read more off. I thought that this would be pretty simple, but I soon discovered that it wasn't as simple as removing several screws and pulling the pieces off. The door was easy, the bottom panel was easy, but the front panel was held in place by screws, plastic tabs, the front of the gasket (I'll explain later), and gravity by means of plastic supports. Trying to find and release the tabs, lifting the panel up and out was not self-explanatory. I finally figured it out, and it made changing the gasket out, a breeze. The gasket is held in by two diferent wire spring clamps/bands. One band holds the gasket to the outside of the tub, and the other band holds the gasket to the front panel. Before removing the front panel you must remove the first band which is cleverly hidden by the face of the rubber gasket. Just peel it back...it's in there. I was able to pull/pry this off with a screwdriver because I was not worried about damaging the old gasket. The second band had to be removed with either a 6mm/7mm wrench(I can't remember which) or a stubby phillips screwdriver. The stubby screwdriver is handy because of the proximity of the tubs counterweights. Once the final band is removed just peel the gasket away from the tub, after taking note of how it came off. Put the fully loosened band on the new gasket and fit the new gasket into place. It helped to have two sets of hands to work it around the tub, but probably not necessary. The wrench is necessary to properly tighten the band, because you cannot get enough torque on the stubby screwdriver.Once the gasket is in place you can re-install the front panel, and secure the front of the gasket to the panel. Install the band and it will secure itself by the tension of the spring. Put the door back on and you are ready to wash clothes.
-
Brandon from Chugiak, AK
-
Difficulty Level:A Bit Difficult
-
Total Repair Time:More than 2 hours
-
Tools:Screw drivers, Wrench set


