Parts That Fix Roper Washer RTW4340SQ0 Spins slowly
Spins slowly is a commonly reported symptom for the RTW4340SQ0 Roper Washer, and we have put together a full guide on how to fix this. This advice is based on feedback from people who own this exact appliance. We have listed the most common parts for your RTW4340SQ0 Roper Washer that will fix Spins slowly. We have included repair instructions, and helpful step-by-step video tutorials. If you are experiencing this issue, not to worry, DIYers just like you have fixed this, and shared their experience to help you!
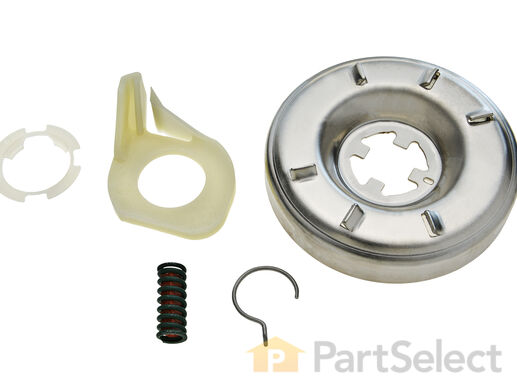
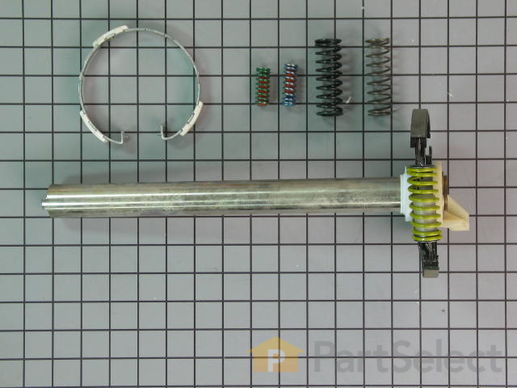
A clutch assembly (Clutch, Washer Clutch) is found in your washing machine and is responsible for spinning the basket during the spin cycle. The clutch lining can wear over time. If the clutch lining is worn out, the clutch assembly will not rotate properly to release the brake. If you notice a burning smell, or the machine shaking and moving more than normal, this could indicate there is an issue with your clutch. If the washer spins when the washer basket is empty but not when it’s full, or if the assembly begins to turn blue, you may need to replace the clutch assembly. This assembly includes a brake cam driver, blue springs for large capacity washers, a black spring for compact washers, and the installation instructions. It’s constructed of plastic and metal, and comes in beige/silver.
Replacing your Whirlpool Washer Clutch Assembly

Customer Repair Stories
Clothes washer would not spin with more than a couple socks in it. It would barely spin when empty.
Summary:
Get the washer on its back - unplugged!
remove wire(s) Harness from motor
remove water pump
unbolt 3 bolts holding the gearbox
slide gearbox and motor out as one piece ( a bit heavy)
remove and replace clutch assembly (pay attention to how things are removed)
Done! put it all back together... hope that helps. It worked perfect for me.. and m
-
Shawn from Longmont, CO
-
Difficulty Level:Easy
-
Total Repair Time:30 - 60 mins
-
Tools:Pliers, Screw drivers, Socket set
spin cycle did not engage
-
Andrew from SLC, UT
-
Difficulty Level:Easy
-
Total Repair Time:30 - 60 mins
-
Tools:Nutdriver, Pliers, Socket set
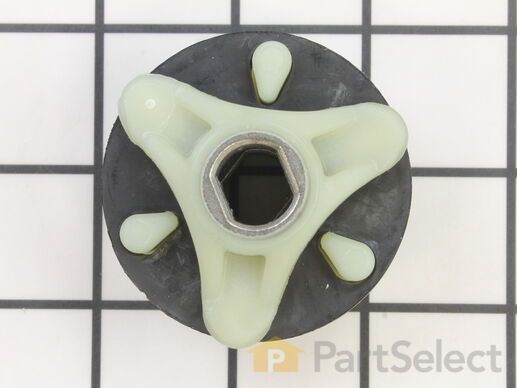
This direct drive motor coupling (Direct Drive Washer Motor Coupling, Motor Coupling, Washer Motor Coupling, Coupling Kit) provides a cushioned connection between the transmission and the motor shaft. It attaches to the direct-drive transmission and the motor shaft. If this part is defective it will affect the agitator in your washer because of its direct connection with the motor. Your washer may not agitate, spin slowly, or not spin at all. The coupling must be replaced when there is no longer a consistent connection between the transmission and the motor shaft. The coupling can wear over time because of its location between two major parts of the dryer. It is subject to material fatigue over time from normal use, or breakage caused by frequent overloading. The part measures approximately 2 inches in diameter, and is constructed of plastic and metal. This model comes in black/white.
Replacing your Whirlpool Washer Direct Drive Motor Coupling

Customer Repair Stories
Broken Coupling
1. Removed hoses from the pump
2. Removed Wiring harness from the motor
3. Unscrewed saftey screws from both clamps which hold the motor against the motor bracket.
4. Using a screw driver I easily removed/pryed the clamps from the motor.
5. I then removed the broken plastic coupler from the motor sha ... Read more ft and installed the new one coupler.
6. I did the same thing on the clutch side.
7. I set the Rubber coupler in clutch side.
8. Put motor back on until couplers joined together.
9. Placed Brackets back on Motor (patience here).
10. screwed back saftey screws on clamps.
11. connected hoses back.
Thats it... 45 minutes at most .. Save me from having to buy a new easher. I was convinced I was going to have too until I peeked underneatch the washer and saw the rubber coupler on the ground...
-
Hugo from Frisco, TX
-
Difficulty Level:Really Easy
-
Total Repair Time:30 - 60 mins
-
Tools:Pliers, Screw drivers, Socket set
No movement from Basket & agitator
First take off the water pump by removing the two clips that hold it in place. Place a shallow pan under the pump to catch the water that is in the pump and hoses. Open the hose clamps with a pair of pliers or channel locks (better) and slide the hoses off of the water pum ... Read more p.
The motor comes off next. Unplug the electrical connector from the motor and two wires from the capacitor. Remove the two screws holding the clamps in place and then pop off the two clamps. You will need to hold up the motor with one hand while you remove the clamps or it will fall to the floor once the clamps are removed.
One piece of the coupling assemble will be attached to the motor and the other will be attached to the gearcase drive shaft. If you want to clean up the mess created by the shredded rubber center piece of the coupling assembly you will have to take off the motor mounting plate. It is held on by two bolts and removing it makes installing the coupling easier but probably not necessary.
Push the back half of the coupling on to the gearcase drive shaft until the shaft is flush with the face of the coupling. Install the new rubber center piece on to the coupling then re-install the motor mounting plate. Install the other half of the coupling on to the motor shaft and lift the motor up to the coupling. You have to rotate the motor shaft by spinning the fan blades until the coupling lines up so you can slide it into the other half of the coupling. Then just reattach the motor, connectors and water pump in the reverse order of disassembly.
-
Jeff from Wayne, NJ
-
Difficulty Level:Easy
-
Total Repair Time:30 - 60 mins
-
Tools:Pliers, Screw drivers, Socket set
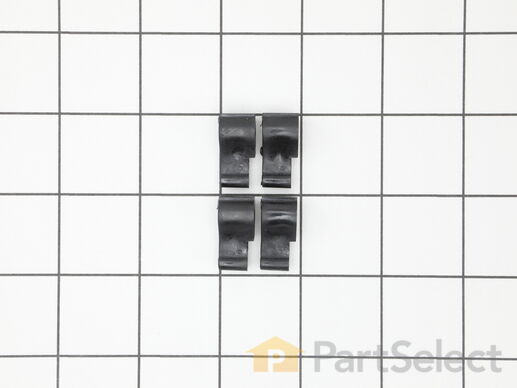
This kit is used for replacing the agitator directional cogs (Agitator Dogs, Agitator Repair Kit, Washer Agitator Dogs, Agitator Dog Ears). The agitator is what creates the thrusting motion in your washer to tumble your clothes during the washer cycle. Your agitator will rotate one way, and not the other. The agitator dogs are what prevent the agitator from rotating in both directions, while allowing it to rotate in one direction. Your agitator cogs may be malfunctioning if you can manually rotate the agitator in both directions. If broken they will need to be replaced. Cogs can be found by simply removing the softener dispenser and then removing the agitator cap. The are attached to the agitator. This replacement part features 4 agitator directional cogs. There are 4 cogs per package that are made up of high-quality plastic. This part comes in white/beige.
Replacing your Whirlpool Washer Agitator Directional Cogs

Customer Repair Stories
top half of agitator did not move during wash cycle
-
dennis from new stanton, PA
-
Difficulty Level:Really Easy
-
Total Repair Time:Less than 15 mins
-
Tools:Socket set
washer wouldn't agitate
Slip the new cogs into the underside of the cup, and slide the cup back down in the a ... Read more gitator housing using the slots on the side for a guide. (You may want to remove the entire agitator and assemble everything upside down, then flip it all back over to mount, so the cogs don't fall out).
Tighten the bolt, snap the cap back in place on top of the agitator and your'e done. Easy repair.
-
mike from Kent, WA
-
Difficulty Level:Easy
-
Total Repair Time:15 - 30 mins
-
Tools:Screw drivers, Socket set
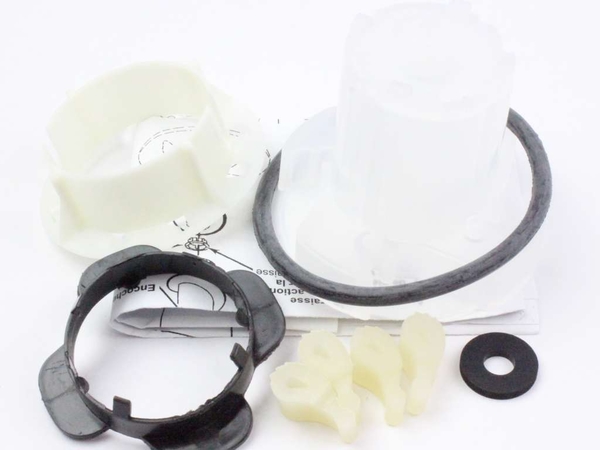
This kit (Medium Cam Agitator Repair Kit, Washer Agitator Cam Repair Kit, Cam Agitator) is used to repair the agitator. These parts are located inside the agitator auger near the top. You will need to remove the softener dispenser first if your model is equipped with one. This part is driven by the output shaft of the transmission to move the clothes during a wash cycle. The agitator auger rotates one way but not the other, which forces the laundry down and out for a constant tumbling during the wash cycle. The agitator is subjected to a lot of force during the washer wash cycle. Constant and frequent use of the appliance can cause damage, especially during heavy loads. If you’re experiencing a noisy agitator, or an agitator that spins freely in both directions, then it may be in need of repairs. If your agitator is no longer agitating properly, your clothes will not tumble, and will not be washed properly. The agitator repair kit includes an agitator cam, 4 directional cogs, a bearing, thrust spacer, inner cap seal, and a washer. It is constructed of plastic and rubber, and comes in black/white.
Replacing your Whirlpool Washer Agitator Repair Kit

Customer Repair Stories
agitator making noise and didn't want to turn
A Piece of Cake. thanks to Parts Select, I have a few more years with this machine. I was really hating to purchase a new machine. So for less than $25.00 with no service call "I Fixed It!"
-
Jo Anne from Crossville, TN
-
Difficulty Level:Really Easy
-
Total Repair Time:Less than 15 mins
-
Tools:Socket set
Upper portion of agitator, no longer pushing clothing down.
One bolt held the entire agitator unit in the washer, as well as held the upper and lower halves together. Once that nut was removed the two halves seperated and the plastic clutch pieces could easily be replaced wtih the new onces in the repai ... Read more r kit.
Very easy do-it-yourself repair! Took about 20 minutes because I was being cautious. Next time I could do it in 5 minutes.
-
Matt from Pawtucket, RI
-
Difficulty Level:Easy
-
Total Repair Time:15 - 30 mins
-
Tools:Pliers, Socket set
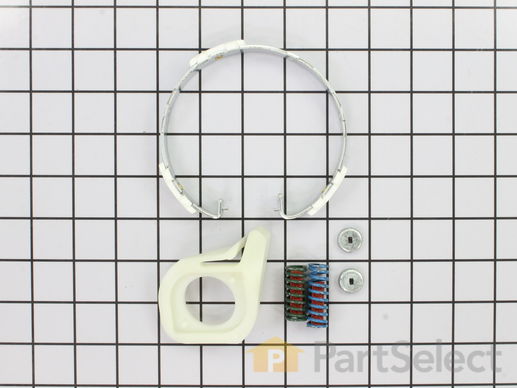
This kit comes with springs, hardware, and brake lining.
Customer Repair Stories
Washmachine wouldn't spindry
-
Chuck from South Holland, IL
-
Difficulty Level:A Bit Difficult
-
Total Repair Time:1- 2 hours
-
Tools:Pliers, Screw drivers, Socket set, Wrench set
Spin cycle stopped working
-
Brent from Highlands Ranch, CO
-
Difficulty Level:Easy
-
Total Repair Time:15 - 30 mins
-
Tools:Pliers, Screw drivers, Socket set
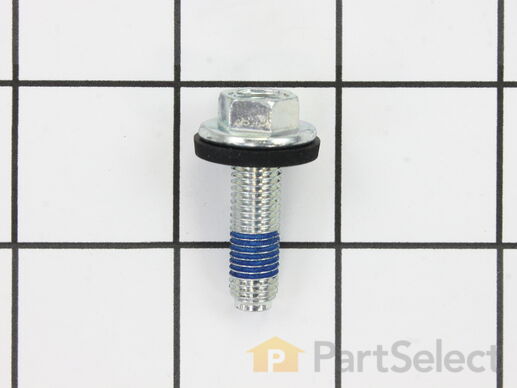
This kit contains one screw with rubber gasket and threaded sealant. The screw head is 7/16".
Replacing your Kenmore Washer Agitator Bolt

Customer Repair Stories
The agitator had stopped working
-
Jack from Matthews, NC
-
Difficulty Level:Easy
-
Total Repair Time:15 - 30 mins
-
Tools:Socket set
could not get the bottom agitator to release, so finally just left it in place, first bolt I had did not fit right so ordered one directly from your store also had to wait dor my tools to get in
-
Linda Dianne from Poteau, OK
-
Difficulty Level:A Bit Difficult
-
Total Repair Time:More than 2 hours
-
Tools:Socket set
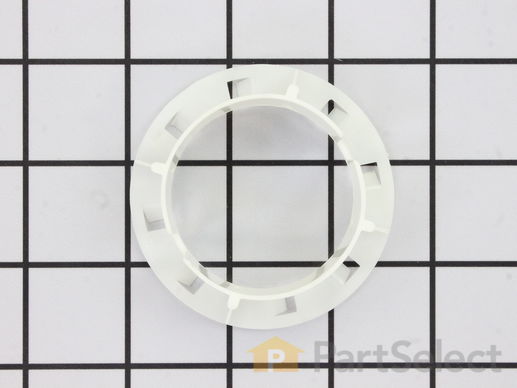
This is a genuine OEM thrust spacer for your washer, and is also commonly known as a retainer ring. The spacer is about 2.5 inches in diameter, is made of plastic, and is white in color. It is used in the agitator assembly of many direct drive washing machine models. The spacer is fitted between the agitator and the agitator auger to support it as it moves. This part is sold individually. Although it is not included in this part, you should have some dual-action agitator grease for the repair as well.
Replacing your Whirlpool Washer Thrust Spacer

Customer Repair Stories
The agiator would not work properly
-
Velma from Belvidere, IL
-
Difficulty Level:Easy
-
Total Repair Time:15 - 30 mins
-
Tools:Socket set
Agitator seperated from inside of wash drum
-
Larry from Brandon, FL
-
Difficulty Level:Easy
-
Total Repair Time:15 - 30 mins
-
Tools:Screw drivers, Socket set
This basket drive assembly is for washers. Basket drive assembly sits on top of the transmission shaft and houses the spin basket brake mechanism. The basket drive spins to rotate the basket during the spin cycle.
Replacing your Whirlpool Washer Basket Drive Assembly with Clutch

Customer Repair Stories
The Shaft On The Direct Drive Was Worn
-
ALLEN from Newton, KS
-
Difficulty Level:Really Easy
-
Total Repair Time:1- 2 hours
-
Tools:Screw drivers, Socket set, Wrench (Adjustable), Wrench set
This part is for large capacity belt drive and direct drive appliances.
Replacing your Kenmore Washer Drive Block - 2 5/16 Inch High

Customer Repair Stories
No spin on spin cycle
-
Thomas from Port Jervis, NY
-
Difficulty Level:Really Easy
-
Total Repair Time:30 - 60 mins
-
Tools:Wrench (Adjustable)
Loud Banging Sound At The End Of Spin Cycle
-
John from Hawley, PA
-
Difficulty Level:Easy
-
Total Repair Time:30 - 60 mins
-
Tools:Pliers, Screw drivers, Socket set
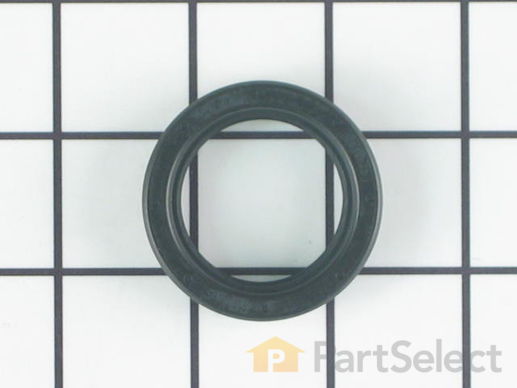
This part prevents the agitator shaft from leaking oil onto the transmission.
Customer Repair Stories
Slipping Spin clutch due to leaking gear-case seal.
2. Turn the water off.
3. Disconnect the supply and discharge hoses.
4. Open the cover and remove the cap/cover of the agitator. Use socket wrench to remove the bolt securing the agitator. Pull up on the agitator and remove it.
5. Lay washing machine down on it's front. Remove the inlet and outl ... Read more et drain hoses from the discharge pump.
6. Remove the 2 "faston" connectors from the motor start capacitor (looks like a D cell flashlight battery). Rock the connectors back and forth and pull gently until they come off. Polarity doesn't matter but to be safe make note of the positions.
7. Press the release clip on the motor connector and pull to disconnect it. Move the wiring harness out of harms way.
8. Remove the 3 bolt securing the motor and transmission assembly to the bottom of the tub. Pull the drive assembly out of the machine and place it on a suitable work surface.
9. Examine the tub brake assembly (still on the bottom of the tub), the clutch assembly (on the motor/transmission assembly you just removed and everything else for wear or damage. Now if you decide to proceed with repair continue with the following steps. If not you're done.
10. Remove the inverted cup washer from the agitator shaft of the assembly. Remove the "U" clip from the shaft and remove the clutch mechanism from the drive assembly. Make a sketch of the position of each of the removed components to aid in reassembly.
11. Now you can see the gear case cover and it's seal. If it is leaking (as mine was) you will need to replace it.
12. With the assembly level remove the bolts around the cover and remove the cover. Place the cover on a flat surface and with a screwdriver or punch drive the old seal out of the cover from the outside in.
13. Clean the seal area and check for damage. Clean the cover and transmission housing surfaces of old gasket material. There is a factory sealant available for reassembly but I chose an automotive RTF @ $4 vs $24 and it worked OK.
14. Installing the seal requires some tools and experience to done successfully. The right size sockets or piece of pipe, coupled with an arbor press or vise will get the seal in. The cover is delicate so if in doubt find a machine shop.
15. Support the outside of the cover on a hard surface and with a socket or short pipe length, PRESS (don't hammer) the new seal into the gear case cover.
16. Make sure there is lubricant in the gear case. Not overflowing but maybe 1/2 full when view with cover off on a level surface.
17. Apply some RTV sealant to trhe cover and install it. Tighten bolts evenly. Light torque (1-2 ft-lb).
18. Reassemble washing machine and test for leaks and proper operation.
-
Thomas from Pascoag, RI
-
Difficulty Level:A Bit Difficult
-
Total Repair Time:1- 2 hours
-
Tools:Pliers, Screw drivers, Socket set


