Models > PLEB30T8CCB > Symptoms > Oven is too hot

Parts That Fix Frigidaire Wall Oven PLEB30T8CCB Oven is too hot

Oven is too hot is a commonly reported symptom for the PLEB30T8CCB Frigidaire Wall Oven, and we have put together a full guide on how to fix this. This advice is based on feedback from people who own this exact appliance. We have listed the most common parts for your PLEB30T8CCB Frigidaire Wall Oven that will fix Oven is too hot. We have included repair instructions, and helpful step-by-step video tutorials. If you are experiencing this issue, not to worry, DIYers just like you have fixed this, and shared their experience to help you!

Fixes Symptom 96% of time
★★★★★
★★★★★
16 Reviews

Rated by 11 customers 


Really Easy 

15 - 30 mins 

Ratings submitted by customers like you who bought this part.   

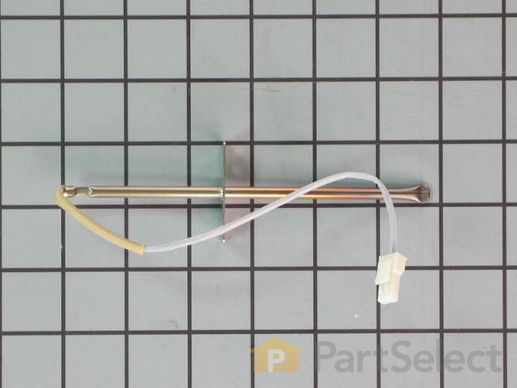
The oven temperature sensor for your range may also be called a probe. The quick connect on this part may differ than your original piece. If the temperature sensor does not fit you will have to cut off the quick connect, and then wire together with porcelain wire nuts. The function of the oven temperature sensor is to measure the temperature in the oven and signal the other heating components. Before you begin this repair make sure to disconnect the power to the range. The tools required for this installation include a number two Phillips screwdriver or a number two square head screwdriver, and maybe a pair of wire strippers and crimpers.

$ 50.31
  In Stock
PartSelect Number PS820208
Manufacturer Part Number 316217002

Replacing your Frigidaire Range Temperature Sensor

Replacing your Temperature Sensor

Customer Repair Stories

Oven would not maintain correct set temperature.

Removed electrical connector and two screws. Attached the electrical connector to the new probe and attached with the two screws.
  • Barbara from RAINBOW CITY, AL
  • Difficulty Level:
    Very Easy
  • Total Repair Time:
    Less than 15 mins
  • Tools:
    Screw drivers
16 of 25 people found this instruction helpful.
Was this instruction helpful to you?
Thank you for voting!

Oven not heating to desired temperature

Replaced clock control by removing surface burner control knobs and plastic nuts, and then the cover over the oven control. Two screw hold the clock in place, after removal and disconnecting the plug-in you can reinstall the new clock control. The Heat Sensor inside the oven will also need to be replaced. It is located inside the oven and attached with two screws; the back of the oven will need to be removed to unplug. Reverse removal procedure and turn the power back on to the stove.
  • Dan from Bellevue, ID
  • Difficulty Level:
    Easy
  • Total Repair Time:
    15 - 30 mins
  • Tools:
    Screw drivers
150 of 230 people found this instruction helpful.
Was this instruction helpful to you?
Thank you for voting!
Fixes Symptom 4% of time
★★★★★
★★★★★
22 Reviews

Rated by 20 customers 


Really Easy 

15 - 30 mins 

Ratings submitted by customers like you who bought this part.   

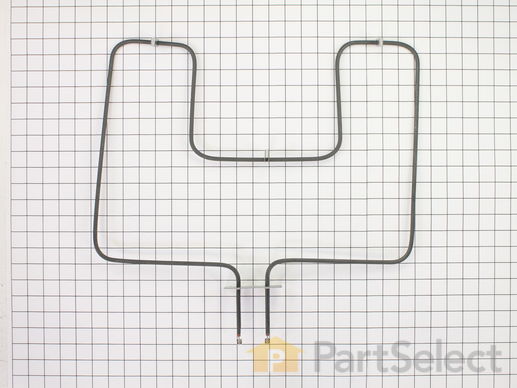
The 3000W bake element is located on the bottom of the oven cavity to supply heat for baking. The element terminals are male quarter inch spade connectors and have push-on wire terminals. If your oven is not heating evenly, the element will not heat, or there is little to no heat when baking, you may need to replace the element. This genuine OEM bake element. Please remember to disconnect the power to your oven before you start your repair.

$ 170.85
  In Stock
PartSelect Number PS3633414
Manufacturer Part Number 318255006

Replacing your Frigidaire Range Oven Bake Element

Replacing your Oven Bake Element

Customer Repair Stories

lower element burned out

PartsSelect serivce was AMAZING - I ordered online on Sunday afternoon, and the part arrived Tuesday with standard shipping! First I removed the two screws that hold the element in place. I then pulled the element out about 3 inches and disconnected the two wires from the old element, then replaced with new. WARNING - you MUST kill the breaker, because the element is "hot" even when it's off.
  • Michael from Pleasant View, TN
  • Difficulty Level:
    Easy
  • Total Repair Time:
    15 - 30 mins
  • Tools:
    Screw drivers
53 of 55 people found this instruction helpful.
Was this instruction helpful to you?
Thank you for voting!

oven element broken

The repair was simple; first I removed the 2 screws from the old element and disconnected the wires and then I inserted the new element reconnected the wires and replaced the screws . The repair was easy and took less that 15 min. The oven works as good as new and I saved alot of money by doing it myself.
  • Van from Sanford, NC
  • Difficulty Level:
    Really Easy
  • Total Repair Time:
    Less than 15 mins
  • Tools:
    Screw drivers
168 of 188 people found this instruction helpful.
Was this instruction helpful to you?
Thank you for voting!