Parts That Fix General Electric Refrigerator PFS22SISBSS Fridge too warm
Fridge too warm is a commonly reported symptom for the PFS22SISBSS General Electric Refrigerator, and we have put together a full guide on how to fix this. This advice is based on feedback from people who own this exact appliance. We have listed the most common parts for your PFS22SISBSS General Electric Refrigerator that will fix Fridge too warm. We have included repair instructions, and helpful step-by-step video tutorials. If you are experiencing this issue, not to worry, DIYers just like you have fixed this, and shared their experience to help you!
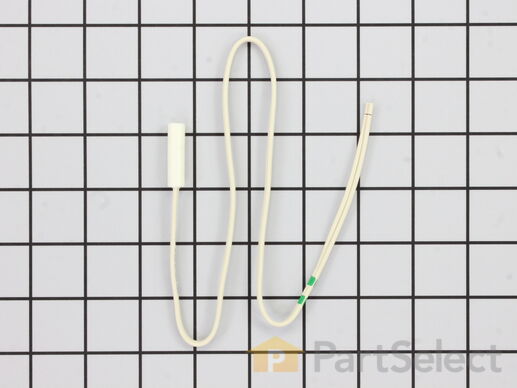
This sensor (Temperature Sensor, Thermistor, Refrigerator Temperature Sensor) sends the temperature reading of the compartment to the control board. If you notice your refrigerator is too warm, too cold, or not defrosting properly, then there may be a problem with your sensor. The temperature sensor can break from material fatigue or through normal use, and should be replaced. It is attached to the evaporator and control housing in your appliance. It measures approximately 1.25 inches long with 18 inch wire leads, and is constructed out of plastic. This part comes in white, beige. It includes the sensor, with wire leads.
Replacing your General Electric Refrigerator Temperature Sensor

Replacing your General Electric Refrigerator Temperature Sensor

Customer Repair Stories
refrigerator was getting too cold
-
Larry from Menomonie, WI
-
Difficulty Level:A Bit Difficult
-
Total Repair Time:15 - 30 mins
my refigerator was warm but the freezer was cold and working correcttly
I went on line to see if there were others having this same problem and found that there were many with the same problem.
I tried the most common component and the less expensive one first , the thermostat switch I installed it very easily snipping two wires and attaching the news using wire nuts I used the diagram on this website to pinpoint the component and there has not been a problem since.
-
michele from North Smithfield, RI
-
Difficulty Level:Really Easy
-
Total Repair Time:15 - 30 mins
-
Tools:Pliers
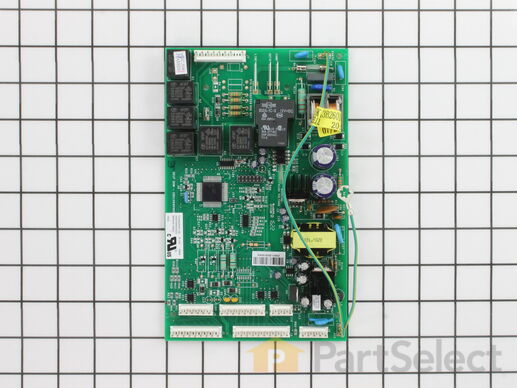
This electronic board (Main Control Board Assembly, Control Board, Motherboard) controls the temperature and defrost functions of the unit. This control board is located on the back of the refrigerator, and measures 8 inches by 5 inches. It’s constructed of metal and plastic, and comes in green. This kit includes one main control board with built in defrost controls. If broken due to electrical surges or normal use, your fridge may experience temperatures that are too warm or too cold, or inconsistent defrost cycles. If this happens, the part should be replaced.
Replacing your General Electric Refrigerator Main Control Board Assembly

Customer Repair Stories
Refrigerator wouldn't cool, constant clicking noise
-
Alejandro from New York, NY
-
Difficulty Level:Really Easy
-
Total Repair Time:Less than 15 mins
-
Tools:Screw drivers
The refrigerator made continous "whooing" sounds that increased and decreased in pitch. Sounded like a ghost. Would keep us up at night. Also noticed that the heater was not heating under the evaporator coils.
Took off thr ... Read more ee nuts around the board at the back of the unit. Removed the input wires and you have to push in the plastic tabs holding the board in. Then just put the new board in place and push till the tabs click. Re-install the wires and put the cover back on.
Really simple task,
It is now a week since doing this and the unit is working perfectly. No soulds and good nights sleep. The ghost has moved on.
-
John from Holly Springs, NC
-
Difficulty Level:Really Easy
-
Total Repair Time:Less than 15 mins
-
Tools:Nutdriver
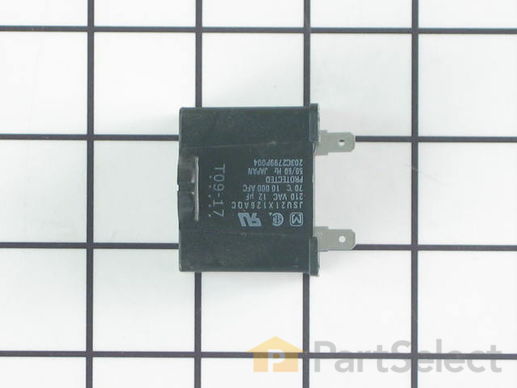
This part helps the compressor kick on and off while maintaining a constant temperature to keep things frozen in your freezer. This part has been updated by the manufacturer and may appear different than the original, but should function the same.
Replacing your General Electric Refrigerator Run Capacitor

Customer Repair Stories
Freezer not getting cold enough to freeze ice cream
the problem is change the run capacitor. I felt assured that I would
have a working refrigerator freezer after making this change. I was
pretty disheartened when it didn`t solve anything. I was not going to
take the new part back out after the sma ... Read more ll challenge of putting it in.
The next day I found out how to test the old capacitor and it was still
good. I will just have to eat the $49. I did learn not to take advice from
a website even if it seems like a sure thing
-
Gary from ROSETO, PA
-
Difficulty Level:A Bit Difficult
-
Total Repair Time:30 - 60 mins
-
Tools:Screw drivers
Refrigerator to warm
-
Lloyd from PITTSBURG, CA
-
Difficulty Level:Easy
-
Total Repair Time:15 - 30 mins
-
Tools:Screw drivers
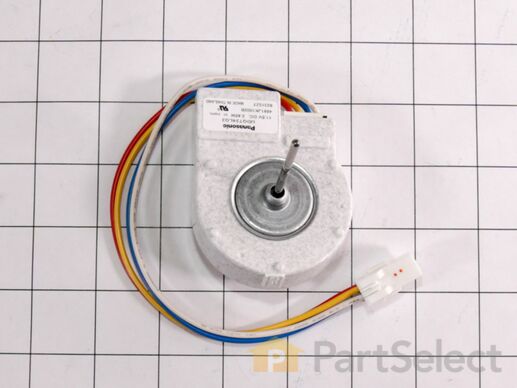
The fan blade is not included. This motor operates the fan to help circulate the air for cooling of the compressor and the coils. It also helps to evaporate the excess water located in the drain pan.
Replacing your General Electric Refrigerator Condenser Fan Motor

Customer Repair Stories
Freezer was warm ~ 26F
The Part select recommendation page stated that the most common cause was a control board failure [which was ultimately true] but I orderd a control board, a compressor fan motor and a themostat to be able to fix it in one exercise. The parts took ~3 days to arrive and during this time the desk fan kept the freezer at correct operating temp.
Replacing the control board and repowering the refrigerator [ took 1 hour] immediatly brought the original compressor fan motor up to speed. However it took the unit another 2 hours to get back to the 1 degree operating condition. The temperature had risen from 1 degree to 4 degrees in the time the unit was powered down.
-
Michael from Wellesley, MA
-
Difficulty Level:A Bit Difficult
-
Total Repair Time:More than 2 hours
-
Tools:Pliers, Screw drivers
Refrig & Freezer Warm - Condenser Fan Not Running
-
H E from St Simons Island, GA
-
Difficulty Level:A Bit Difficult
-
Total Repair Time:1- 2 hours
-
Tools:Pliers, Screw drivers, Socket set


