Parts That Fix General Electric Dishwasher PDW9280N00SS Not cleaning dishes properly
Not cleaning dishes properly is a commonly reported symptom for the PDW9280N00SS General Electric Dishwasher, and we have put together a full guide on how to fix this. This advice is based on feedback from people who own this exact appliance. We have listed the most common parts for your PDW9280N00SS General Electric Dishwasher that will fix Not cleaning dishes properly. We have included repair instructions, and helpful step-by-step video tutorials. If you are experiencing this issue, not to worry, DIYers just like you have fixed this, and shared their experience to help you!
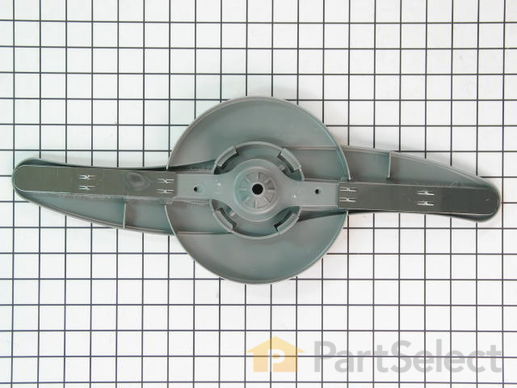
The lower spray arm is mounted to the bottom of your dishwasher tub, and it rotates and sprays water to clean the dishes in the lower dish rack. This spray arm is made of gray plastic, and is approximately 20 inches in width. The lower spray arm will not spin if it has become clogged with debris and hard water deposits from your dishwasher, if it has become jammed by silverware, causing it to melt, or if the bottom of the spray arm has become disconnected from the bottom of the tub. If the spray arm encounters any of these issues, it will need to be replaced. To replace the spray arm, remove the lower dish rack and simply unscrew the old arm. Screw the new spray arm in until it locks into place.
Replacing your General Electric Dishwasher Lower Spray Arm - Gray

Customer Repair Stories
clunking sound every second when lower spray rotating
-
D F from Estes Park, CO
-
Difficulty Level:Really Easy
-
Total Repair Time:15 - 30 mins
Metal cover broke off of lower spray arm and gluing didn't work.
It less time to do the repair than it took to open the box and unwrap the part!
-
Steven from Holland, PA
-
Difficulty Level:Really Easy
-
Total Repair Time:Less than 15 mins
If you are having trouble rolling your dish rack in and out, there could be an issue with the rollers or axles. Check the existing rollers and axles for any visible physical damage. Replace the parts if the rollers or their axles are damaged. These rollers attach to the dish rack allowing the rack to roll in and out with ease. This pack includes 8 gray rollers measuring at approximately 1.75 inches L x 0.75 inches W x 1.75 inches H. Each roller comes with an axle.
Customer Repair Stories
The lower dishrack connectors on the original roller axle parts had loosened so the rollers kept falling off
-
DONALD from PORTLAND, ME
-
Difficulty Level:Really Easy
-
Total Repair Time:Less than 15 mins
Bottom dish rack would not roll in and out because several wheels were off because of broken axles. It had to be lifted to get in and out which resulted in many chipped and broken dishes.
-
Darrell from WAHPETON, ND
-
Difficulty Level:Very Easy
-
Total Repair Time:Less than 15 mins
This filter sits at the bottom of the dishwasher.
Replacing your General Electric Dishwasher Fine Filter

Customer Repair Stories
Glasses and Cups contained baked on sand after washing.
-
Brian from Newburyport, MD
-
Difficulty Level:Really Easy
-
Total Repair Time:Less than 15 mins
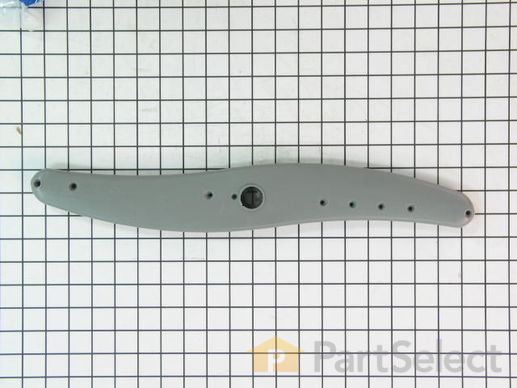
This part is the replacement for the middle spray arm in your dishwasher. The middle spray arm is mounted on the bottom of the middle dish rack, and it should rotate and spray water during the operating cycle. If your spray arm is clogged or damaged, the spray arm will need to be replaced. Debris and hard water buildup in your dishwasher is often the cause of a clogged spray arm. To replace the spray arm, simply turn the arm counter clockwise to release it from the dish rack. Then, screw in the new spray arm and your repair is complete. This part is sold individually.
This part is a replacement middle spray arm bearing for your dishwasher. The spray arm bearing reduces friction and allows the spray arm to rotate during the operating cycle. If the spray arm is not rotating or cleaning dishes properly, or is noisy during operation, you may need to replace the spray arm bearing. This is a bearing for the middle spray arm, which is mounted to the bottom of the upper dish rack. The bearing is made of metal and is approximately one inch in diameter. This part is sold individually and is an OEM part.
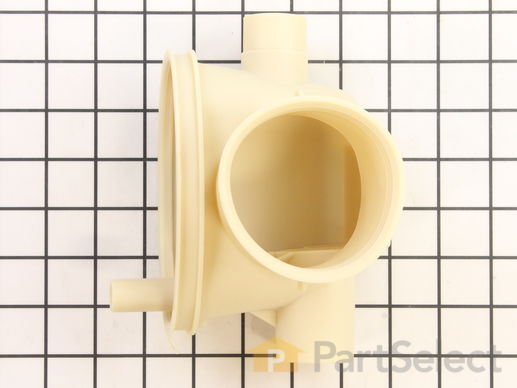
This works in conjunction with the pump and filtration system. It is used to receive drainage for disposal.
Customer Repair Stories
Sump was leaking from previous repair person
-
Jan from Boise, ID
-
Difficulty Level:A Bit Difficult
-
Total Repair Time:More than 2 hours
-
Tools:Nutdriver, Screw drivers, Wrench set
sump inlet was partially dissolved
Replaced sump inlet by removing about four clamps.
The inlet was partially dissolved. I think what lead to this is a partial clog, of broken glass and plastic. DW works fine.
-
John from North Haven, CT
-
Difficulty Level:A Bit Difficult
-
Total Repair Time:1- 2 hours
-
Tools:Nutdriver, Screw drivers, Wrench (Adjustable)
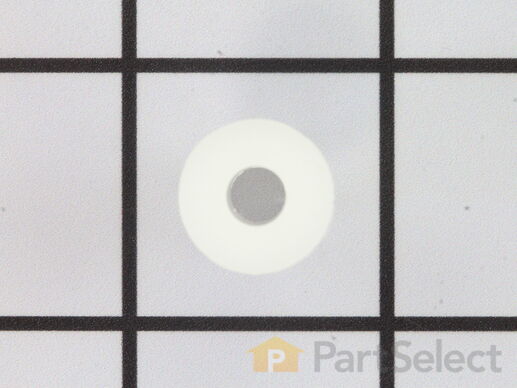
This is the upper spray arm bearing for your dishwasher. The spray arm fits onto the spray arm bearing, which allows it to spin during the cycle. If your dishwasher is not cleaning dishes properly, or is making a lot of noise during operation, it could be the result of a damaged spray arm bearing. This part is made of white plastic and is approximately 1 inch long and 1/2 inch wide. This part is sold individually and is a genuine OEM part from the manufacturer.
Replacing your General Electric Dishwasher Upper Spray Arm Bearing

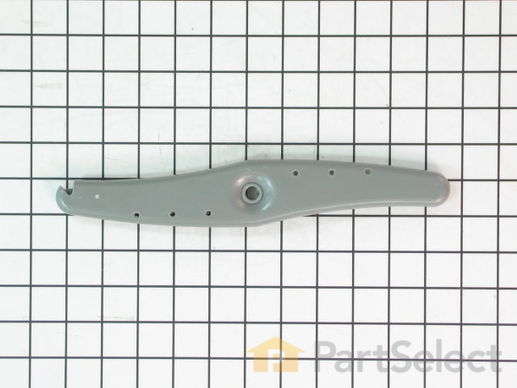
This part is the upper spray arm for your dishwasher. It is made of gray plastic and is approximately 11 inches wide. The upper spray arm is mounted to the top of the dishwasher tub and rotates during the cycle to ensure that your dishes are washed evenly. If your spray arm is clogged or damaged, your dishes may not clean evenly, and you will need to replace the spray arm. To access the spray arm, you will need to remove the top dish rack, then simply unscrew the old arm. Screw the replacement arm in and replace the dish rack to complete the repair.
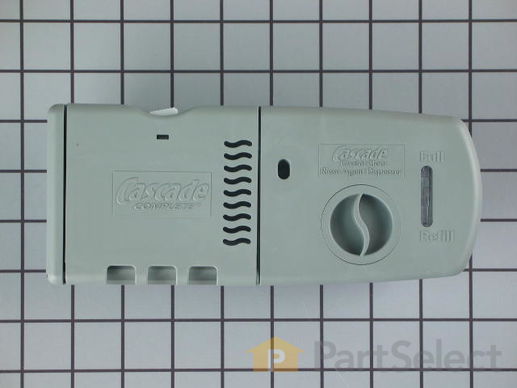
This detergent dispenser assembly is attached to the inner door panel of a dishwasher. This part holds detergent and dishwasher rinse products in a covered container. If your dispenser will not open, close, dispense detergent properly, or the dishes are coming out of the dishwasher dirty, replacing this part can solve these problems. The tools needed for this installation project are a #2 Phillips screwdriver and needle-nose pliers. To repair, first remove screws from the bottom of the inner door panel. Next, remove connecters, wires, and screws from the dispenser to access it and replace with new dispenser. Refer to the manual provided by the manufacturer for further installation instructions and guidance. Unplug dishwasher from power source as a safety precaution.
Replacing your General Electric Dishwasher Detergent Dispenser with Rinse Cap

Customer Repair Stories
White latch on soap dispenser broken- would not latch
2. There are 3 electrical plugs that will have to be removed. The first is a 2" long quick connect in the upper middle of the door panel - it will pull straight out. Remember where it makes it ... Read more s connection. Now the exterior door panel will drop down to the floor, pivoting on two axle screws at the bottom. The interior panel can be left vertical for ease of access.
3. The other two electrical connections are on the left side of the old dispenser and can be removed with a simple pull to the left.
4. Remove the six (6) phillips screws from the panel that hold the dispenser in position. Two retainers will also drop off, which hold the dispenser top and bottom.
5. Angle the dispenser and work toward the inside of the dishwasher, turning as necessary to remove from the opening.
6. Reverse the process for installation. Remember to reconnect all three electrical connections.
-
Alan from Marshall, VA
-
Difficulty Level:Easy
-
Total Repair Time:15 - 30 mins
-
Tools:Screw drivers
soap door latch broken, wouldn't hold soap for later release in middle of cycle like it was supposed to.
Removed the phillips head screws that held the door together. The screw are located on the inside edge of the door, there are 10-12 of them.
Spearated the door shells carefully, trying not to disturb the location of the wiring in the middle of the doo ... Read more r.
Found the 4 screws that hold the module assembly to the door from the inside, and removed them.
Popped the assembly out, cleaned the gasket-seat area and placed the new one in place.
Carefully tightened the 4 screws. It is easy to over-tighten them, so only turn them until you feel they are snug. Let the gasket do the work.
Attached the two solenoid control wires in the same positions they were in before they were removed from the old assembly.
Re-assembled the door halves, again taking care to not over-tighten the phillips-head screws. One got "spun" and I removed it and re-set it into some epoxy.
Returned power to the dishwasher, and stopped washing dishes by hand.
Note: the latch is now made with a plastic that is more dense, and likely will not fail as soon as the original one did. I think GE learned something about the durability of their component plastics since this was originally built.
-
James from Naperville, IL
-
Difficulty Level:Really Easy
-
Total Repair Time:15 - 30 mins
-
Tools:Screw drivers
Sold Individually.
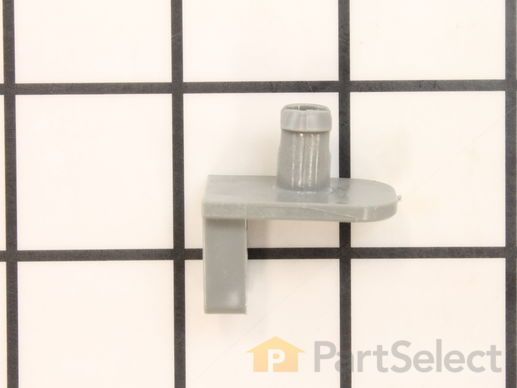
This part is a replacement lower spray arm bearing for your dishwasher. It is made of gray plastic and is approximately ½ inch in diameter. The spray arm bearing reduces friction and allows the spray arm to rotate during the operating cycle. If the spray arm is not rotating or cleaning dishes properly, or the dishwasher is noisy during operation, you may need to replace the spray arm bearing. This is a bearing for the middle spray arm, which is mounted to the bottom of the upper dish rack. The bearing is made of metal and is approximately one inch in diameter. This part is sold individually and is an OEM part.
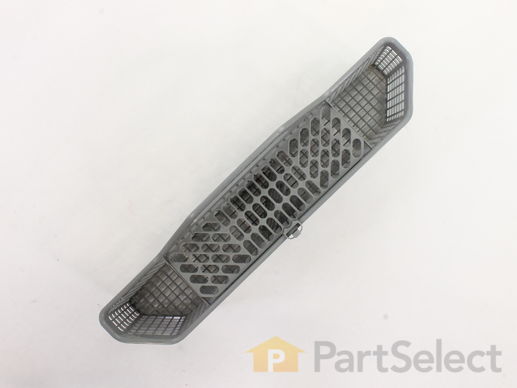
This is a basket for washing flatware or silverware in your dishwasher.
Customer Repair Stories
Basket was worn out!
It looks great! Came really fast!
Great service!
-
Alline from GEORGETOWN, TX
-
Difficulty Level:Really Easy
-
Total Repair Time:Less than 15 mins
OLD ONE HAD HOLES IN IT AND SILVERWARE WAS SLIPPING THRUGH THE BASKET TO THE INTERIOR OF THE DISHWASHER
-
Jack from PHOENIX, AZ
-
Difficulty Level:Very Easy
-
Total Repair Time:Less than 15 mins
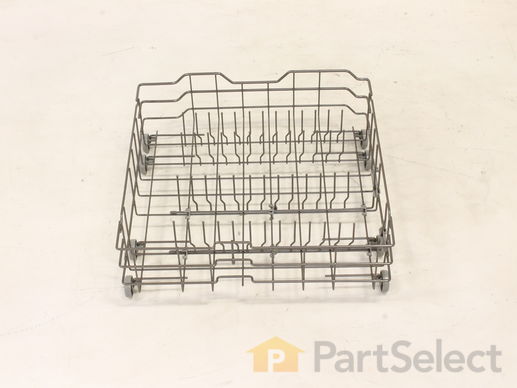
This dish rack is for dishwashers. Dish rack holds the dishes in place during the dish washing cycle.
Customer Repair Stories
lower rack
-
Scott from Armonk, NY
-
Difficulty Level:Very Easy
-
Total Repair Time:30 - 60 mins
The bottom rack had broken wheels and rusted prongs
-
MONICA from ENCINITAS, CA
-
Difficulty Level:Really Easy
-
Total Repair Time:Less than 15 mins
This works in conjunction with the pump and filtration system. It is used to filter the drainage for disposal.
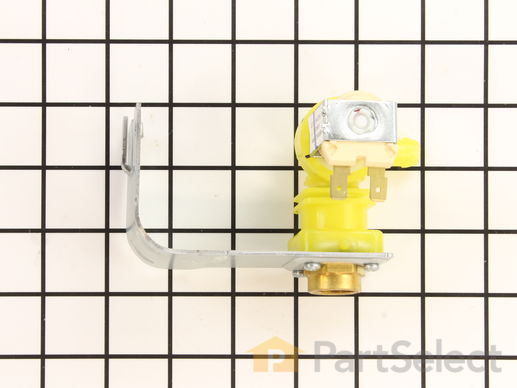
This water inlet valve should be located behind the lower kickplate panel in either the right or left corner. The attaching solenoid on the valve open and close according to the desired amount of water needed.
Replacing your General Electric Dishwasher Water Inlet Valve

Customer Repair Stories
Leaking water when in use.
-
J from Walnut, CA
-
Difficulty Level:Easy
-
Total Repair Time:1- 2 hours
-
Tools:Pliers, Screw drivers, Socket set
Water leak, small puddle to front left of dishwasher
You will need to disconnect the right wire connection to access the right screw (and may need to use a flat head screwdriver). You can then remove the 2 screws that hold the Valve Water Inlet on.
... Read more >You will then need to loosen and the hose clamp that attaches the water line to the Valve Water Inlet. You may need to force it undone since the rubber connection is pretty secure around the water tube inlet.
Disconnect the plastic wire housing from the Valve Water Inlet and you should now have the Valve Water Inlet disconnected.
Reverse the order and reconnect everything and you should be good to go!
Double-check for any leaks prior to pushing everything back in :)
-
Greg from Burlington, VT
-
Difficulty Level:Easy
-
Total Repair Time:15 - 30 mins
-
Tools:Nutdriver, Socket set
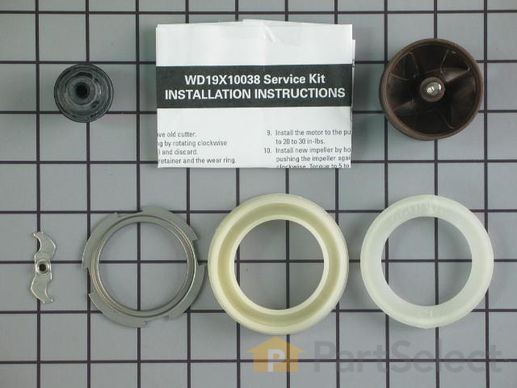
This impeller and motor shaft seal kit is used in dishwashers to rebuild the circulation pump. If your dishwasher has any of the following symptoms, replacing the part could be the solution: circulation pump is leaking, not cleaning dishes, not draining, making loud or odd noises. The tools needed for this repair are an adjustable wrench, 1/4 inch nut driver, 5/16 inch nut driver, Phillips screwdriver, flathead screwdriver, flat file, and needle nose pliers. Remember to unplug your dishwasher before installing this part and refer to the manual provided by the manufacturer for installation instructions and a detailed diagram.
Replacing your General Electric Dishwasher Circulation Pump Impeller Kit

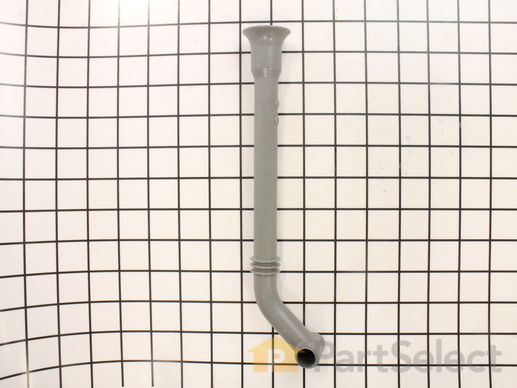
Also known as Upper Wash Supply Tube. This part brings water from your main water line the wash arms.
Replacing your General Electric Dishwasher Main Conduit

Customer Repair Stories
Growling/vibration noise during the wash cycle.
Run the wash cycle and determine if the noise goes away or is reduced.
Removal and Replacement of the Main Conduit Assembly:
O ... Read more pened the Dishwasher door and removed the lower and upper basket.
The upper basket required the two rubber gourmets on the front of the rail to be removed by inserting a flat bladed screwdriver between the top of white farthest tab towards the rear of the dishwasher of the rack slide end cap (PS2370502 – Item 652) and twist the screwdriver while gently pushing the top of the tab towards the rear of the dishwasher and gently pulling on the end cap (The rear tab needs to clear the upper rack slide).
Repeat this process on the other upper rack slide and remove the upper rack assembly.
Using a ¼ inch socket driver, remove the Main Conduit (PS651676 Item 585) screw located in the back of the Dishwasher wall and the screw from the upper spray arm (PS260547 Item 570) located on the roof of the unit.
Remover the lower Spray arm by gently pulling up and turning it counter clockwise.
Remove the fine filter hub nut (PS259078 item 454 ) by turning it counter clockwise and the fine filter (PS259068 item 452) The fine filter has a small tube going into the bottom of the dishwasher base that should be removed at the same time of the filter. Be sure to position it correctly when it is reassembled.
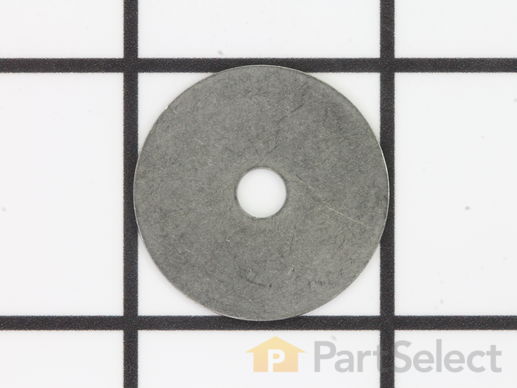
There is also a small stainless washer in the bottom of the fine filter housing. Take care not to loose it during the assembly and disassebly process
Remove the Main Conduit from the plastic assembly in the drain of the dishwasher by turning it counter clockwise. (Note, the new Main Conduit Assembly comes with this part pre assembled). Remove the same plastic piece from the new Main Conduit assembly by carefully lifting the clip on it.
Install the new piece back in the drain and tighten just prior to being pointed toward the back of the dishwasher.
Reassemble the Main Conduit to the drain piece and tighten it the remainder of the way and reassemble all parts in the reverse order they were removed.
-
Walter from Maple Grove, MN
-
Difficulty Level:Easy
-
Total Repair Time:15 - 30 mins
-
Tools:Screw drivers, Socket set
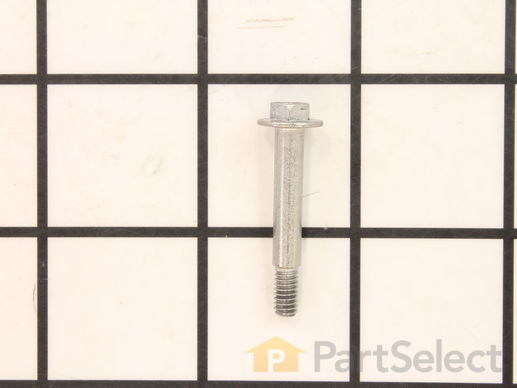
This upper spray arm screw is a manufacturer-approved replacement part for your dishwasher. The spray arm is an integral part of the dishwashing process, so keeping it maintained is crucial. To replace this screw, remove the upper dishrack by popping out the dishrack stops on each side. Pull out the dishrack and use a 1/4 inch nut driver to unscrew the upper spray arm screw.
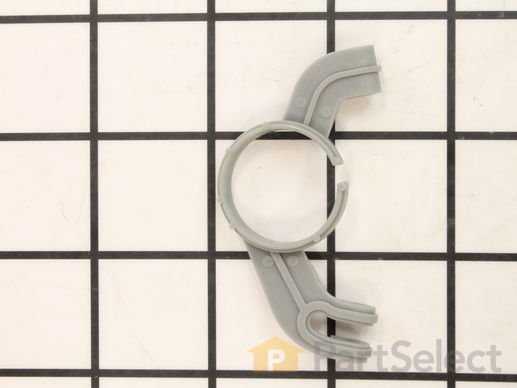
This support is for the middle spray arm.
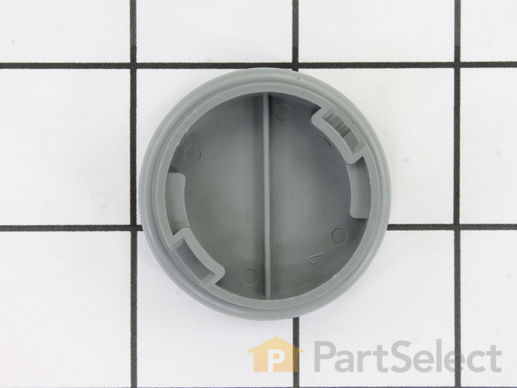
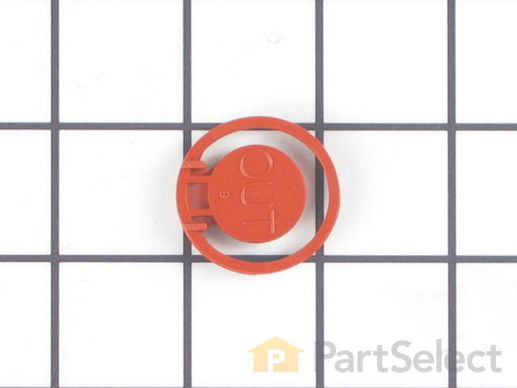
This part holds the rinse aid liquid in the dispenser until the timer activates the rinse cycle.
Customer Repair Stories
Lost Rinse Aid cap
-
Jerome from Arlington, VA
-
Difficulty Level:Really Easy
-
Total Repair Time:Less than 15 mins
cap was melted
-
Greg from Doon, IA
-
Difficulty Level:Really Easy
-
Total Repair Time:Less than 15 mins
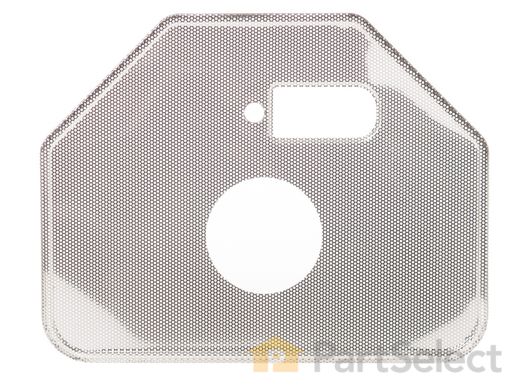
This filter is used to collect large food particles that can't pass threw the drain pump.
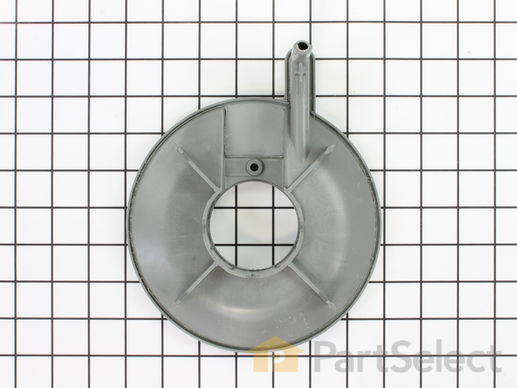
Helps hold the middle spray arm onto the bottom of the rack.
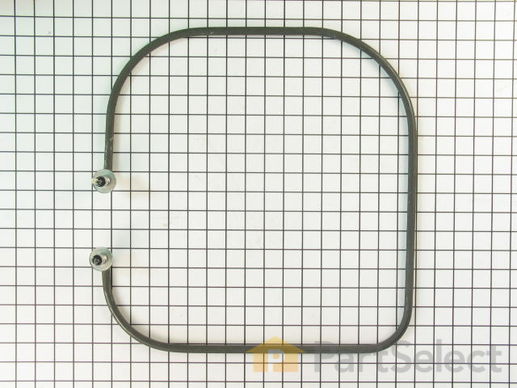
Replacing your General Electric Dishwasher Heating Element

Customer Repair Stories
Dishes were not drying inside the dishwasher after the dishwasher cycle completed
The actual repair took me less than 30 minutes, I marked it as 30-60 because during the somehow the water line going to the dishwasher had come loose from under the sink (not at the dishwasher) & because of this I had to stop midway to deal with some loose water & tighten things back up. I would recommend following the video, there really isn't much more to add that would be helpful.
-
Christopher from GLEN ALLEN, VA
-
Difficulty Level:Easy
-
Total Repair Time:30 - 60 mins
-
Tools:Wrench (Adjustable)
Heating element rusted and cracked
-
Jason from Jersey City, NJ
-
Difficulty Level:Easy
-
Total Repair Time:15 - 30 mins
This part allows the water to flow in the drain direction only and prevents the dirty water from coming back into the tub.
Replacing your General Electric Dishwasher Check Valve Flapper

Customer Repair Stories
Would only drain intermittenly
-
C. from Lexington, KY
-
Difficulty Level:Easy
-
Total Repair Time:30 - 60 mins
-
Tools:Nutdriver, Screw drivers
dishwasher check valve
The valve was there, but unavailable.
A few more links, and the term "flapper" came up.
Well, my dishwasher check valve HAD a flapper inside. Although a p ... Read more lastic pos, i could unscrew the two halves and see the flapper.
A little piece of rubber, about 1" in diameter
All suppliers gave me but two choices. One large (size given) one smaller.
After years of searching, all I needed was a flapper valve. Not the whole check valve.
I found it hear for under $10
-
ted from columbia, SC
-
Difficulty Level:Very Difficult
-
Total Repair Time:Less than 15 mins
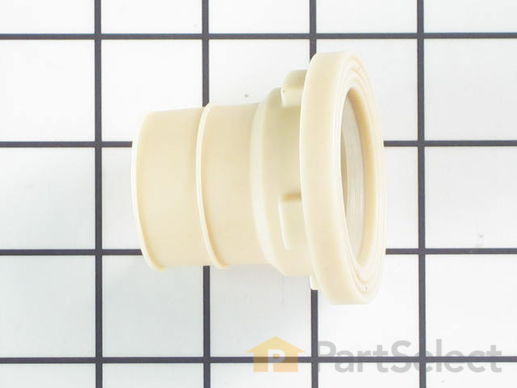
The circulation pump adapter, or pump adapter assembly connects the circulation pump to the tub of your dishwasher. If your dishwasher is leaking around this adapter, check the connection to ensure everything is fitted tightly. If there is a problem with the adapter, make sure to disconnect the water supply to your dishwasher before completing the repair.
Replacing your General Electric Dishwasher Pump Connector

Customer Repair Stories
old part leaked
-
robert from east windsor, CT
-
Difficulty Level:Really Easy
-
Total Repair Time:30 - 60 mins
-
Tools:Nutdriver, Screw drivers, Wrench (Adjustable)
Pump Connector Leaking
-
Jim K from Whittier, CA
-
Difficulty Level:Easy
-
Total Repair Time:30 - 60 mins
-
Tools:Nutdriver, Screw drivers, Wrench (Adjustable)
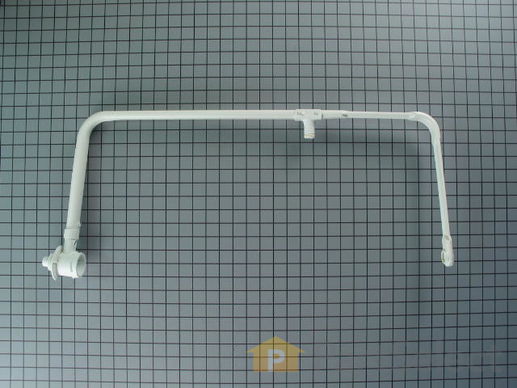
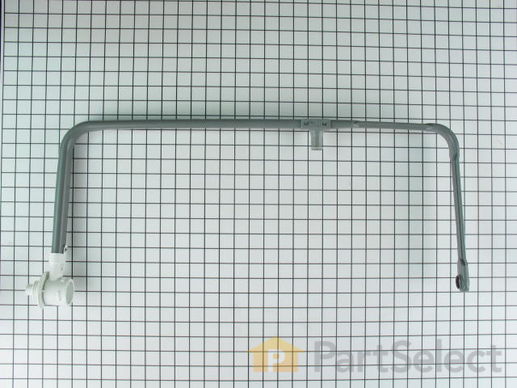
This dishwasher conduit assembly directs the water to the upper spray arm.
Customer Repair Stories
Noise, Poor cleaning
-
Vern from Orem, UT
-
Difficulty Level:Easy
-
Total Repair Time:15 - 30 mins
-
Tools:Nutdriver, Screw drivers
dishes were not coming clean. I found the pump that sprays water was not running
-
Nick from CARNATION,, WA
-
Difficulty Level:A Bit Difficult
-
Total Repair Time:1- 2 hours
-
Tools:Pliers, Screw drivers, Socket set, Wrench (Adjustable)


