Parts That Fix Maytag Dryer MEDB400VQ0 Noisy
Noisy is a commonly reported symptom for the MEDB400VQ0 Maytag Dryer, and we have put together a full guide on how to fix this. This advice is based on feedback from people who own this exact appliance. We have listed the most common parts for your MEDB400VQ0 Maytag Dryer that will fix Noisy. We have included repair instructions, and helpful step-by-step video tutorials. If you are experiencing this issue, not to worry, DIYers just like you have fixed this, and shared their experience to help you!
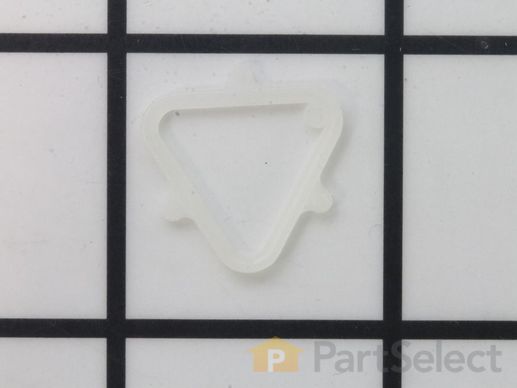
If you notice that your dryer is noisy or will not tumble, you may need to replace the tri ring. This part is triangular, and is less than an inch in size. Tri rings can be found both on the idler pulley shaft, or on the rear drum roller shaft. In either case, you will need to remove the front panel of the dryer and the drum to access the part for repair. Once you have accessed the damaged tri ring, you will simply need to slip it off and replace it with the new one. This part is sold individually. Be sure to disconnect the power source from the dryer before you begin this repair.
Replacing your Kenmore Dryer Roller Support Tri-Ring

Customer Repair Stories
My daughter threw a heavy wet comforter into the dryer and the tri-ring sheared off.
-
Joe from St. Louis, MO
-
Difficulty Level:Easy
-
Total Repair Time:30 - 60 mins
-
Tools:Nutdriver, Pliers
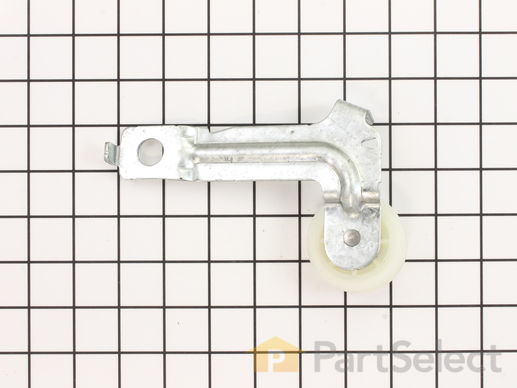
The idler pulley wheel serves to help the belt to rotate the drum. This arm is what attaches to the idler pulley wheel.
Customer Repair Stories
idler pulley wheel was bad
-
Jasper from FLORIEN, LA
-
Difficulty Level:Very Easy
-
Total Repair Time:30 - 60 mins
-
Tools:Screw drivers, Socket set, Wrench (Adjustable)
Idler pulley squeaking very badly
-
Andy from DAGGETT, MI
-
Difficulty Level:Really Easy
-
Total Repair Time:30 - 60 mins
-
Tools:Socket set
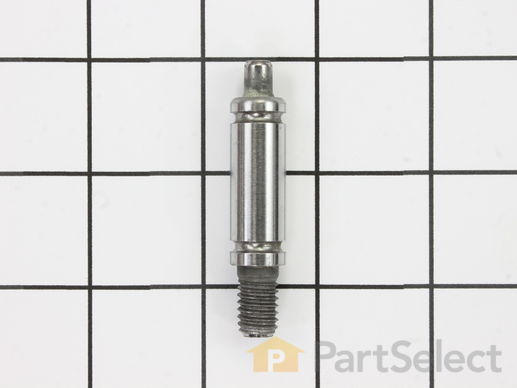
Shaft for dryer drum support roller. Rear shaft with left hand threads. Part is updated so nuts may need to be replaced as well on older dryers.
Replacing your Whirlpool Dryer Drum Support Shaft - Rear Shaft with Right Hand Threads

Customer Repair Stories
Rollers making a noise.
-
Carl from MARION, KY
-
Difficulty Level:Really Easy
-
Total Repair Time:More than 2 hours
-
Tools:Nutdriver, Pliers, Socket set
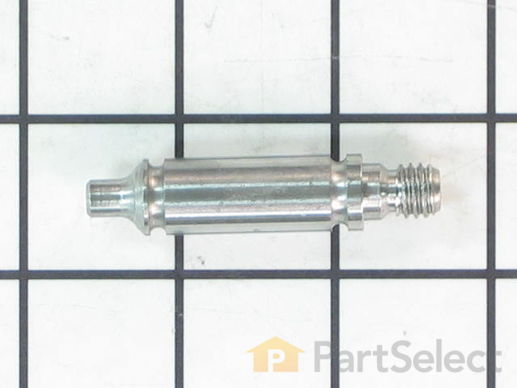
This front shaft with right hand threads is used in dryers. The shaft and the drum support rollers ride on to support the drum. If your shaft has flat spots and the rollers do not spin, replacing the shaft can solve the problem. The tools needed for this repair are: 5/16 inch socket or nut driver, 1/4 inch socket or nut driver, small flathead screw driver, channel-lock pliers, 9/16 inch socket. Remember to unplug your appliance from the power source before beginning this installation project. Refer to the diagram provided by the manufacturer for further installation instructions.
Replacing your Whirlpool Dryer Drum Support Roller Shaft - Right Hand Threads

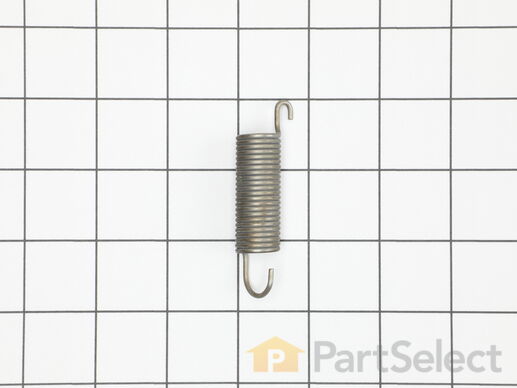
Replacing your Whirlpool Dryer Spring

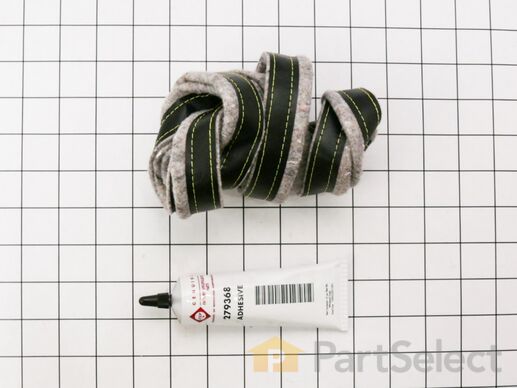
This is an OEM dryer felt seals and includes adhesive.
Customer Repair Stories
a portion of the felt seal was torn loose on the inside of the dryer and needed replacement
I followed the instructions seen on video and removed the top and front of dryer. Then pre-fit the new seal - a ... Read more nd stretched it out some while dry to make sure it fit the drum. Once fitted, then I glued 1/2 of it and let it stand for at least 30 minutes and then did the 2nd 1/2 after that. I sure needed clips to hold it in place before moving on to complete both halves. Then I tested it and it tested ok.
I have only noticed 1 spot where some adhesive ran out that shows but it was minor. Had to figure out how the main drive belt work with the pressure pully because it had come loose from the drum. Once past that - it just needed reassembly.
-
Keith from EAGAN, MN
-
Difficulty Level:A Bit Difficult
-
Total Repair Time:1- 2 hours
-
Tools:Nutdriver, Screw drivers
Felt that lines the edges of the drum had degraded from the side nearest the door.
After removing the dryer door, getting to the drum itself was not too difficult and only involves removing half a dozen small bolts. I was able to move the pieces off to the side without disconnecting any of the wiring. Without looking at the parts diagram I can't name any of the pieces involved, but there were only a couple. The drum can then be lifted right off its rollers.
The replacement felt for this dryer has to be fastened with adhesive, and I would recommend running the bead of glue around half of the drum, setting the new felt in place, letting it sit for a few minutes to let the glue set up, then repeating for the other half. I tried installing the entire piece of felt at once, but after getting about 3/4 of it on, pulling the remaining unattached felt taut to fit around the drum ended up removing the first part of the felt because the glue did not have time to set up. If you've ever changed a bicycle tire, you'll know about reaching that point where the tire doesn't seem big enough to fit around the rim, but it just needs to be muscled into place. Same idea here, but trying to muscle the felt over fresh glue while the just installed part comes loose is frustrating and in my case almost resulted in ruining the entire new felt strip. Once the felt is anchored it's easy to pull taut over the remaining part of the drum.
-
Chris from DAYTON, OH
-
Difficulty Level:A Bit Difficult
-
Total Repair Time:1- 2 hours
-
Tools:Screw drivers, Socket set
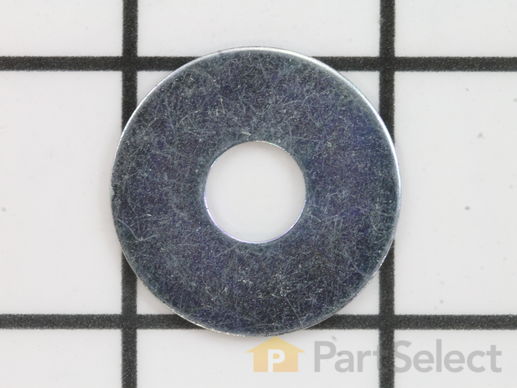
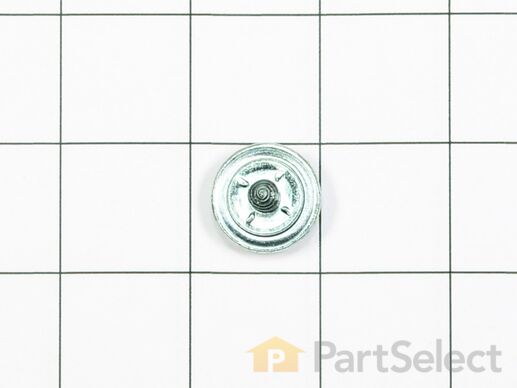
This part is located on the drum roller support shaft in your dryer appliance. The exterior of the washer is 1 inch in diameter with a hole in the middle and is made of metal. They are installed alongside the drum support rollers and idler pulleys. If you notice that your dryer is making an unusual sound it could be due to the washer becoming loose on the drum support. They help prevent the rollers and pulleys from bumping up against the brackets they are installed on. If you are replacing the rollers, we suggest you replace the washers at the same time.
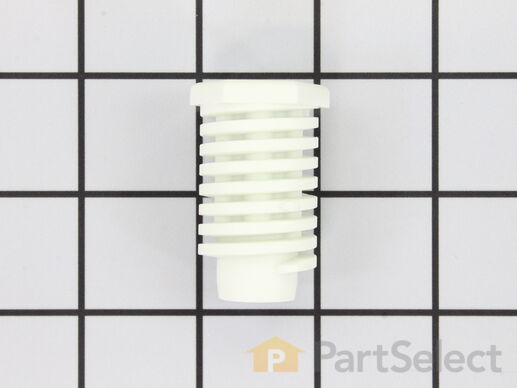
If your washer shakes or vibrates loudly when it reaches its max speed, check that the leveling legs are even. To ensure that the washer is firmly on the ground using all four legs, adjust the legs so that the machine is level, and tighten the locking nuts on the legs that are threaded. Keep the washer as close to the floor as possible. Your model might have rear legs that level themselves, or it might have threaded legs all around. Make sure the rubber feet have not worn out. Replace any missing or damaged legs and feet. This replacement part is sold individually.
Replacing your Kenmore Dryer Leveling Foot

Replacing your Kenmore Dryer Leveling Foot

Customer Repair Stories
Washer overflowed
-
Beth from Valley Springs, CA
-
Difficulty Level:Really Easy
-
Total Repair Time:1- 2 hours
-
Tools:Screw drivers
No leveling feet on dryer.
Instructions:
1. Tip dryer over onto a non-scratch surface. I used a tarp on the floor.
Insert leveling foot into the foot opening on the bottom of the dryer &
screw in with fingers until it is difficult to turn.
2. Use t ... Read more he adjustable wrench on the hexed foot (not the threads) to adjust to the desired level.
3. Tip dryer upright taking care not to exert pressure on the feet closest to floor. I used a folded-up tarp under the bottom edge of the dryer while lifting it to the upright position.
4. Use a level, back to front & side to side, to determine if feet need further adjustment.
5. Adjustments can be made with the dryer in the upright position, using the adjustable wrench on the hexed foot.
-
Bobbie from BEND, OR
-
Difficulty Level:Very Easy
-
Total Repair Time:Less than 15 mins
-
Tools:Wrench (Adjustable)
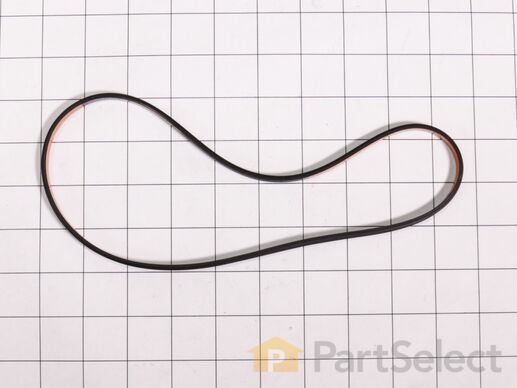
Sold individually.
Customer Repair Stories
Blower stopped working
-
Boots from KNOXVILLE, TN
-
Difficulty Level:Easy
-
Total Repair Time:30 - 60 mins
-
Tools:Screw drivers, Socket set
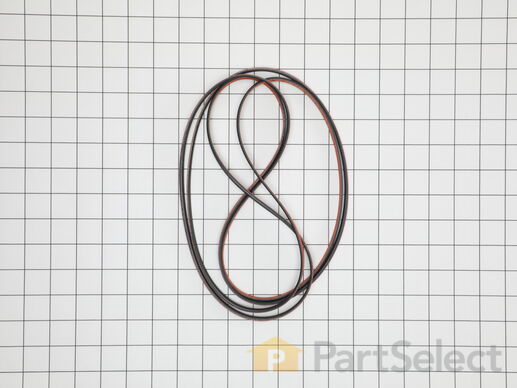
1`) broken blower motor drive belt,2) blower moter drive belt pulley loosened & seperated from shaft
2) Disconnected electrical connection @ upper right of front panel, Used drill & 5/16" socket & adapter to remove 2 upper front panel screws on backside of panel & removed panel.
3) Removed 4 sc ... Read more rews from lint screen duct, unplugged elect. con.@ the right & removed lint screen & duct from dryer bulkhead..
4) Loosened 2 top screws & removed 2 bottom screws from bulkhead & lifted bulkhead up & out & set aside.
5) Slid drum belt off the back of the drum & removed the drum
6) Ceaned the blower moter drive shaft threads & threads inside the shaft pulley. Used a file to clean up any burrs on shaft pulley, coated treads of pulley & shaft with red lock tite thread dressing & re-instaled pulley back onto shaft with ajustable pliers while holding blower fan blades steady from inside the blower motor housing. with other hand. note: (pulley is left handed thread)
7) Looped new belt onto drive motor pulley then worked it back onto blower moter pulley with one hand while turning the blades of the blower from inside the blower housing with other hand until it was back in place & ribs on belt were seated in the mating ribs of the pulley.
8) Put everything back in reverse order with the exception of removing the back panel to reinstall the drum belt onto the drive motor shaft pulley and tensioner @ bottom left in back of the dryer.
Hope this instructional is able to help some one else & good luck with your projects!
-
Tim from DUNCANVILLE, TX
-
Difficulty Level:A Bit Difficult
-
Total Repair Time:30 - 60 mins
-
Tools:Nutdriver, Screw drivers, Socket set, Wrench (Adjustable)
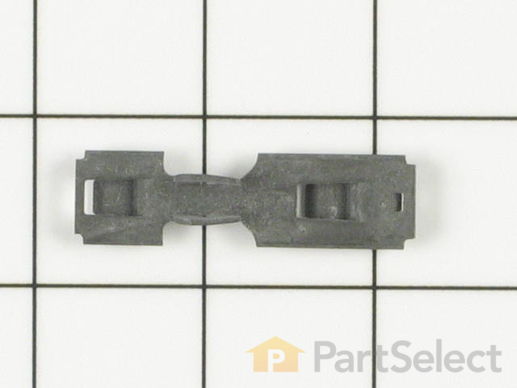
This part is the replacement single front panel clip for your dryer. It is made of metal and is approximately 2 inches long and ¾ inch wide. The front panel retainer clip is what holds the front panel on to the dryer. If the clip is damaged or missing, or if the front panel appears loose, you may need to replace the clip. This part is sold individually and is an authentic OEM part.
Customer Repair Stories
Broken clips
-
Roger from Twinsburg, AL
-
Difficulty Level:Easy
-
Total Repair Time:30 - 60 mins
-
Tools:Nutdriver, Screw drivers


