Models > MAH8700AWW > Symptoms > Leaking

Parts That Fix Maytag Washer MAH8700AWW Leaking

Leaking is a commonly reported symptom for the MAH8700AWW Maytag Washer, and we have put together a full guide on how to fix this. This advice is based on feedback from people who own this exact appliance. We have listed the most common parts for your MAH8700AWW Maytag Washer that will fix Leaking. We have included repair instructions, and helpful step-by-step video tutorials. If you are experiencing this issue, not to worry, DIYers just like you have fixed this, and shared their experience to help you!

Fixes Symptom 41% of time
★★★★★
★★★★★
1 Review

Rated by 17 customers 


Easy 

30 - 60 mins 

Ratings submitted by customers like you who bought this part.   

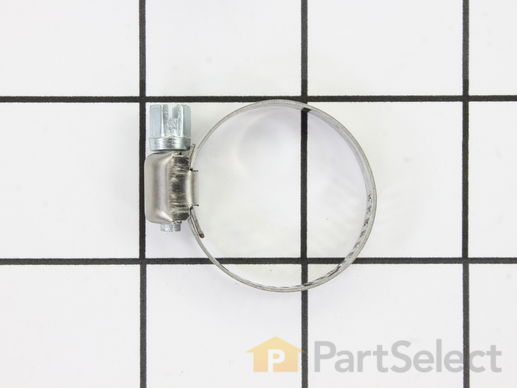
This hose clamp is used in a wide variety of household appliances. Most often it is found in washers, dishwashers, refrigerators, freezers, dehumidifiers, garbage disposals, or air conditioners. This clamp is used to securely attach a hose to another part of your appliance, which helps prevent leaks from those connections. Depending on the appliance, it can attach hoses to drain pumps, water inlet valves, pressure switches, and injector nozzles. We recommend you refer to model-specific diagrams for appropriate uses and exact placement. This hose clamp is made of metal, and is sold individually. To access and replace this part you will need a nut driver, pliers, and screwdrivers. Before you begin any repair work, make sure you have unplugged your appliance, and shut off the water supply if applicable.

$ 11.80
  In Stock
PartSelect Number PS11743008
Manufacturer Part Number WP596669

Replacing your Kenmore Washer Hose Clamp

Replacing your Hose Clamp
Fixes Symptom 26% of time
★★★★★
★★★★★
2 Reviews

Rated by 3 customers 


A Bit Difficult 

1- 2 hours 

Ratings submitted by customers like you who bought this part.   

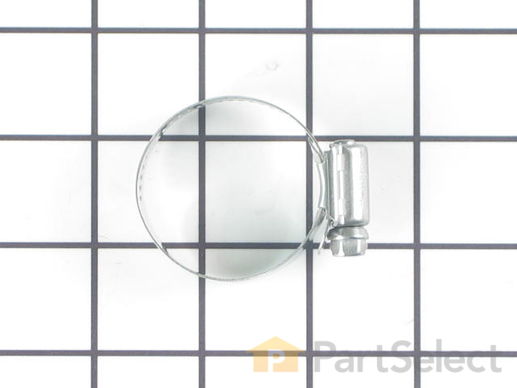
The hose clamp is used to hold the water hose in place which will prevent the hose from leaking water. Sometimes the clamp may lose its ability to latch on, causing a leaking washer. For the installation, you will need a flat head screw driver to replace the clamp and a drill to access the screws to remove the front of the washer. Be careful if you do not have specific clamp pliers as the clamp could fly off. Once the front of the washer has been removed, take a quick look for water damage or any obvious signs of where the leak is coming from. If it is not obvious, run water to test.

$ 11.10
  In Stock
PartSelect Number PS11740613
Manufacturer Part Number WP285655

Replacing your Kenmore Washer Hose Clamp

Replacing your Hose Clamp
Fixes Symptom 7% of time
★★★★★
★★★★★
1 Review

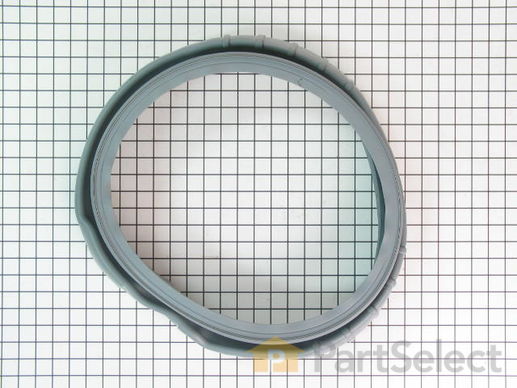
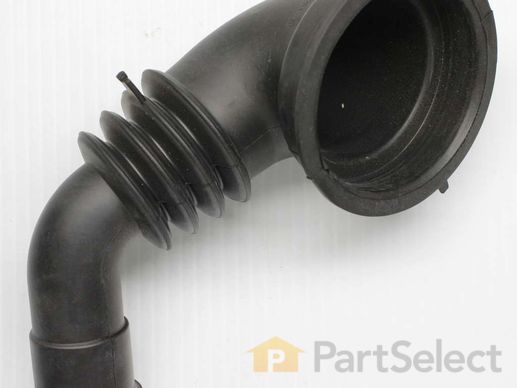
Also known as a bellow. This part is used to keep the clothes inside the tub during the wash cycle. The folds in the bellow allow the tub to move separately from the door during the spin cycle.

$ 261.92
  In Stock
PartSelect Number PS2037232
Manufacturer Part Number 34001302
Fixes Symptom 6% of time
★★★★★
★★★★★
13 Reviews

Rated by 9 customers 


Easy 

30 - 60 mins 

Ratings submitted by customers like you who bought this part.   

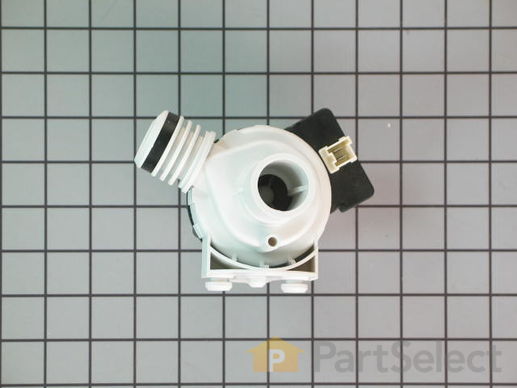
This pump helps expel water from the washing machine and is activated after the spin speed is maintained for a specific period of time. NOTE: Pump only, mounting bracket is NOT included.

$ 164.24
  In Stock
PartSelect Number PS11741568
Manufacturer Part Number WP34001340

Replacing your Maytag Washer Drain Pump - 120V 60Hz

Replacing your Drain Pump - 120V 60Hz

Customer Repair Stories

Water will not drain properly. This not only left the clothes very wet it also made the cycle take longer.

First thing I did was to unplug the washer's power cord from wall outlet. Secondly I disconnected the hot and cold water hoses. You need to have a pan or bucket handy to catch any water once hoses are disconnected. Thirdly I removed the screws that secures the rear panel and removed panel to expose the pump at the bottom of the washer. I then disconnected the power cable going to the pump and removed the inlet and outlet hoses connected to the pump. You may need a set of pliers to remove the hose clamps if you don't have strong fingers. Note! you will need some rags or towels to soak up the water when you remove the drain hose that goes from the washer's tub to the pump inlet once the hose is disconnect. Once this is completed, I finally removed the 3 screws that secured the pump to the washer's frame and removed the faulty pump. Once pump is removed reinstall new pump in reverse. If you are handy with a screw driver and pliers this is an easy fix. Once pump was replaced the washer ran and drained fine. To avoid future damages to your pump always check clothes pockets for foreign objects prior to washing. The damage to my pump was caused by a quarter that got in the drain hose and damaged the pump's impeller. Be real careful not to cut yourself, because there are a few sharp edges on the washer's panel and frame when removing the pump. I hope my experience helps someone who may encounter the same problem.
  • Julian from Killeen, TX
  • Difficulty Level:
    Really Easy
  • Total Repair Time:
    15 - 30 mins
  • Tools:
    Pliers, Screw drivers
58 of 63 people found this instruction helpful.
Was this instruction helpful to you?
Thank you for voting!

Coins had been pulled into the pump, breaking blades and cracked casing.

First I unplugged the washer and removed the back cover plate of the washer. I drained the pump and drainage lines. I then removed the two hose clamps and removed the connecting hoses. I removed the electrical connection. I loosened the three mounting bolts holding the mounting plate holding the pump. Once out, I could remove the pump from the plate and replaced it with the new part. I remounted the mounting plate, attached the hoses and clamps. I reattached the electrical connection and the back plate to the washer.


The Maytag is well designed and the parts are easy to reach. At least from this experience, the machine was designed with efficient repairs in mind. This is a sign of a well made machine.
  • Robert from El Paso, TX
  • Difficulty Level:
    Easy
  • Total Repair Time:
    30 - 60 mins
  • Tools:
    Pliers, Socket set, Wrench set
144 of 161 people found this instruction helpful.
Was this instruction helpful to you?
Thank you for voting!
Fixes Symptom 6% of time

  No Longer Available
PartSelect Number PS2037074
Manufacturer Part Number 34001095
Fixes Symptom 3% of time

Rated by 2 customers 


Really Easy 

Less than 15 mins 

Ratings submitted by customers like you who bought this part.   

$ 154.04
  Special Order
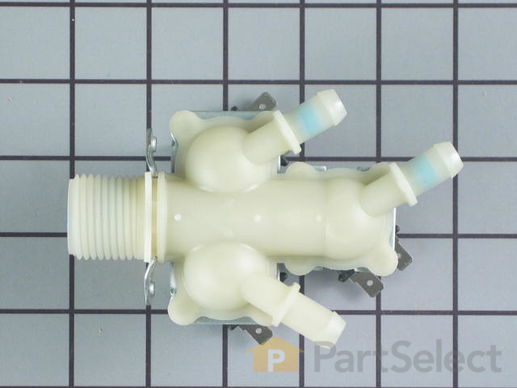
PartSelect Number PS11741549
Manufacturer Part Number WP34001248

Customer Repair Stories

Because of sand in my well water,the valve quit working properly and water would run constantly

I removed two screws on the back of the washer,removed the top of the washer unclipped three plastic wiring clips, removed two screws holding the valve in place.replaced valve and replaced wires and top of washer. Total time about 15 minutes
  • Robert from Monticello, GA
  • Difficulty Level:
    Really Easy
  • Total Repair Time:
    Less than 15 mins
  • Tools:
    Pliers, Screw drivers
9 of 11 people found this instruction helpful.
Was this instruction helpful to you?
Thank you for voting!

The cold water would not shut off. (many diff. error codes)

1. Unplug the machine. Take off the cold water line from the machine.
2. Take out the two screws from top back to remove top.
3. Unplug the three electrical connectios from the valve sylenoids.
4. Take off the two screws that hold the three way valve to the machine back.
5. Unclamp the three clamps and remove the hoses from the valve end.
6. Place the hoses and clamps on the new valve.
7. Reincert the three electrical connectioins.
8. Secure valve in place with the two screws from above step 4.
9. Replace top and secure with two screws from step 2.
10. Connect cold water line. Plug machine in.
11. Done.

PS. There is a diagram of the connections on top of the distribution center.
  • James from Promont, TX
  • Difficulty Level:
    Easy
  • Total Repair Time:
    15 - 30 mins
  • Tools:
    Pliers, Screw drivers
31 of 40 people found this instruction helpful.
Was this instruction helpful to you?
Thank you for voting!
Fixes Symptom 3% of time

Rated by 1 customer 


A Bit Difficult 

15 - 30 mins 

Ratings submitted by customers like you who bought this part.   

$ 59.37
  In Stock
PartSelect Number PS11741562
Manufacturer Part Number WP34001294

Customer Repair Stories

Close quaters to work on

I had to pull the washer out from the wall. SInce it is in front of the door going out into the garage made it dificult getting tools. I had to lay on my side doubled up in order toget to the hose. I used a bit extention so that I could get the clamp loose. Cut the time in half by using a drill with a phillips head screw bit. The only real hard part was getting the new one up tight on the drain. Used a heavy duty screw driver to push it up so the clamp would bite.
  • Lanny D. from Clarksville, TN
  • Difficulty Level:
    A Bit Difficult
  • Total Repair Time:
    15 - 30 mins
  • Tools:
    Pliers, Screw drivers
1 of 5 people found this instruction helpful.
Was this instruction helpful to you?
Thank you for voting!
Fixes Symptom 3% of time

Rated by 2 customers 


Really Easy 

Less than 15 mins 

Ratings submitted by customers like you who bought this part.   

  No Longer Available
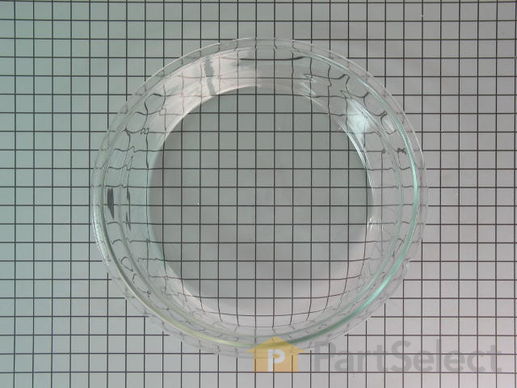
PartSelect Number PS2037187
Manufacturer Part Number 34001254

Customer Repair Stories

Broken Glass

(1) Remove all screws keeping them organized as a set,(some are larger than others,for the glass frame only. After all screws are removed remove frame from the door.(2) Remove old glass and replace with the new one and put it all ack together.
  • Clint from Arlington, WA
  • Difficulty Level:
    Really Easy
  • Total Repair Time:
    Less than 15 mins
  • Tools:
    Screw drivers
7 of 9 people found this instruction helpful.
Was this instruction helpful to you?
Thank you for voting!

Broken glass door on front load waher.

Never thought that the glass would break like it did. Removed the whole door assembly and took out the screws that hold the plastic retaining ring for the glass door. Replaced glass and reassembled the door. Very easy repair. Took about 15 min.
  • cheryl from commerce city, CO
  • Difficulty Level:
    Really Easy
  • Total Repair Time:
    15 - 30 mins
  • Tools:
    Screw drivers
21 of 25 people found this instruction helpful.
Was this instruction helpful to you?
Thank you for voting!
Fixes Symptom 2% of time

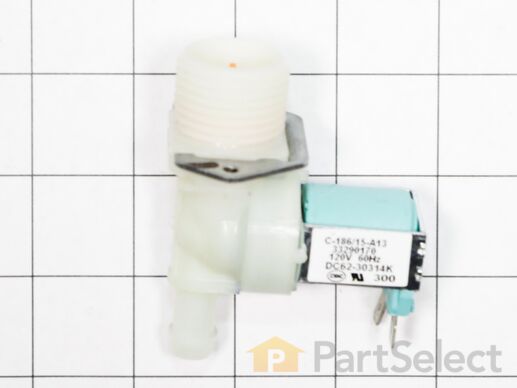
This part is the replacement hot water valve for your washer. It is approximately 2-1/2 inches by 3-1/2 inches, and the valve head is approximately 1 inch in diameter. The hot water inlet valve in your washer connects to the water source and solenoid wires, and ensures the tub has the right amount of hot water entering it. If your washing machine continues to fill after it is full, or if it fills slowly, you may need to replace this valve. Another indication that your valve is damaged and will need to be replaced, is if you notice it is leaking when the washer fills up. Before you begin this repair, be sure to disconnect the water and power sources from your washer. This part is sold individually and is an authentic OEM part.

$ 126.87
  In Stock
PartSelect Number PS11741538
Manufacturer Part Number WP34001131

Replacing your Maytag Washer Hot Water Valve

Replacing your Hot Water Valve

Customer Repair Stories

Hot water would not shut off when wash temperature selected was hot or warm.

Disconnected power cord. Shut off water supply. Disconnected hot water supply hose. Removed top cover. Disconnected appliance connection to Hot Water Control Valve. Removed screws holding HWC valve. Removed existing HWC valve. Installed new HWC valve. Reconnected appliance connection. Reconnected water supply hose. Turned on water to check for leaks. Reconnected power supply. Started washer with hot cycle selected. Timed water fill time. Replaced top cover. Washed a load of whites in hot water. Installation and test complete.
  • William from Charleston, SC
  • Difficulty Level:
    Really Easy
  • Total Repair Time:
    15 - 30 mins
  • Tools:
    Pliers, Screw drivers
Was this instruction helpful to you?
Thank you for voting!
Fixes Symptom 2% of time

Rated by 1 customer 


Really Easy 

Less than 15 mins 

Ratings submitted by customers like you who bought this part.   

$ 90.14
  On Order
PartSelect Number PS11741558
Manufacturer Part Number WP34001284

Customer Repair Stories

Water was sprating all over the inside of wash machine onto the circuit board.

I took the two screws off the back that holds the top down, lifted it , then pulled it back to remove. After this was removed, there were two more screws holding down the assy-s housing and drawer. First remove drawer where you add the soap and softners. Then I pulled that back and the assy-s housing drawer just snaps onto the housing. I pulled the drawer off, then I took the four hoses that are connected to the back and put on the new one in their respected spot. I snapped it back on and reassembled. You don't need a maytag repair man to do this job.
  • William from Marion, WI
  • Difficulty Level:
    Really Easy
  • Total Repair Time:
    Less than 15 mins
  • Tools:
    Pliers, Screw drivers
12 of 15 people found this instruction helpful.
Was this instruction helpful to you?
Thank you for voting!