Parts That Fix Maytag Washer LAT9406AAE Burning smell
Burning smell is a commonly reported symptom for the LAT9406AAE Maytag Washer, and we have put together a full guide on how to fix this. This advice is based on feedback from people who own this exact appliance. We have listed the most common parts for your LAT9406AAE Maytag Washer that will fix Burning smell. We have included repair instructions, and helpful step-by-step video tutorials. If you are experiencing this issue, not to worry, DIYers just like you have fixed this, and shared their experience to help you!
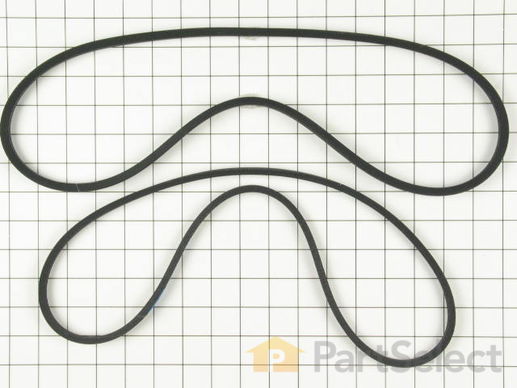
This kit includes both the drive belt and the pump belt which are both V-shaped. If your washer does not toss, spin, or drain water properly, this might be because one of these belts has worn or stretched out. This results in the belt losing its grip and no longer driving the pump. The pump belt is black and made of rubber. The pump belt is located between the motor and pump underneath the washer. Simply remove the belt and hook the new one around the pulley. You may need to loosen or tighten the belt to ensure it is set in place properly.
Replacing your Maytag Washer Belt Kit

Customer Repair Stories
My washer stopped draining
I tried checking the fuses, then read that the belt could be broken or worn. I checked under the hood and the belt was broken right in two. I drained the washer manually then ordered the new belt.
I was able to replace the belt in no time with no effort at all.
-
Jenna from St. Louis, MO
-
Difficulty Level:Really Easy
-
Total Repair Time:Less than 15 mins
-
Tools:Screw drivers
Washer wouldn't spin
-
Ben from Truro, AL
-
Difficulty Level:Easy
-
Total Repair Time:Less than 15 mins
-
Tools:Screw drivers
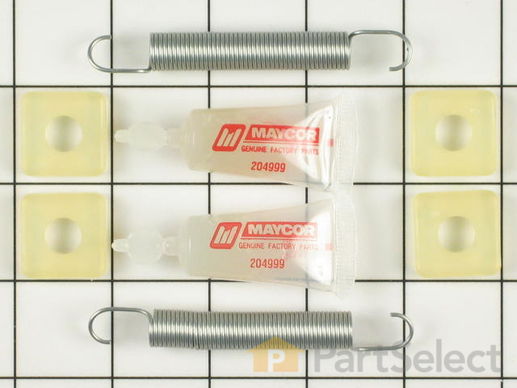
This glide and spring kit contains two three inch springs, four one inch square glides, and two tubes springs. This kit replaces older style round roller glides.
Replacing your Maytag Washer Glide and Spring Kit

Customer Repair Stories
The belts were not staying tight enough to agitate properly.
After removing the front panel of the washer (two philips screws), I loosened and removed the plastic motor cover and removed three hex head screws holding the motor. Have someone help you tilt the washer so you can remove the belts by "rolling" them off of the pullies (pump pully and motor pully ... Read more ). What I did was use a chemical degreaser to clean the motor base metal channel where the nylon sliders reside. After doing that and letting it dry, I removed the two old
springs. I ended up reinstalling the old springs because they were not stretched and I installed a new spring (total three) on the right side of the mount. A stiff metal rod with a hook on the end will help you install the springs. Squirt some of the included silicone lubricant on both sides of the motor mount channel and exercise the lube. Reinstall the motor and plastic cover over top of motor. Clean hands and clean belts while you have them out, reinstall belts and front cover and you're finished. My wife said it never ran better!
-
dominic from weirton, WV
-
Difficulty Level:A Bit Difficult
-
Total Repair Time:30 - 60 mins
-
Tools:Nutdriver, Screw drivers
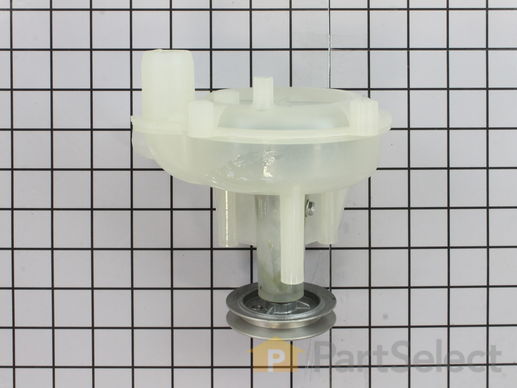
This washing machine drain pump is intended for use with automatic washers that have been manufactured since 1958. The pump itself is made of plastic, though it does come with a metallic belt pulley.
Replacing your Maytag Washer Drain Pump

Customer Repair Stories
washer wouldn't let the water spin out!
-
SHARON from DETROIT, MI
-
Difficulty Level:Easy
-
Total Repair Time:15 - 30 mins
-
Tools:Socket set
Water was not being removed from the wash tub after the spin cycle
-
John from Fort Lauderdale, FL
-
Difficulty Level:Really Easy
-
Total Repair Time:15 - 30 mins
-
Tools:Nutdriver, Screw drivers


