Models > KSCS25INSS01 > Symptoms > Door won’t open or close

Parts That Fix KitchenAid Refrigerator KSCS25INSS01 Door won’t open or close

Door won’t open or close is a commonly reported symptom for the KSCS25INSS01 KitchenAid Refrigerator, and we have put together a full guide on how to fix this. This advice is based on feedback from people who own this exact appliance. We have listed the most common parts for your KSCS25INSS01 KitchenAid Refrigerator that will fix Door won’t open or close. We have included repair instructions, and helpful step-by-step video tutorials. If you are experiencing this issue, not to worry, DIYers just like you have fixed this, and shared their experience to help you!

Fixes Symptom 89% of time
★★★★★
★★★★★
87 Reviews

Rated by 54 customers 


Really Easy 

15 - 30 mins 

Ratings submitted by customers like you who bought this part.   

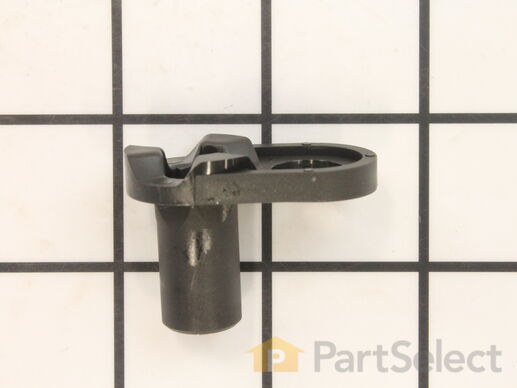
The lower door closing cam is used in refrigerator doors, it can be located on the fresh food side or the freezer side. It helps hold the door open. This cam is made out of plastic, so it might crack or wear down over time. If your door will not open and close properly you may need to replace the door closing cam. To successfully install this part, you will need a 5/16 nut driver and a small flat blade screwdriver. Before you begin, unplug your appliance and disconnect the water supply. Lubricating this part may help with installation. This replacement part is sold individually. This part will fit both the left and right side of your refrigerator door. To make the repair, remove the top hinge cover, then the top hinge support. Lift the door from the bottom support and remove the old door cams. Replace the cams, using a little lubricant if necessary, and place the door back on the lower hinge support. Replace the top hinge support and your repair is complete!

$ 7.71
  In Stock
PartSelect Number PS11739042
Manufacturer Part Number WP2182179

Replacing your Whirlpool Refrigerator Lower Door Closing Cam

Replacing your Lower Door Closing Cam

Customer Repair Stories

refrigerator door not working properly

Just as shown on your video.The refrigerator side was not sitting even, clunked and did not seal right. I decided to do.both sides, refrigerator and freezer while I was at it as our refrigerator is about 16 years old. Everything went in easily and saved us a lot of money. Very happy with the parts and repair video. Got the refrigerator nice and cleaned out while we were at it..Us and the refrigerator are breathing easier now..Yeepppeee....
  • Dennis from MORRO BAY, CA
  • Difficulty Level:
    Very Easy
  • Total Repair Time:
    30 - 60 mins
  • Tools:
    Pliers, Socket set
2 of 2 people found this instruction helpful.
Was this instruction helpful to you?
Thank you for voting!

Worn out door plastic cam

Replaced the door cam on bottom of fridge door. ONE THING TO UNDERSTAND- THERE ARE 2 CAMS ON THE DOOR, LOWER AND UPPER, BUT THE UPPER CAM IS NOT LISTED ON THE "DOOR HARDWARE" DRAWING, ITS LISTED ON THE MAIN BODY DRAWING! BE SURE TO GET BOTH CAMS! (PARTSELECT COULD MAKE A NOTE THAT WHEN PEOPLE LOOK UP LOWER CAM, PUT A NOTE IN THERE SAYING Y0U NEED UPPER TOO!)So I had to order the upper cam later and install later. BUT it is quite easy to replace, unlike the video, I only needed 1 tool! The nut driver (electric screwdriver w nut driver head). Thanks -RF
  • ROGER from WAXHAW, NC
  • Difficulty Level:
    Really Easy
  • Total Repair Time:
    15 - 30 mins
  • Tools:
    Nutdriver
34 of 35 people found this instruction helpful.
Was this instruction helpful to you?
Thank you for voting!
Fixes Symptom 5% of time
★★★★★
★★★★★
2 Reviews

Rated by 3 customers 


Easy 

15 - 30 mins 

Ratings submitted by customers like you who bought this part.   

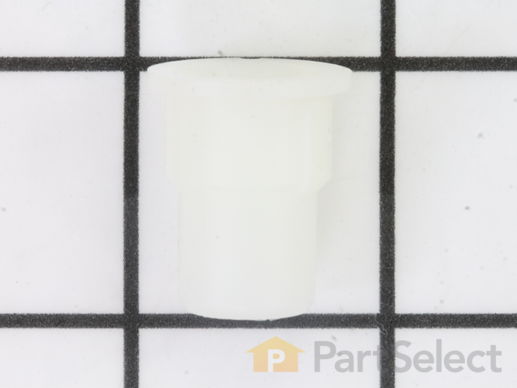
For white, biscuit, black and stainless models.

$ 11.14
  In Stock
PartSelect Number PS11739043
Manufacturer Part Number WP2182181
Fixes Symptom 3% of time

Rated by 6 customers 


Very Easy 

Less than 15 mins 

Ratings submitted by customers like you who bought this part.   

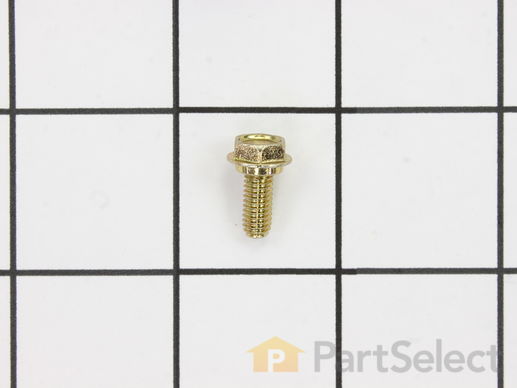
This screw is sold individually.

$ 7.76
  In Stock
PartSelect Number PS11741512
Manufacturer Part Number WP3400012

Customer Repair Stories

Refrigerator door not closing properly

We’d had the refrigerator repaired a year ago by the service department of our local appliance store. Turns out the service tech somehow used the wrong screw when replacing the door cam, causing it to rub on the cams and causing premature wear. After watching the provided repair video, it took about 10 minutes to remove the door, replace the cams and reinstall the door. Saved well over $100 and had the job done right this time.
  • Bruce from MONTGOMERY, AL
  • Difficulty Level:
    Very Easy
  • Total Repair Time:
    Less than 15 mins
  • Tools:
    Socket set
1 person found this instruction helpful.
Was this instruction helpful to you?
Thank you for voting!
Fixes Symptom 3% of time
★★★★★
★★★★★
42 Reviews

Rated by 35 customers 


Easy 

30 - 60 mins 

Ratings submitted by customers like you who bought this part.   

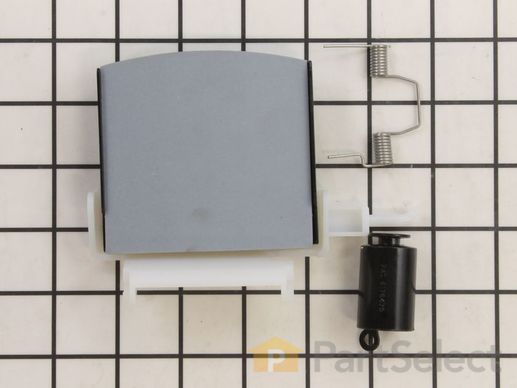
In this kit you will find the support, the ice door, spring, and delay. The heater ribbon is no longer needed and therefore will not be included with this part. This kit works in the dispenser chute to let ice through when it is being dispensed. If you have the following symptoms such as: door sweating, difficulty opening or closing door, frost buildup, warm freezer section, or problems with ice dispensing, then this is a solution. The tools needed for this repair are a putty knife, needle nose pliers, and 1/4 inch nut driver. Wear work gloves to protect your hands when performing this repair.

  No Longer Available
PartSelect Number PS11723180
Manufacturer Part Number W10823377

Replacing your Whirlpool Refrigerator Ice Door Kit

Replacing your Ice Door Kit

Customer Repair Stories

Warm Air Getting Into Freezer

Patience is a virtue. The kit really works. 1st, lift the front plate of the ice dispencer by placing a flat head screw driver into the two slots at the bottom of the panel. When the panel is lifted up slightly at the bottom, push up on the panel to remove it. Careful not to break panel and the wires attached. Next, remove the wiring panel by removing the two screws on left and right sides. Then, unplug the old black ice cover from the wiring panel (this is the heating plug that you will nolonger need). Next, remove the parts and replace them with the parts in the kit, noting where each part comes from, etc. All parts in the kit are necessary and should be used. Some of the replacements need trial and error. Patience will be important. Also needed is a person that loves to solve problems, especially because the kit does not come with instructions. But the kit definitely works!
  • David from Chesterfield, MO
  • Difficulty Level:
    A Bit Difficult
  • Total Repair Time:
    30 - 60 mins
  • Tools:
    Pliers, Screw drivers, Socket set
109 of 132 people found this instruction helpful.
Was this instruction helpful to you?
Thank you for voting!

where ic e dispencer spring is held to door broke at mold

after ordering ice dispencer repair kit, and removing the outer parts found out that the problem was the ice dispencer door shell . this part is no longer available.It seems to me that if whirlpool wants to have return customers they have to stand behind the product. Well I made a L bracket and drilled a hole to to recieve the spring keeper and glued this to the housing and used a 3 1/12"finishing nail as the pin all works fine
  • helen j from murrells inlet, SC
  • Difficulty Level:
    Really Easy
  • Total Repair Time:
    15 - 30 mins
  • Tools:
    Nutdriver, Pliers, Screw drivers
123 of 142 people found this instruction helpful.
Was this instruction helpful to you?
Thank you for voting!