Models > HTW200ASK0WW > Symptoms > Will not agitate

Parts That Fix Hotpoint Washer HTW200ASK0WW Will not agitate

Will not agitate is a commonly reported symptom for the HTW200ASK0WW Hotpoint Washer, and we have put together a full guide on how to fix this. This advice is based on feedback from people who own this exact appliance. We have listed the most common parts for your HTW200ASK0WW Hotpoint Washer that will fix Will not agitate. We have included repair instructions, and helpful step-by-step video tutorials. If you are experiencing this issue, not to worry, DIYers just like you have fixed this, and shared their experience to help you!

Fixes Symptom 29% of time
★★★★★
★★★★★
21 Reviews

Rated by 3 customers 


Very Easy 

Less than 15 mins 

Ratings submitted by customers like you who bought this part.   

$ 82.95
  In Stock
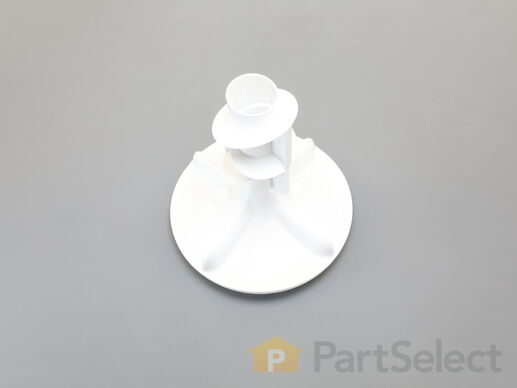
PartSelect Number PS16542670
Manufacturer Part Number WH43X30957

Customer Repair Stories

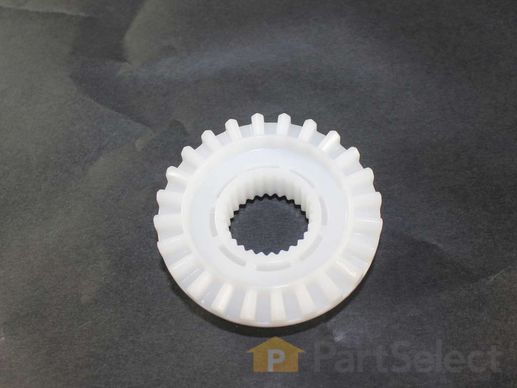
Agitator drive splines were stripped so the clothes were not getting clean at all

My son in law did it for me
  • Cheryl from DUDLEY, GA
  • Difficulty Level:
    Very Easy
  • Total Repair Time:
    Less than 15 mins
  • Tools:
    Socket set
6 of 6 people found this instruction helpful.
Was this instruction helpful to you?
Thank you for voting!

Agitator wore out over time and needed to be replaced

Replacing was easier than opening the box it came in. Used a 7/16 socket and a few extensions to reach the bottom of the agitator. It came out super quick cleaned out the fabric softener older than my kids from under it. Lined up the groves of the new one and it slid easily. I took a small piece of painters tape and crumbled it into a small ball and put it in the socket to keep the bolt in place while it lowered it into the agitator. Made it snug and we were back in business good as new!!!
  • MICHAEL from LK PEEKSKILL, NY
  • Difficulty Level:
    Very Easy
  • Total Repair Time:
    Less than 15 mins
  • Tools:
    Socket set
10 of 11 people found this instruction helpful.
Was this instruction helpful to you?
Thank you for voting!
Fixes Symptom 20% of time
★★★★★
★★★★★
84 Reviews

Rated by 19 customers 


Easy 

30 - 60 mins 

Ratings submitted by customers like you who bought this part.   

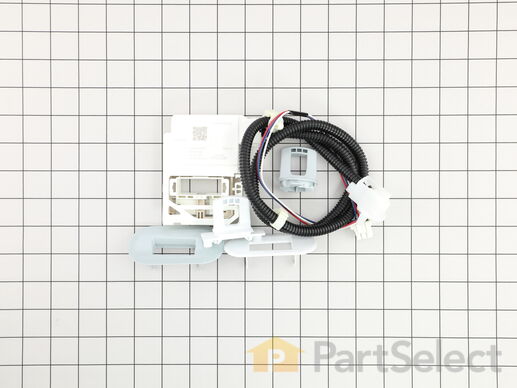
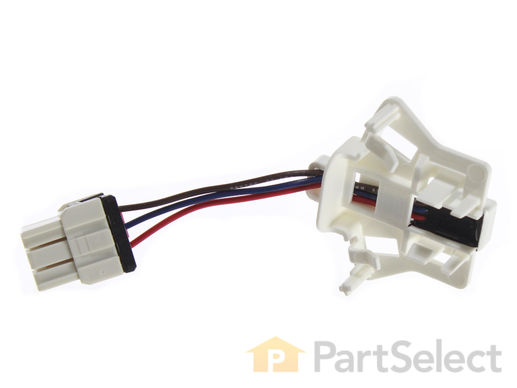
This lid lock, also known as a door lock, is a genuine OEM replacement part for your washing machine. The lid lock keeps your washer lid closed during the washing cycle. If this part is broken, your washer may not run because it thinks the door is open, or it will not keep the door locked during the wash cycle. To replace this part, make sure you disconnect power to the appliance and wear work gloves.

$ 83.87
  In Stock
PartSelect Number PS16554755
Manufacturer Part Number WH08X32697

Customer Repair Stories

The lid switch which signals that the washer door is closed malfunctioned. Even with the lid closed the washer would not spin because the washer was detecting the lid as open because of the faulty switch

The replacement part looked absolutely nothing like the defective part. The old part was easily accessible and was easily unplugged from the wiring harness. I assume when the new part came, I would just plug it into the wiring harness, snap some of the trim pieces in place and be done. 5 minutes. But no. The replacement part was completely different and came with its own wiring harness and length
of wire which had to be installed. The installation of the wiring harness was extremely complicated which involved popping off the control panel of the washer, prying up the top and disconnecting some other pieces to complete the install. There should have been a clear warning on the replacement part, that it was completely different and likely too difficult for a non-professional repair man.
  • Timmothy from EAGLEVILLE, PA
  • Difficulty Level:
    Very Difficult
  • Total Repair Time:
    More than 2 hours
  • Tools:
    Pliers, Screw drivers, Wrench (Adjustable)
13 of 16 people found this instruction helpful.
Was this instruction helpful to you?
Thank you for voting!

Washer wouldn't fill, wash, spin

Use putty knife to unlock top panel from base. Remove 2 bolts from back of washer holding control section. Don't take completely off. 2 bolts needs to be removed to unsecure top from base. Lastly 2 screws hold lid in place. Remove lid. Slide top panel to left just to access lid lock. Unplug sensor. 1 screw and tabs hold lock in place. Watch position coming out so you don't get confused putting new lock in. Squeeze tabs, replace screw. plug in sensor. Reverse procedure to put top section back together.
  • Susan from OXFORD, FL
  • Difficulty Level:
    Really Easy
  • Total Repair Time:
    30 - 60 mins
  • Tools:
    Screw drivers, Socket set
13 of 16 people found this instruction helpful.
Was this instruction helpful to you?
Thank you for voting!
Fixes Symptom 8% of time
★★★★★
★★★★★
4 Reviews

Rated by 1 customer 


Really Easy 

30 - 60 mins 

Ratings submitted by customers like you who bought this part.   

$ 39.40
  In Stock
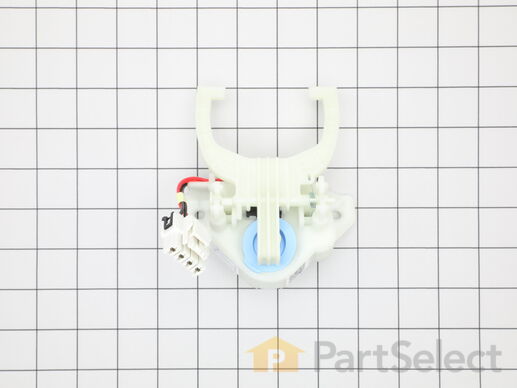
PartSelect Number PS16554752
Manufacturer Part Number WH03X30517
Fixes Symptom 7% of time
★★★★★
★★★★★
12 Reviews

Rated by 6 customers 


Really Easy 

30 - 60 mins 

Ratings submitted by customers like you who bought this part.   

$ 13.29
  On Order
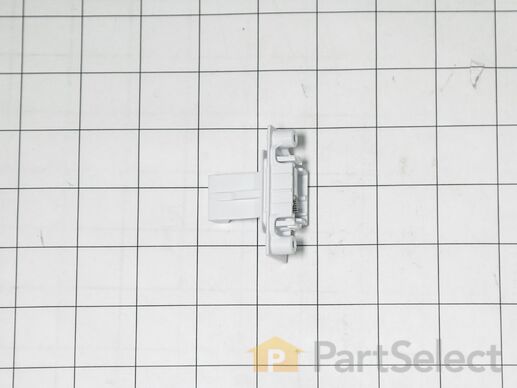
PartSelect Number PS11729471
Manufacturer Part Number WH02X24399

Customer Repair Stories

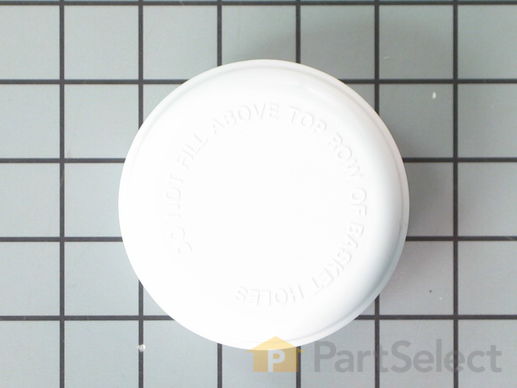
Washer would not advance to Wash

Lift the cover, undo too screws, Slide out broken part, slide in new part put in the screws and close the lid.A piece of cake.

Thank you for the super fast service on Christmas eve no less!
  • Garry W. from TAMPA, FL
  • Difficulty Level:
    Really Easy
  • Total Repair Time:
    30 - 60 mins
2 of 3 people found this instruction helpful.
Was this instruction helpful to you?
Thank you for voting!

Don’t do this, but we prop the washer lid open so it doesn’t get musty between use; we put a sock or something in there to prevent the striker fro closing. When a family member hops up on the washer to get to the highest shelf in the laundry closet it snaps! And the. The washer won’t function.

REALLY easy-
Just unscrewed the two screws with a Phillips, slid the old one out, the new one set in perfectly, and used the same screws to hold it in place. 2 minute task total.
  • Heather from CHARLESTON, IL
  • Difficulty Level:
    Very Easy
  • Total Repair Time:
    Less than 15 mins
  • Tools:
    Screw drivers
4 of 4 people found this instruction helpful.
Was this instruction helpful to you?
Thank you for voting!
Fixes Symptom 7% of time
★★★★★
★★★★★
19 Reviews

Rated by 5 customers 


Easy 

30 - 60 mins 

Ratings submitted by customers like you who bought this part.   

$ 19.86
  In Stock
PartSelect Number PS11767488
Manufacturer Part Number WH01X24697

Customer Repair Stories

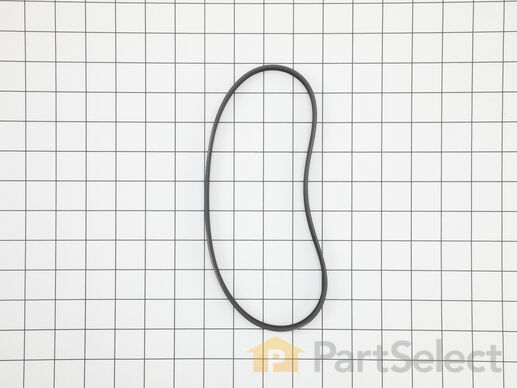
Noisy operation....belt slipping.

Turned washer on to its side. Removed belt cover, three screws. Removed old belt. Cleaned both pulleys thoroughly, removing all traces of oil. Cleaned grooves thoroughly on motor pulley with small screwdriver. Installed new belt. Replaced cover. Turned washer upright.
  • james from BRONXVILLE, NY
  • Difficulty Level:
    Very Easy
  • Total Repair Time:
    15 - 30 mins
  • Tools:
    Nutdriver
5 of 5 people found this instruction helpful.
Was this instruction helpful to you?
Thank you for voting!

Won't spin, belt slipping.

Laid washer on the floor to expose the bottom. Cleaned up the residual water that leaked out on to my hardwood floor. Removed the three nuts that hold the belt cover on. Slipped off the two year old stretched, oil soaked serpentine belt. Cleaned the rugged plastic pulleys with alcohol. Put on new belt. Small serpintine pully first, then rotate pulley to install belt to large pulley. Easy fix but doomed to fail again soon. Seals are Junk on the transmission. They leak oil already. Washer is JUNK. Not my first rodeo with GE garbage. It needs a new transmission to truly fix the problem. When it fails again out to the curb it goes. 2 years old, just two in the house so usage was minimal. No more GE appliances for me.
  • Larry from GROVESPRING, MO
  • Difficulty Level:
    Really Easy
  • Total Repair Time:
    30 - 60 mins
  • Tools:
    Nutdriver
13 of 16 people found this instruction helpful.
Was this instruction helpful to you?
Thank you for voting!
6 CLUTCH
Fixes Symptom 7% of time
★★★★★
★★★★★
1 Review

Rated by 3 customers 


Really Easy 

30 - 60 mins 

Ratings submitted by customers like you who bought this part.   

$ 8.54
  In Stock
PartSelect Number PS11729473
Manufacturer Part Number WH05X24185
Fixes Symptom 6% of time
★★★★★
★★★★★
1 Review

Rated by 1 customer 


Very Easy 

Less than 15 mins 

Ratings submitted by customers like you who bought this part.   

$ 8.07
  In Stock
PartSelect Number PS11759130
Manufacturer Part Number WH02X24374

Customer Repair Stories

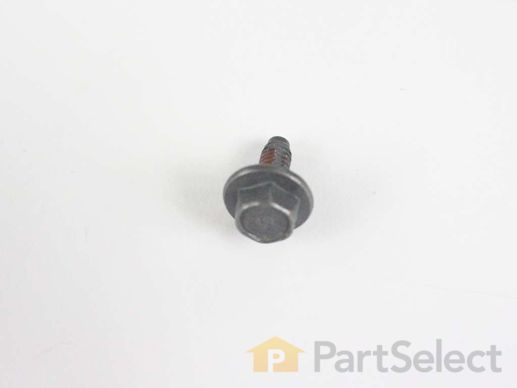
Bolt broke in half

Removed the center agitator to clean it - had black mold and pink soap scum buildup underneath that you couldn't see or clean without taking it apart. Removed the bolt with ease. Upon tightening the bolt back in place, the bolt sheared in half, leaving the lower half threaded in place and the head in the socket. Had to use a drill bit and drill out the lower half of the bolt completely. Ordered the replacement bolt and reassembled everything in less than 5 minutes. Replacement part was perfect - hopefully it lasts longer than the original bolt.
  • Rachel from WAXHAW, NC
  • Difficulty Level:
    Very Easy
  • Total Repair Time:
    Less than 15 mins
  • Tools:
    Socket set
2 of 2 people found this instruction helpful.
Was this instruction helpful to you?
Thank you for voting!
Fixes Symptom 6% of time
★★★★★
★★★★★
1 Review

Rated by 2 customers 


Really Easy 

15 - 30 mins 

Ratings submitted by customers like you who bought this part.   

Sold individually.

$ 8.06
  In Stock
PartSelect Number PS12073992
Manufacturer Part Number WH43X25443
Fixes Symptom 6% of time
★★★★★
★★★★★
10 Reviews

Rated by 1 customer 


Really Easy 

30 - 60 mins 

Ratings submitted by customers like you who bought this part.   

$ 11.71
  In Stock
PartSelect Number PS16619248
Manufacturer Part Number WH03X32158

Customer Repair Stories

Washer not spining

Put washer on it side. Removed shield belt and pulley from motor.
Unplugged and unsnapped speed sensor and replaced with new one . Washer spinning like it should. Problem solved
  • william from MARIETTA, GA
  • Difficulty Level:
    Really Easy
  • Total Repair Time:
    30 - 60 mins
  • Tools:
    Screw drivers, Socket set, Wrench (Adjustable)
10 of 12 people found this instruction helpful.
Was this instruction helpful to you?
Thank you for voting!
Fixes Symptom 4% of time

Rated by 1 customer 


Easy 

30 - 60 mins 

Ratings submitted by customers like you who bought this part.   

$ 8.54
  In Stock
PartSelect Number PS11763251
Manufacturer Part Number WH01X24434