Parts That Fix Whirlpool Washer GHW9100LW1 Will not drain
Will not drain is a commonly reported symptom for the GHW9100LW1 Whirlpool Washer, and we have put together a full guide on how to fix this. This advice is based on feedback from people who own this exact appliance. We have listed the most common parts for your GHW9100LW1 Whirlpool Washer that will fix Will not drain. We have included repair instructions, and helpful step-by-step video tutorials. If you are experiencing this issue, not to worry, DIYers just like you have fixed this, and shared their experience to help you!
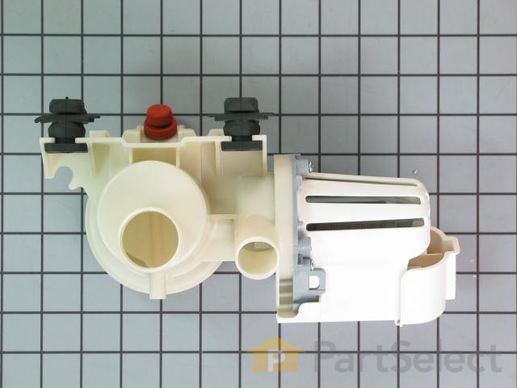
This pump helps expel water from the washing machine and is activated after the spin speed is maintained for a specific period of time. This part is used on front load models.
Replacing your Kenmore Washer Drain Pump Kit

Customer Repair Stories
Water still in tub / tub would not spin
Replacement is very simple, about a 15-20 minute job Be sure the machine is u ... Read more nplugged for safety.Remove the three (3) screws holding the lower front panel and remove the panel. The pump assembly is a white unit about the middle of the opening (the original pump itself was black, the new one is white). Unscrewing the large cap will allow any residual water to drain out (we used a wet/dry shop vac to get most of the water out of the tub first). Following the wires going to the pump, there is a cover over the wiring connector that easily pops up and the connector can be pulled out. Directly below the unit is a screw with a Torx head that has to be removed, then two (2) hoses held with compression hose clamps that need to be removed with pliers. The unit will slide out of the base of the washer. There is a wiring harness in front of this assembly that can be popped loose on one side or the other to get the unit out.
Reversing the steps gets everything back in place.
NOTE: A notice came with my new pump stating that a tab needed to be removed on the wiring connector. It is easily removed by hand.
By the way - that was the most expensive penny I've ever owned! Pockets in jeans are now required to be turned out in our house before they are allowed in the washer!
-
Bob from Clayton, NC
-
Difficulty Level:Really Easy
-
Total Repair Time:15 - 30 mins
-
Tools:Nutdriver, Pliers
Washer would not drain ,F02 and SUD code displaying
(3) I packed towels under the washer.
(4) I slowly removed the cleanout i ... Read more n the front of the pump, using the water vac to catch the water as it leaked out.
(5) I removed the wiring to the motor.
(6) I removed the screw that holds the pump in place with a Torx T-20 socket.
(7) I pulled the pump forward so the clamps that hold the drain hose and discharge hose could be removed using the hose clamp pliers. ( they come off much easier then they go back on ).
(8) I tested the pump and found it would run but was making a lot of noise and running slow.
(9) To reinstall start with number (7) and work backwards to number (1) skipping (3) and (4).
Don Kramer
Wichita, Kansas
-
Donald from Wichita, KS
-
Difficulty Level:A Bit Difficult
-
Total Repair Time:1- 2 hours
-
Tools:Pliers, Socket set
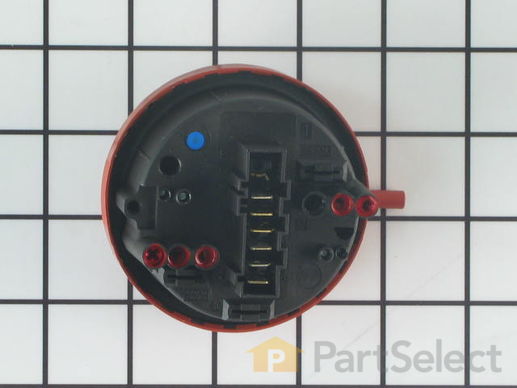
This water level switch senses the level of water in the inner tub.
Replacing your Kenmore Washer Water Level/Pressure Switch

Customer Repair Stories
Washer would stop at different times with code FH
-
David from West Chester, PA
-
Difficulty Level:Really Easy
-
Total Repair Time:15 - 30 mins
-
Tools:Pliers, Screw drivers
Washer was reporting F20 (Water Pressure)
-
Joseph from BINGHAMTON, NY
-
Difficulty Level:Really Easy
-
Total Repair Time:15 - 30 mins
-
Tools:Screw drivers
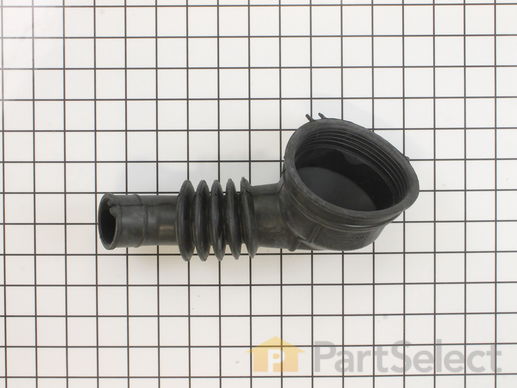
This hose attaches to water pump assembly. NOTE: As per the manufacture if the washer has an Eco Ball, it's no longer needed when the new hose is installed.
Replacing your Whirlpool Washer Pump Hose

Customer Repair Stories
Worn out hose had a hole it it.
-
Edward from Clinton, MD
-
Difficulty Level:Easy
-
Total Repair Time:15 - 30 mins
-
Tools:Pliers
Washer leaking
Look for the leak. Determined it was the hose. Use power pliers to remove the clamp.
The small clamp was easy. The big one I had to use my yoga to get to it. It probably would had been easy from the back panel but moving the machi ... Read more ne requires brute force.
Once the hose was out I found some bra under wires which is what probably punctured the hose.
Removed the front filter and found a bunch of nails.
Assembly was much easier and placed clamps so that if needed it would be a lot easier to remove and replace.
-
Alexander from Miami, FL
-
Difficulty Level:A Bit Difficult
-
Total Repair Time:30 - 60 mins
-
Tools:Pliers, Screw drivers
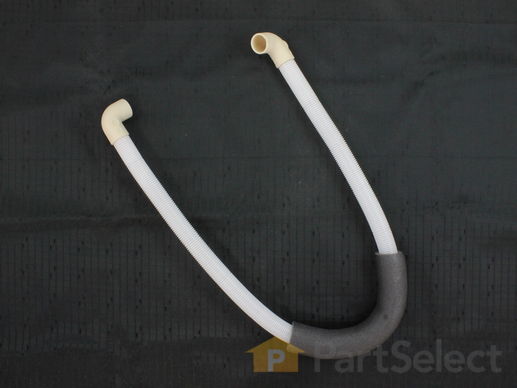
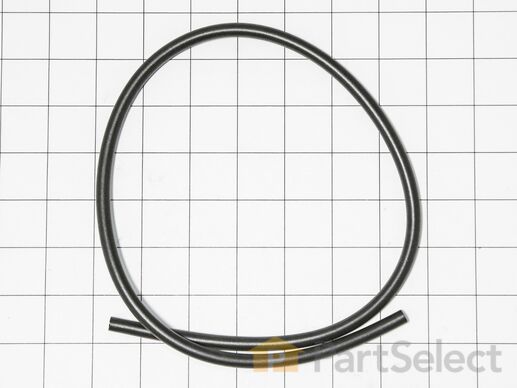
This hose goes from the drain pump to the back of the washer.
Customer Repair Stories
I was getting a sewer smell when the washer drained I did every cleaning technique and didn't solve the problem then I cleaned the inside drain hose and that helped so I replaced the hose and problem solved.
I replaced the hose and reinstalled the panels and I was do ... Read more ne.
-
anthony from EASTPOINTE, MI
-
Difficulty Level:Very Easy
-
Total Repair Time:30 - 60 mins
-
Tools:Pliers, Screw drivers
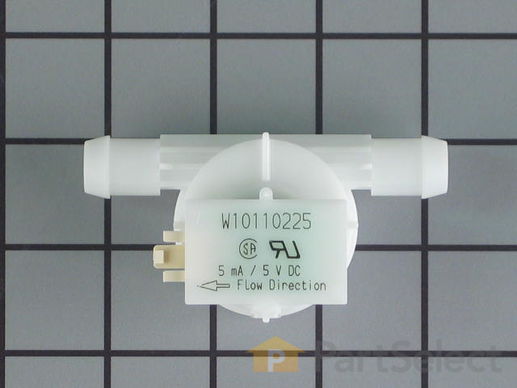
This part continually measures the amount of water entering the tub. It will make adjustments if too much or too little water is present.
Replacing your Kenmore Washer Flowmeter

Customer Repair Stories
FH code-4 minutes into cycle
-
robert from LITLE RIVER, SC
-
Difficulty Level:Really Easy
-
Total Repair Time:15 - 30 mins
-
Tools:Nutdriver, Pliers
F/H error code.
Reversed procedure. Running perfect now.
How did I know it was the flow-meter? Read the service manual as possible causes to narrow it down. Disassembled old flowmeter and cleaned ... Read more . That fixed for awhile. Problem came back, could 'tap' on flowmeter to temporarily fix. This convinced me that was indeed the problem.
The flowmeter is just a simple vane that moves as water flows across it, and sends pulses each time it rotates. If it 'sticks' then the computer doesn't think any water is coming in - hence the error. Tapping on it would 'unstick' long enough to confirm problem.
-
Jeff from Naples, FL
-
Difficulty Level:Easy
-
Total Repair Time:Less than 15 mins
-
Tools:Nutdriver, Pliers
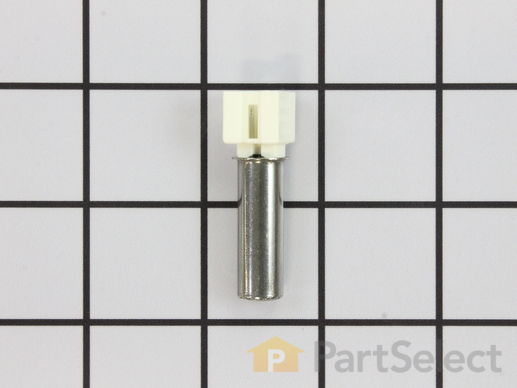
This part regulates the temperature of the water in the tub. The sensor is located in the heating element.
Replacing your Whirlpool Washer Temperature Sensor

Replacing your Whirlpool Washer Temperature Sensor

Customer Repair Stories
Washer posting a f6 error
-
Robert from Salt Lick, KY
-
Difficulty Level:Really Easy
-
Total Repair Time:Less than 15 mins
-
Tools:Screw drivers
Replacing the heat sensor following an F-24 Error Notice.
be careful when disconnecting the two prong electrical connector from
the heat sensor. the two black wires can pull free easily. In that case, the
rear of the female plastic wired connector must be extracted to allow the two black wires to be "pushed" ... Read more into the narrow slot which displaces the
wire insulation and allows for a good electrical connection. If a punch tool is not available a pair of needle nose pliers works. Also, observe
the orientation slots on both the male andfemale connectors - they
connect one way only! I set the washer on it's face while effecting this
repair to better see what I was doing (eyesight not as good as it used to be). Thanks for the timely support!
-
william from VIRGINIA BCH, VA
-
Difficulty Level:Really Easy
-
Total Repair Time:30 - 60 mins
-
Tools:Nutdriver, Pliers
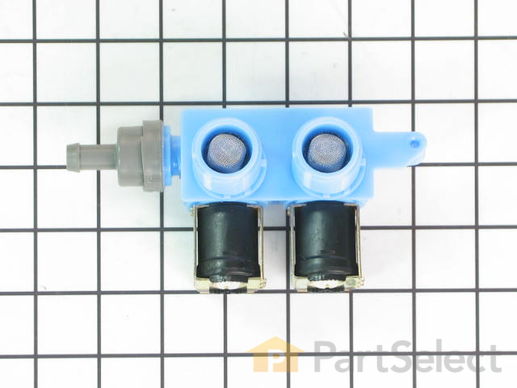
Used with some front load washers. The attaching solenoids on the valve open and close according to the desired temperature, or amount of water needed.
Customer Repair Stories
water leaked into drum while machine when turned off
2. slightly lift the backside of the washer top and pull/ slide to the back to remove. Top will unlatch and and lift off.
3.Remove the star screw that attaches the water valve to the back of the washer.
4. Remove hose clamp and 4 ... Read more wire clips from water vale assembly and replaced with new valve.
5. Reverse order to reassemble.
-
Douglas from Maitland, FL
-
Difficulty Level:Easy
-
Total Repair Time:15 - 30 mins
-
Tools:Nutdriver, Pliers
Tub of front load washer was slowly filling with water when machine was empty/off
-
Andrea from Chelmsford, MA
-
Difficulty Level:Really Easy
-
Total Repair Time:Less than 15 mins
-
Tools:Screw drivers


