Models > DLE7177RM > Symptoms > Noisy

Parts That Fix LG Dryer DLE7177RM Noisy

Noisy is a commonly reported symptom for the DLE7177RM LG Dryer, and we have put together a full guide on how to fix this. This advice is based on feedback from people who own this exact appliance. We have listed the most common parts for your DLE7177RM LG Dryer that will fix Noisy. We have included repair instructions, and helpful step-by-step video tutorials. If you are experiencing this issue, not to worry, DIYers just like you have fixed this, and shared their experience to help you!

Fixes Symptom 37% of time
★★★★★
★★★★★
70 Reviews

Rated by 17 customers 


Easy 

1- 2 hours 

Ratings submitted by customers like you who bought this part.   

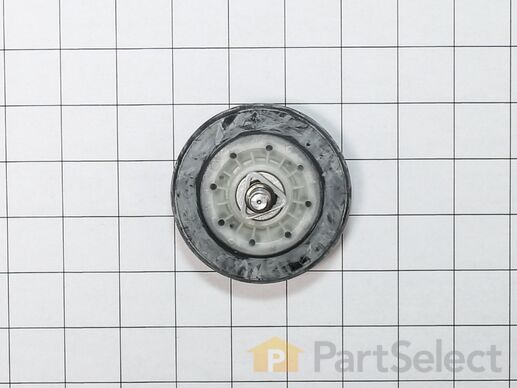
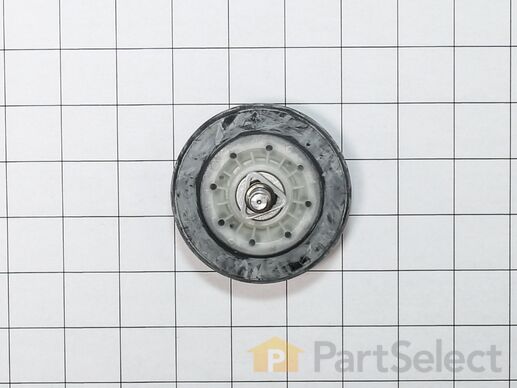
The drum roller for your dryer holds the drum in place while the drum turns on the support wheels. The drum roller is round with a bearing in the middle and measures approximately 3 inches in diameter. Over time, these rollers can become worn, and it may cause your dryer to be noisy during operation. The bearing inside this roller is self-lubricating, so no grease will be required.

$ 87.42
  In Stock
PartSelect Number PS16763594
Manufacturer Part Number AGM75510755

Replacing your LG Dryer PARTS ASSEMBLY, SVC (2 Pack)

Replacing your PARTS ASSEMBLY, SVC (2 Pack)

Customer Repair Stories

Screeching during operation

Found disassembly video and watched several times. Suspected that one of the drum wheels had seized up. Found extreme volume of lint and hair inside unit as well as a dryer sheet melted on top of heating unit. Front left drum wheel was worn down from lint and hair jamming its movement. Video made it easy, not a really complicated piece of machinery. Replaced all 4 wheels due to normal wear on other three. Wanted to be sure drum evenly balanced on all 4. Parts came quickly and were easy to install. My sister and I did this together. Would not recommend doing it alone. Took time to vac and wipe down entire unit. Now it runs so quiet we have to look to see if it is operating. Got a brand new machine out of it, saved a couple of hundred dollars in repair bills, and found 11 cents inside the machine. For your own piece of mind, if you have had your dryer for several years, you need to open it up and clean it out. Its not hard... added note, we are both in our 60's... so if we can do it so can you.... Such a feeling of accomplishment, can't buy that in a store....
  • CAROL from NAMPA, ID
  • Difficulty Level:
    Really Easy
  • Total Repair Time:
    More than 2 hours
  • Tools:
    Pliers, Screw drivers
32 of 42 people found this instruction helpful.
Was this instruction helpful to you?
Thank you for voting!

Dryer making a thumping and squealing noise when running

Had to replace front drum support rollers. Removed screws underneath top in back that held bracket that keeps top in place. Slid top towards rear and lifted up. Removed 4 screws that hold plastic front panel in place (inside..2 on each corner) Unplugged front panel electric plugs to remove panel. Opened door..removed 2 screws at bottom of door opening. Removed screws on top of front panel. Unplugged door switch plug. Removed front panel. Removed right front roller with 9/16th wrench for nut. Adjustable for back of stud. Lifted up on drum to get roller out. Reversed to install. Left roller a bit harder to get to stud. Removed and installed same as right side. Did not attempt to replace rear rollers. Have them if needed but very much more involved to replace.
  • Mark from WAVERLY, OH
  • Difficulty Level:
    Easy
  • Total Repair Time:
    30 - 60 mins
  • Tools:
    Screw drivers, Wrench (Adjustable), Wrench set
80 of 99 people found this instruction helpful.
Was this instruction helpful to you?
Thank you for voting!
Fixes Symptom 31% of time

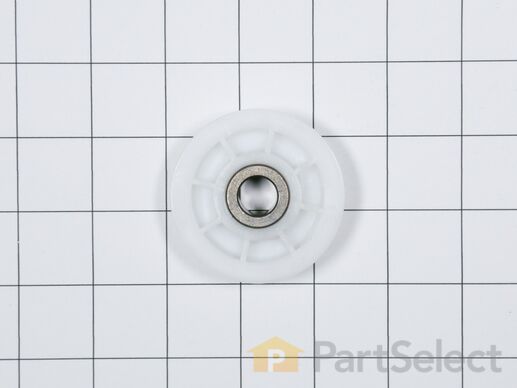
This part is sold individually. The drum support roller is found in your dryer. It is used to hold the drum in place in the cabinet while letting the drum rotate on the support rollers. It is recommended that you replace both rollers at once. You may notice that this part needs to be replaced if you are experiencing a squeaking noise, which could be due to the bearing going bad. The bearing could be severely damaged if you hear a very loud thumping noise, much like you would when you are drying a pair of shoes.

  No Longer Available
PartSelect Number PS12749664
Manufacturer Part Number 4581EL2002H
Fixes Symptom 21% of time
★★★★★
★★★★★
8 Reviews

Rated by 11 customers 


Easy 

1- 2 hours 

Ratings submitted by customers like you who bought this part.   

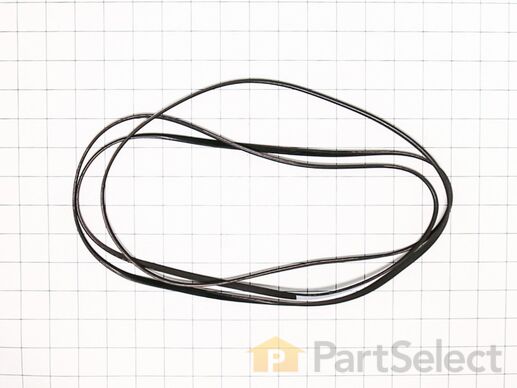
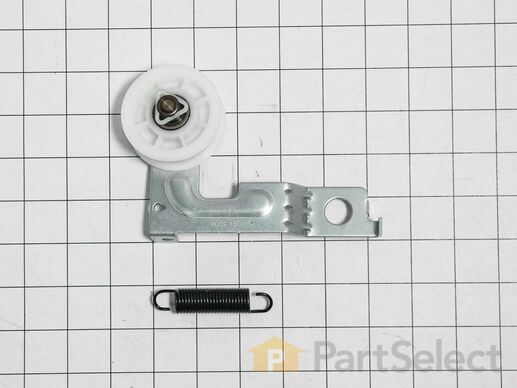
The belt wraps the length of the dryer drum, secured by a tension pulley and then loops around the motor pulley. If you find that the drum is not turning properly or at all while your dryer is in succession, it might be due to the belt being broken.

$ 31.27
  In Stock
PartSelect Number PS11705916
Manufacturer Part Number 4400EL2001F

Customer Repair Stories

Drum wasn't turning

I took the dryer apart. You have to take the top off, then the door/front off. There are wires & other parts that need to be unhooked as well. A flat tip screw driver can be used to pop the top off. The screws were all phillips. Once you take that all apart, then you can access the drum. I bought the belt because I thought that was what was wrong with it. Turned out to be hair in the drum rollers. Took those all off & put wheel grease on each of them, put new belt on (since I had it LOL) then put it all back together. Make sure everything is lined up correctly otherwise you will have to take it apart & reline (which I had to do)
I am a 49yr old female & was able to do this repair on my own!
  • Beth from FROST, TX
  • Difficulty Level:
    Really Easy
  • Total Repair Time:
    1- 2 hours
  • Tools:
    Screw drivers
2 of 2 people found this instruction helpful.
Was this instruction helpful to you?
Thank you for voting!

making squeaking noise

Watched a You Tube video
  • Paul from MONTGOMERY, AL
  • Difficulty Level:
    Easy
  • Total Repair Time:
    30 - 60 mins
  • Tools:
    Screw drivers, Wrench set
4 of 4 people found this instruction helpful.
Was this instruction helpful to you?
Thank you for voting!
Fixes Symptom 5% of time
★★★★★
★★★★★
5 Reviews

Rated by 1 customer 


Easy 

1- 2 hours 

Ratings submitted by customers like you who bought this part.   

$ 23.38
  In Stock
PartSelect Number PS3523032
Manufacturer Part Number 4560EL3001A
Fixes Symptom 2% of time
★★★★★
★★★★★
7 Reviews

Rated by 1 customer 


Very Easy 

15 - 30 mins 

Ratings submitted by customers like you who bought this part.   

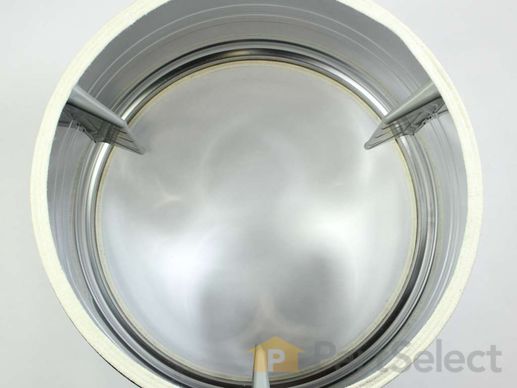
This assembly is the tub, felt seal and 3 baffles in the tub.

$ 720.18
  Special Order
PartSelect Number PS16746362
Manufacturer Part Number AJQ75298102

Replacing your LG Dryer TUB ASSEMBLY,DRUM

Replacing your TUB ASSEMBLY,DRUM

Customer Repair Stories

Drum in Dryer had cracked at front causing a thump as it rotated

First the delivery time was incredible, I ordered the part at 2pm on Mnday and recieved the drum Tuesday afternoon. I'm not sure how this was accomplished as I can't even mail a letter across town and receive the next day. Reoved front of dryer removed old drum and slid in new drum. only difficulty was the wiring disconnect on the control board, didn't want to come off. took 5 minutes to work loose.
  • Carol from Noblesville, IN
  • Difficulty Level:
    Easy
  • Total Repair Time:
    30 - 60 mins
  • Tools:
    Screw drivers
Was this instruction helpful to you?
Thank you for voting!

Thumping noise when on

watched the video on line then did the repair, very easy to replace
  • Bob from Holiday, FL
  • Difficulty Level:
    Very Easy
  • Total Repair Time:
    15 - 30 mins
  • Tools:
    Screw drivers
2 of 2 people found this instruction helpful.
Was this instruction helpful to you?
Thank you for voting!
Fixes Symptom 2% of time
★★★★★
★★★★★
4 Reviews

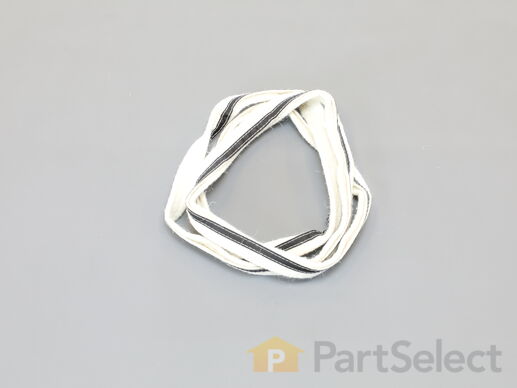
This genuine OEM felt gasket provides a cushioned seal between the inner tub of your electric dryer and the rear panel. It prevents your clothes from getting snagged and helps in heat retention. You will find it around the circumference of the drum. The most typical reason for replacing the felt seal is when it becomes worn. It is important to note that this rear seal is sold separately from the front seal and the adhesive needed to install it.

$ 33.91
  In Stock
PartSelect Number PS3522851
Manufacturer Part Number 4036EL3001A
Fixes Symptom 2% of time
★★★★★
★★★★★
1 Review

$ 49.27
  In Stock
PartSelect Number PS3523033
Manufacturer Part Number 4561EL3002A
Fixes Symptom 1% of time
★★★★★
★★★★★
1 Review

$ 71.38
  In Stock
PartSelect Number PS3528491
Manufacturer Part Number 5835EL1002A