Models > WED6400SW1 > Symptoms > Door won’t close

Parts That Fix Whirlpool Dryer WED6400SW1 Door won’t close

Door won’t close is a commonly reported symptom for the WED6400SW1 Whirlpool Dryer, and we have put together a full guide on how to fix this. This advice is based on feedback from people who own this exact appliance. We have listed the most common parts for your WED6400SW1 Whirlpool Dryer that will fix Door won’t close. We have included repair instructions, and helpful step-by-step video tutorials. If you are experiencing this issue, not to worry, DIYers just like you have fixed this, and shared their experience to help you!

Fixes Symptom 96% of time
★★★★★
★★★★★
103 Reviews

Rated by 26 customers 


Really Easy 

15 - 30 mins 

Ratings submitted by customers like you who bought this part.   

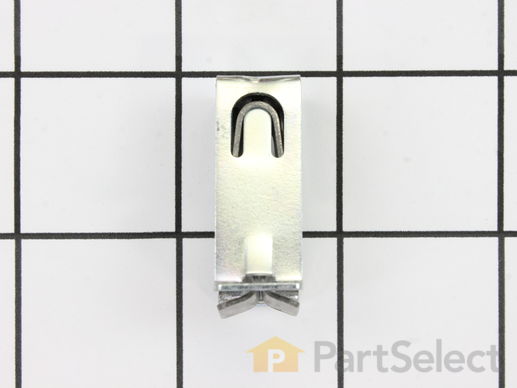
This replacement door catch is for your dryer door. If the catch is broken and the door will not stay shut, the dryer may not turn on. Use a putty knife to pop out the existing door catch by the locking tabs, and insert the new one. Make sure to unplug the dryer before beginning this repair.

$ 7.37
  In Stock
PartSelect Number PS11748369
Manufacturer Part Number WPW10111905

Replacing your Whirlpool Dryer Door Catch

Replacing your Door Catch

Customer Repair Stories

Dryer door wouldn't 'latch' closed.

took off about 8 screws, opened door into it's front & back parts, popped out the old/broken door catches and re-inserted replacements. Only 1 is needed, but this is the 2nd one to break. The first time a repairman switch the un-used from right side to left. (there are 2 so the door can be hung left or right opening)
  • Christopher from Oceanport, NJ
  • Difficulty Level:
    Easy
  • Total Repair Time:
    15 - 30 mins
  • Tools:
    Screw drivers
26 of 27 people found this instruction helpful.
Was this instruction helpful to you?
Thank you for voting!

Dryer door catch broken

After a few years of slamming the dryer door (at least that is what my husband says), the catch on the dryer door broke. Using pliers (I used needle nose) squeeze the outer edges of the catch together (vertically). With it compressed, it should slide out easily. My husband had jacked with ours prior to the repair, so the broken piece in the door was actually sideways and would not fit through the hole. Using a screwdriver, I pushed that piece into the door (it lives in the door somewhere now). I was then able to slide out the rest of the old catch. Compress the new catch and insert it into the hole in the door. Push it in until it clicks into place. DONE! Happy Drying!
  • Tammy from Clute, TX
  • Difficulty Level:
    Really Easy
  • Total Repair Time:
    Less than 15 mins
  • Tools:
    Pliers
148 of 155 people found this instruction helpful.
Was this instruction helpful to you?
Thank you for voting!
Fixes Symptom 2% of time
★★★★★
★★★★★
1 Review

Rated by 1 customer 


Really Easy 

Less than 15 mins 

Ratings submitted by customers like you who bought this part.   

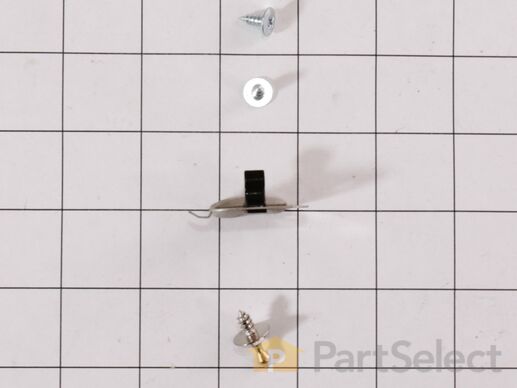
This strike attaches to the front panel. Sold individually.

$ 67.77
  In Stock
PartSelect Number PS2373322
Manufacturer Part Number W10295405

Customer Repair Stories

Door would come open while drying clothes

Very bad design to keep door shut but very simple to fix. Just screw bad strike out and screw new one end. Whirlpool should have gave extra when you buy this type dryer.
  • Mark from Charlotte, NC
  • Difficulty Level:
    Really Easy
  • Total Repair Time:
    Less than 15 mins
  • Tools:
    Nutdriver
21 of 35 people found this instruction helpful.
Was this instruction helpful to you?
Thank you for voting!
Fixes Symptom 2% of time
★★★★★
★★★★★
10 Reviews

Rated by 2 customers 


Really Easy 

15 - 30 mins 

Ratings submitted by customers like you who bought this part.   

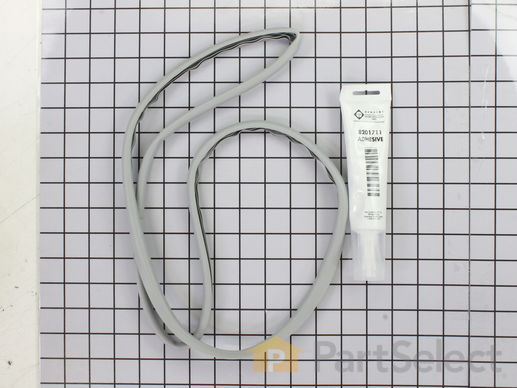
This part creates a seal around the door. High temperature adhesive is included.

$ 74.27
  In Stock
PartSelect Number PS2349140
Manufacturer Part Number W10239307

Replacing your Whirlpool Dryer Door Seal with Adhesive

Replacing your Door Seal with Adhesive

Customer Repair Stories

Door seal came off

Did not take the door off..applied adhesive and seal fit perfectly..used packaging wide tape to secure for a bit while adhesive dried..waited 24 hrs..holding well..dryer is back to working order..thank you..I received the seal in 2 days after ordering!!
  • Mary from MEQUON, WI
  • Difficulty Level:
    Really Easy
  • Total Repair Time:
    15 - 30 mins
1 person found this instruction helpful.
Was this instruction helpful to you?
Thank you for voting!

The seal came off our dryer door.

Take door off dryer (unscrew four screws). Lay door on flat surface. Using glue provided glue down new seal. Put dryer door back on and you're done!
  • Janet from LOS ANGELES, CA
  • Difficulty Level:
    Really Easy
  • Total Repair Time:
    15 - 30 mins
  • Tools:
    Screw drivers
10 of 15 people found this instruction helpful.
Was this instruction helpful to you?
Thank you for voting!
Fixes Symptom 1% of time

$ 54.93
  In Stock
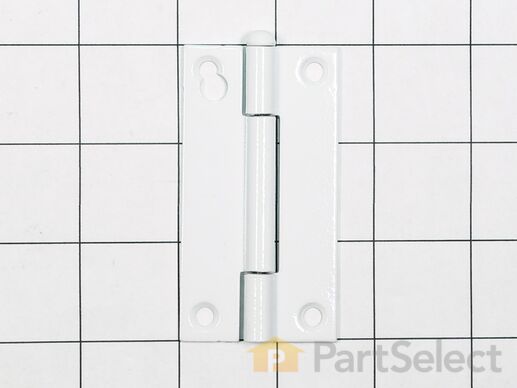
PartSelect Number PS11746573
Manufacturer Part Number WP8565018