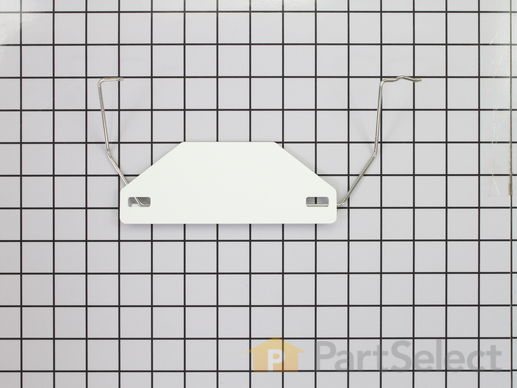
Parts That Fix Maytag Refrigerator MZD2766GES Ice maker not making ice
Ice maker not making ice is a commonly reported symptom for the MZD2766GES Maytag Refrigerator, and we have put together a full guide on how to fix this. This advice is based on feedback from people who own this exact appliance. We have listed the most common parts for your MZD2766GES Maytag Refrigerator that will fix Ice maker not making ice. We have included repair instructions, and helpful step-by-step video tutorials. If you are experiencing this issue, not to worry, DIYers just like you have fixed this, and shared their experience to help you!
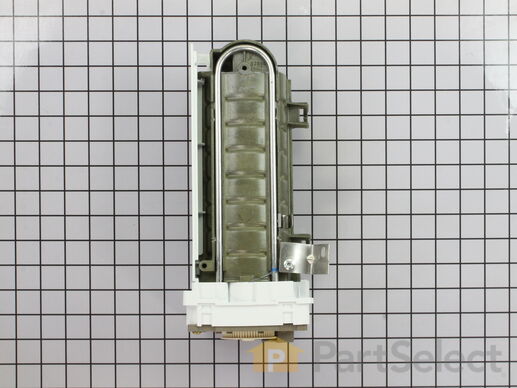
This ice maker (Ice Maker Assembly, Refrigerator Ice Maker) produces ice cubes that are ejected into the storage bucket. It is located in the freezer section of your appliance, mounted on the freezer wall. The ice maker can break from normal wear and accidental damage. If this happens, your refrigerator may no longer make ice cubes, or may not make enough cubes, and the part should be replaced. This model measures approximately 11 inches long and 5 inches wide. It’s constructed of plastic and metal, and comes in black/white/silver. This assembly includes the ice mold and the control device.
Replacing your Amana Refrigerator Replacement Ice Maker

Customer Repair Stories
Water overflowed ice maker turnning ice bucket into solid mass of ice
-
Harry from Grand Ledge, MI
-
Difficulty Level:A Bit Difficult
-
Total Repair Time:30 - 60 mins
-
Tools:Pliers, Screw drivers
Icemaker producing few or no cubes and often leaving "kling-ons" on ice tray
Unplug appliance.
Remove timer cover by hand pressure @ edge.
Remove single attachment screw & bracket at lower front of icemaker.
Disconnect wiring harness from socket @ rear of compartment.
Tricky part was determin ... Read more ing what type of connection held the other two attachment points along the long edge of the icemaker. I did not have repair manual or useful drawing but looked @ PartsDirect pic of side brackets & used a small mirror to confirm that mine were also some sort of "snap in" attachment.
Remove icemaker unit by pushing upward and outward on the unit. I takes a good bit of pressure and will pop loose, but be careful not to break attachment bracket from freezer wall.
Scavenge shut off bar and wiring harness from old icemaker once you have it out & attach to new one before installing it back in freezer.
Again, you might find a mirror useful to align those pesky snap-in brackets with the new unit.
Since you probably kept your freezer running while waiting for the part, the plastic snap-ins will be cold and brittle. I warmed them up first by applying a dampened cloth heated in the microwave to make them a little more pliable.
A good push of the new unit towards the snap-ins along with some upward force will get it stable.
Reattach the metal screw in bracket & connect the wiring harness to rear plug... and don't forget to plug the whole thing back in.
It will take awhile for the first batch of cubes dump as the timer may need to cycle completely around to get to the fill cycle... be patient.
Dump the first couple of batches of cubes just to make sure you're free of any residue.
-
Bernie from Diamond Bar, CA
-
Difficulty Level:Easy
-
Total Repair Time:30 - 60 mins
-
Tools:Nutdriver
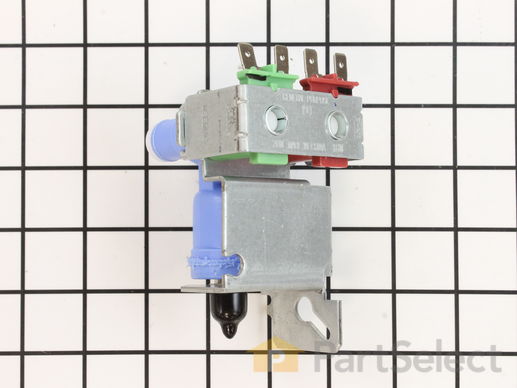
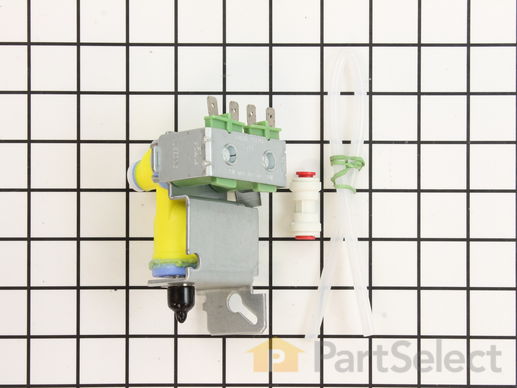
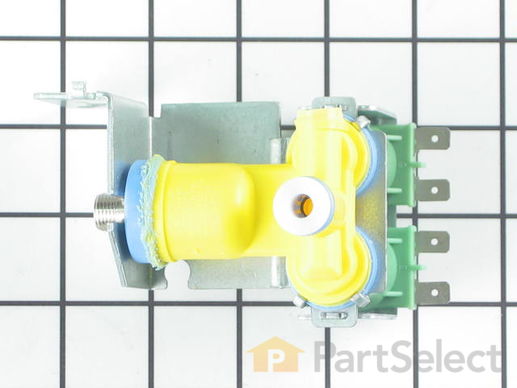
This valve is located behind the refrigerator. It has a 1/4" compression inlet fitting. This part is a solenoid-operated switch that, when activated, releases water from the supply line to the water valve and into the compact icemaker mold.
Replacing your Maytag Refrigerator Double Inlet Water Valve

Customer Repair Stories
Ice maker over flowing
-
ben from manhattan, KS
-
Difficulty Level:Really Easy
-
Total Repair Time:15 - 30 mins
-
Tools:Nutdriver, Pliers
Ice Maker had quit due to faulty valve
-
Brian from Imperial, CA
-
Difficulty Level:Really Easy
-
Total Repair Time:15 - 30 mins
-
Tools:Nutdriver, Screw drivers
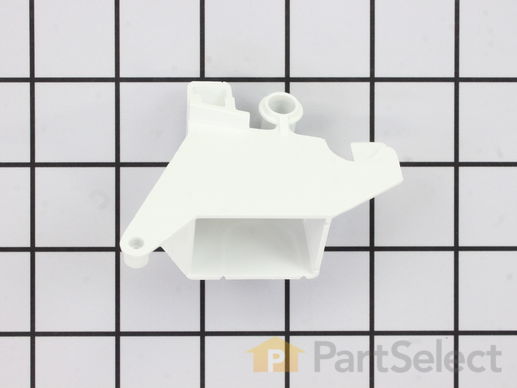
This refrigerator ice maker fill cup dispenses the water into the ice cube mold during the fill cycle. Replacing the water fill cup is a possible solution if you notice that the ice maker is leaking, or not making/dispensing ice. If you notice the fill cup has been damaged or cracked; replace the part straight away. This water fill cup is a genuine OEM part and will fit most refrigerators, but check the list of compatible brands to make sure yours is included before purchasing.
Replacing your Kenmore Refrigerator Water Fill Cup and Bearing

Customer Repair Stories
Icemaker arm was broken
Once I got this part, I removed the freezer door and trays, and pulled the icemaker out by removing 3 flathead screws and unplugging the c ... Read more ables. Laying in the freezer on the floor was a bit unconfortable, but not too bad.
Then I inspected the icemaker. There was no obvious way to remove the part without disassembling the front of the unit (where the motor is) to release the spindle and free the part, so I did that - 3 or 4 nuts was all that held it together. Once that was out, I removed the spindle, swapped out the part, and put it all back together and back in the freezer. Plugged it in and waited.
It took a while to start making ice. Like 5 hours. Now it's going pretty slow (much slower than before.) Haven't had time to look into it, but my suspicion is the rubber hose that feeds water into the icemaker is blocked with ice or kinked. In any case, we have ice now (but not a lot), and the unit shuts itself off properly. However, we went from having too much ice (thing never shut off) to too little (thing makes ice too slow), so I need to shoot for somewhere in the middle ;)
-
Jason from Austin, TX
-
Difficulty Level:A Bit Difficult
-
Total Repair Time:30 - 60 mins
-
Tools:Nutdriver, Screw drivers
The Bearing Cup Assembly was broken and ice would jamb against it during the ice making cycle.
-
David from Chester, CA
-
Difficulty Level:Really Easy
-
Total Repair Time:Less than 15 mins
-
Tools:Nutdriver, Screw drivers
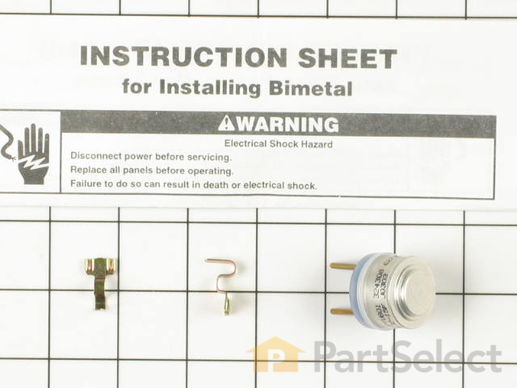
The ice maker thermostat, also known as the cycling thermostat, controls and regulates the ice maker ejection cycle by monitoring the temperature inside the freezer to determine when to release the ice into the bin and start the ice making cycle again. If your ice maker is making unusual noises, or if the ice maker is not making or dispensing ice, there could be an issue with the thermostat. Before you begin this repair, make sure the power is disconnected from your refrigerator, and that any food that may spoil is safely stored. This is an OEM part and is sourced directly from the manufacturer. This thermostat is sold individually, and comes with two attachment clips.
Replacing your Kenmore Refrigerator Cycling thermostat

Customer Repair Stories
ice maker did not make ice
-
DAVID from TINLEY PARK, IL
-
Difficulty Level:A Bit Difficult
-
Total Repair Time:30 - 60 mins
-
Tools:Nutdriver
No ice in ice trey
-
Wayne from Leesburg, FL
-
Difficulty Level:Really Easy
-
Total Repair Time:15 - 30 mins
-
Tools:Screw drivers, Socket set
This ice level arm, also known as an ice shutoff arm, is designed to detect the level of ice within the ice bin of your ice maker or refrigerator and turn it off when enough ice has been made. When the ice maker is empty, the arm will be down. When the ice maker is full, the arm will be raised, and over time, wear and tear to the level arm can cause the ice maker to stop making ice completely. To replace this arm, unplug your appliance and remove the ice making assembly, then pull the levelling arm out of the assembly and place the new one. Consisting of a long, angled metal arm and a plastic flap, this level arm is a genuine OEM part that is compatible with a wide-range of refrigerators and icemakers and measures at approximately 9-inches by 4.5-inches.
Replacing your Whirlpool Refrigerator ARM-SHUT

Customer Repair Stories
Ice maker was over producing
-
Gregory from Milford, OH
-
Difficulty Level:A Bit Difficult
-
Total Repair Time:15 - 30 mins
-
Tools:Nutdriver
shut off arm broke
-
Thomas from Va. Beach, VA
-
Difficulty Level:Easy
-
Total Repair Time:Less than 15 mins
This double outlet water valve kit replaces the sometimes problematic plastic "Y" connector.
Customer Repair Stories
Valve Leaking
The part was slightly different than the picture on the parts website due to a design change that eliminated the Y in the water line created only one connection on the valve where there used to be two. I found this out reading on other websites.
T ... Read more his design change also resulted in a part number change, but because this website had such good pics and views, I was able to determine the part was right. We received the part within 3 days and installation was easy. We eliminated the Y in the line and attached the fittings.
-
Betsy from Zimmerman, MN
-
Difficulty Level:Easy
-
Total Repair Time:15 - 30 mins
-
Tools:Pliers, Wrench set
Water dispenser and ice maker wouldn't work (bought the fridge u$ed)
PS109042 Double Outlet Water Valve
PS46363 Dual Outlet Water Valve Kit
When I bought the fridge, the part that PS109042 replaces was cracked and leaking water badly. When I ordered the replacement part, I got confused and ordered PS46363 by mistake. The original parts look similar ... Read more even when side by side, but the replacement parts are revised drastically.
PS46363 is for the line that is between the water source and the water filter. The original lines from the filter are split (the original part has two inlets) and pipe to one inlet. You'll have to cut your hose right before it forks. The directions that come with the part are very straight-forward.
PS109042 actually distributes the filtered water to the water dispenser and icemaker. The old part had plastic fittings that held the water hosing to the part. The new part has no plastic fittings, yet holds the hosing to the part tightly. The directions that come with the part are very short and concise.
I also replaced the factory water filter with a Brita replacement (they are cheaper and I've used Brita filters before...they are solid).
All in all, I spent less than $100 on fixing a $500 used fridge that works as good as new. My wife was initially doubtful but fairly satisfied with the cost of the parts and the simplicity of installing them.
-
Ronald from Gainesville, VA
-
Difficulty Level:Easy
-
Total Repair Time:15 - 30 mins
-
Tools:Nutdriver, Screw drivers, Socket set
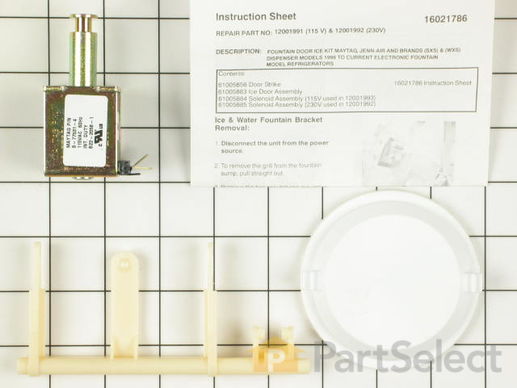
In addition to the solenoid (115V), this kit also comes with a door strike and an ice door assembly. Please be advised the spring and roll pin are not included with this kit.
Replacing your Maytag Refrigerator Ice Dispenser Solenoid and Door Kit

Customer Repair Stories
Ice Door Would Not Open
-
Stanley from Southlake, TX
-
Difficulty Level:A Bit Difficult
-
Total Repair Time:30 - 60 mins
-
Tools:Pliers, Screw drivers
Ice Dispenser "round chute" broken side tab, ice/water fountain not working
-
Scott from Walker, LA
-
Difficulty Level:Really Easy
-
Total Repair Time:Less than 15 mins
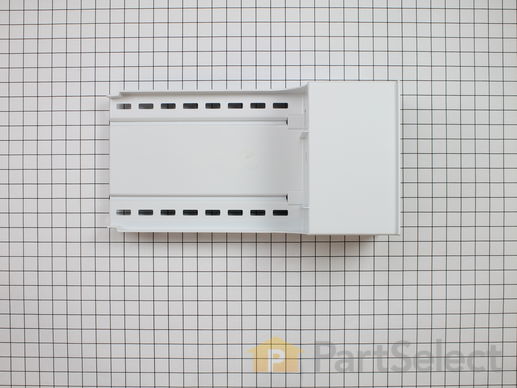
This is the part that holds the ice bin and houses the auger motor which is sold separately.
Customer Repair Stories
The motor that drives the ice auger, broke out of the plastic
One important key: You are not done. Once it is all reinstalled, be sure empty out the ice bin, dry all the parts as best you can, and activate the dispenser every 15 min or so for the first hour. Otherwise it will freeze up and you will think it is broken again.
-
Bill from Statesville, NC
-
Difficulty Level:A Bit Difficult
-
Total Repair Time:30 - 60 mins
-
Tools:Pliers, Screw drivers
Plastic broke where motor mounts to dispense ice so motor was just lying on the back of the enclosure.
The difficulty was removing yoke from motor shaft, left hand threads that were hard to identify. No place to hold shaft so it turned when trying to remove yoke.
Some minor difficulty re ... Read more attaching electrical harness for motor and solenoid as I had to do it by feel. Removal was easy as the motor was just hanging and I removed the solenoid before removing the enclosure.
-
Thomas from Chandler, AZ
-
Difficulty Level:A Bit Difficult
-
Total Repair Time:15 - 30 mins
-
Tools:Nutdriver, Pliers, Wrench (Adjustable), Wrench set
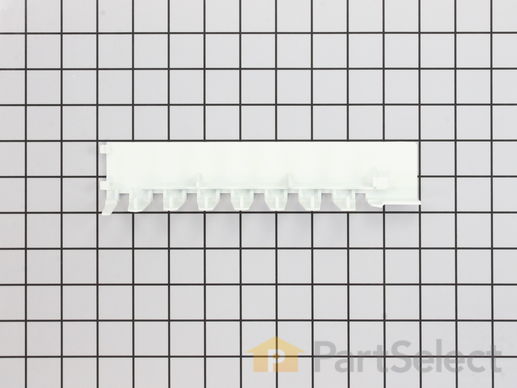
This is an authentic appliance part that is sourced directly from the genuine manufacturer. This ice stripper functions by stripping the ice maker mold of ice during the ejection cycle, after the water has frozen into cubes. The ice stripper rotates to push the cubes into the ice bucket and prevents the ice from falling back into the mold. You may need to replace the ice stripper if your ice maker is no longer making ice. This part is approximately 9 inches long and is sold individually.
Customer Repair Stories
The ice stripper cracked from freezing.
-
David from Discovery Bay, CA
-
Difficulty Level:Really Easy
-
Total Repair Time:15 - 30 mins
-
Tools:Nutdriver
Ice stripper broken on ice maker
-
Kenneth from New Braunfels, TX
-
Difficulty Level:Really Easy
-
Total Repair Time:Less than 15 mins
-
Tools:Screw drivers
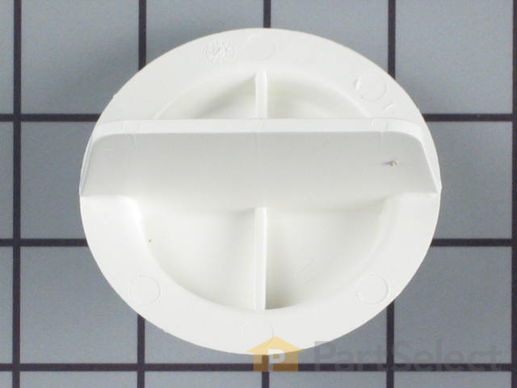
This plug comes with a black rubber seal ring.
Customer Repair Stories
No water in door or icemaker
-
Eric from Menan, ID
-
Difficulty Level:Really Easy
-
Total Repair Time:Less than 15 mins
Hollow Ice Cubes, Stuck Icemaker & no more cubes
Longest part of this was cl ... Read more earing the top shelf to reach back there... Oh, and figuring out that this part exists and that it could help with the problems we were having with the unit. The water filter is relatively new, less than six months, but it still contributed to the problem enough to cause the failure.
[Thank you Partselect.com for having this web database set up that gets EXACTLY the right part!].
Now about the hollow cubes: Do a web search and you'll find a lot of discussion about it. This is specific to the Whirlpool (Maytag, and others) newer style front to back icemakers that create "half moon" shaped icecubes. For a Shop Manual to a web search for 4316835.pdf for this series.
No doubt my old unit's icemaker solenoid valve on the back isn't passing as much pressure as it did new, but by itself it isn't fatal just yet. You can tell if you are vulnerable to this if the water spigot on the front only delivers a very slow trickle of water; if it takes a l o n g t i m e to fill a glass.
But here is the rest of the story: There is a fundamental design flaw in the way the icemaker unit was created that makes it malfuntion if the water pressure is too low - they chose to put the thermocouple (TC) that senses the temperature of the freezing cube on the opposite end (front) of the water tray from the water fill tube which fills from the rear. This was probably a manufacturing trade off for simplicity of assembly and it saved them half a cent's worth of copper wiring and a couple of screws. And maybe a safty concern about wiring under an open water channel, but that is a lousy excuse; there are other solutions, and the power "harness" goes right by there within a couple of inches anyway...
There are a number of reasons for low pressure:
- Bad supply inlet valve, or not open all the way, crimped tubing
- Bad Frige icemaker solenoid valve
- Clogged internal water filter (even just a little)
- Frozen ice plug in the fill tube, in the very back top of the unit against the back (use a hair dryer to defrost)
- Etc. Do some more web research for more details.
Of course the icemaker timers do fail as well, so this discussion assumes the icemaker is still functioning as "normally" as it can, given its design limitations.
The interaction with water pressure (design flaw!) is this: if the unit doesn't get enough water due to low pressure, then the final cube position to fill doesn't get any water in it (the front one by the motor). This is the one that the TC is next to as well, so it cools of really quickly and the TC thinks the tray is completely frozen, when in fact it isn't. The TC fires the cycling motor which turns on the heater and then spins the ejector shaft which has tabs that push the half moon shaped cubes around and out. However, since the cubes weren't fully frozen, only their outer shell gets pushed out - the water in the middle drains out leaving a hollow cube set. That liquid water hits the cold ejector bars and some of it immediately freezes, making little stalactite fingers that catch on the tabs and side of the tray, thus jamming the ejector shaft and pausing the cycle in place indefinitely.
The net is that you get a few hollow cubes and then no more ice until you reach in and crack off the ice fingers so shaft tabs can pass and the motor can finsh the cycle and properly stop in its home position. You can also tell by checking whether the front cube location has water in it just after it fills by reaching around and dipping your finger in it. If it comes up dry, then you have this problem.
So, in my case, putting the bypass plug in increased my flow t
-
Jonathan from Scottsdale, AZ
-
Difficulty Level:Really Easy
-
Total Repair Time:Less than 15 mins
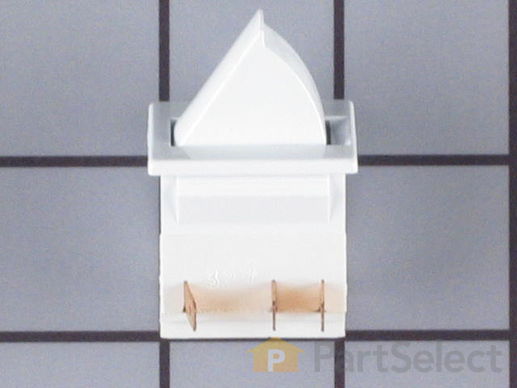
This light switch may also be known as a refrigerator door switch or a light switch kit, and is compatible with your refrigerator. The function of the refrigerator door switch is to turn on the light when your fridge door is open, and to make sure it is off when your refrigerator door is closed. The reason you would need to replace this part is if your light is not turning on when your door is open. For this repair, you will need a putty knife, and a small flat-blade screwdriver.
Replacing your Maytag Refrigerator Door Switch

Customer Repair Stories
broken light switch
-
Richard from West Warwick, RI
-
Difficulty Level:Really Easy
-
Total Repair Time:Less than 15 mins
-
Tools:Screw drivers
while closing the door, the light switch fouled, resulting in the switch breaking
-
Kevin from Beckley, WV
-
Difficulty Level:Really Easy
-
Total Repair Time:Less than 15 mins
-
Tools:Screw drivers
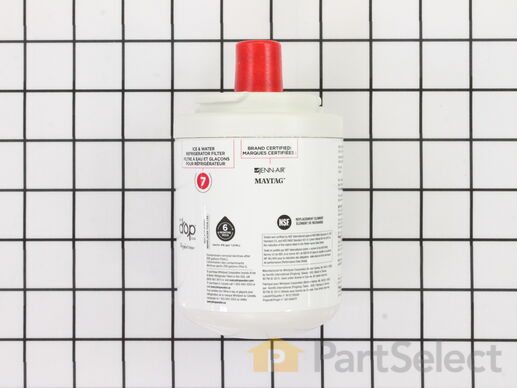
This is the replacement water filter for your refrigerator. It is white in color with a red cap and is approximately 3 inches wide and 6 inches tall. The water filter reduces contaminants and improves taste in your refrigerator water supply. It is recommended to replace the water filter every six months to maintain effectiveness. You will find the water filter at the back, top portion of your fresh food compartment. To remove the filter, simply twist it to the left until it can be removed. Then, remove the cap on the new filter, line up the arrow with the indentation, and twist to the right until it is secure. You may want to put a towel down below the filter when completing this repair, to catch any spills or drips. When you replace the water filter, hold down the dispenser trigger for a few minutes so that all the air is purged from the water lines, and the water tank fills up. This is an OEM part and is sold individually.
Replacing your Maytag Refrigerator Water Filter

Customer Repair Stories
Needed to replace filter
-
Phyllis from University Place, WA
-
Difficulty Level:Really Easy
-
Total Repair Time:Less than 15 mins
Refrigerator Filter needed replacing
-
Bruce from Alfred Station, NY
-
Difficulty Level:Really Easy
-
Total Repair Time:Less than 15 mins
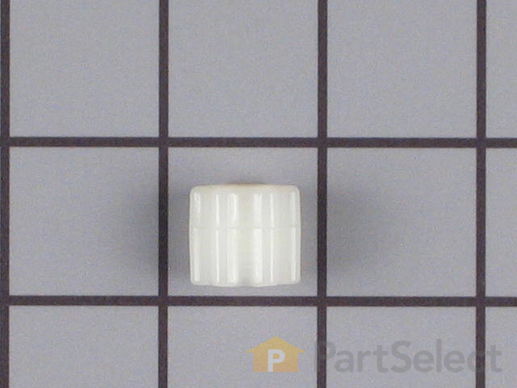
The compression nut is used as a connection between the water supply line and other components in your refrigerator such as your ice maker and your water dispenser. Tools required for this repair include a pair of pliers and a socket set. Before installing this part you should take all perishable foods out of your refrigerator and store them somewhere cool, unplug the refrigerator from the power source, and shut off the water supply. This repair may require you to wear work gloves to protect your hands, and is considered an easy do-it-yourself fix.
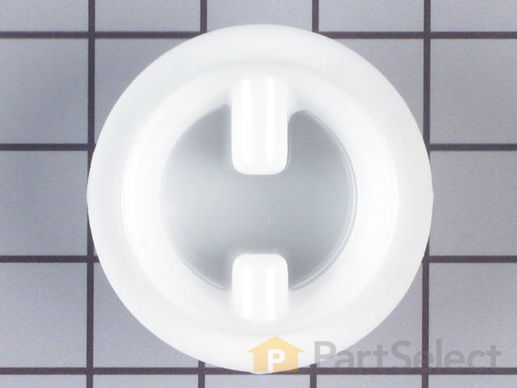
This drive ring is three inches in diameter. It is all white in color and is made of plastic. This ring is used with a refrigeraor's icemaker assembly.
Customer Repair Stories
Old plastic ring was damaged due to leaking icemaker causing door to open when ice dispensed.
-
Matthew from Menifee, CA
-
Difficulty Level:A Bit Difficult
-
Total Repair Time:Less than 15 mins
The plastic ring that is the connection between the drive motor at the back of the freezer compartment to the auger in the ice bin shattered when my wife was dispensing crushed ice.
When I got the part, it was not apparent on how to remove the auger so that I could insert the new connector. There were about about 8 visible screws, with star drive heads that I fortunately had a screwdriver that fit, and ... Read more I could not tell if I had to remove all of them or only a couple.
I ended up removing all, but still could not separate the dispenser portion which held the front of the auger from the back of the ice bin. I finally figured out that the dispenser door trip lever had to be disconnected and I almost lost it when I removed the metal clip that attached it to the outside of the ice bin when the spring loaded lever tried to unwind. I managed to hold it in place, separate the dispenser holding the auger from the rest of the ice bin and replace the connector. I them got the pieces back in place and was able to refasten the spring loaded lever and then replace the screws.
If the spring loaded lever had unloaded, it would have been tricky to try to replicate the amount of turns (load) on the spring tension.
-
Larry from Anchorage, AK
-
Difficulty Level:A Bit Difficult
-
Total Repair Time:30 - 60 mins
-
Tools:Screw drivers
This valve is to supply water to your refrigerator for the ice maker or the water dispenser. It's also useful for filtering your water as it comes through the line.


