Models > MAH6500AWW > Symptoms > Will not drain

Parts That Fix Maytag Washer MAH6500AWW Will not drain

Will not drain is a commonly reported symptom for the MAH6500AWW Maytag Washer, and we have put together a full guide on how to fix this. This advice is based on feedback from people who own this exact appliance. We have listed the most common parts for your MAH6500AWW Maytag Washer that will fix Will not drain. We have included repair instructions, and helpful step-by-step video tutorials. If you are experiencing this issue, not to worry, DIYers just like you have fixed this, and shared their experience to help you!

Fixes Symptom 93% of time
★★★★★
★★★★★
13 Reviews

Rated by 8 customers 


Easy 

30 - 60 mins 

Ratings submitted by customers like you who bought this part.   

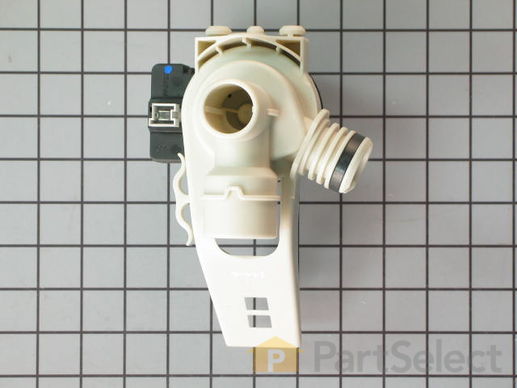
This pump helps expel water from the washing machine and is activated after the spin speed is maintained for a specific period of time.

$ 149.05
  On Order
PartSelect Number PS11740556
Manufacturer Part Number WP25001052

Replacing your Maytag Washer Drain Pump - 120V 60Hz

Replacing your Drain Pump - 120V 60Hz

Customer Repair Stories

Broken Pump

Roll washer out of drain pan on section of 3" PVC pipe. Unplug washer & disconnect hoses. Remove rear access panel with nutdriver. Disconnect wiring harness from pump. Disconnect hoses from pump using screwdriver and pliers. Twist pump counter-clockwise to separate from bottom of washer housing. Transfer electronic component from old to new pump. Install new pump in reverse order as above.
  • Drake from Crofton, MD
  • Difficulty Level:
    Easy
  • Total Repair Time:
    15 - 30 mins
  • Tools:
    Nutdriver, Pliers, Screw drivers
21 of 27 people found this instruction helpful.
Was this instruction helpful to you?
Thank you for voting!

Old Pump Stopped Draining The Machine- Impeller In Pump Wore Out

First- I unplugged and completely drained machine of water by putting hose at ground level near drain . Second- removed back plate to washer saving all hardware. Third- disconnected in and out hose to pump. Twisted pump gently as to pop it out of slots in bottom of machine. Fourth- disconnected wires to old pump hooked to new pump replaced pump, replaced hoses- tested machine then replaced back plate of machine. Done.
  • Deborah from Westfield, MA
  • Difficulty Level:
    Easy
  • Total Repair Time:
    30 - 60 mins
  • Tools:
    Nutdriver, Pliers, Screw drivers
79 of 87 people found this instruction helpful.
Was this instruction helpful to you?
Thank you for voting!
Fixes Symptom 7% of time
★★★★★
★★★★★
8 Reviews

Rated by 14 customers 


Easy 

1- 2 hours 

Ratings submitted by customers like you who bought this part.   

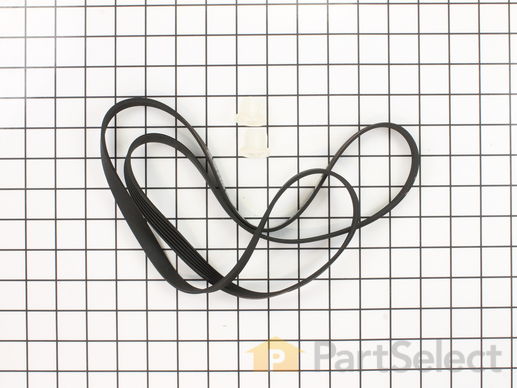
This kit contains a flat drive belt, two motor isolators, and an instructions sheet. The drive belt is made to slip on the pulley until the basket gets up the desired speed.

$ 40.58
  In Stock
PartSelect Number PS2003327
Manufacturer Part Number 12001788

Replacing your Maytag Washer Drive Belt and Motor Isolator Kit

Replacing your Drive Belt and Motor Isolator Kit

Customer Repair Stories

Drive belt sqeaked and contiued to roll off the drum.

Removed washer back panel (after unplugging unit). Installed new belt. Reinstalled back panel. Belt wAs very tight getting it to roll onto the drum.
  • Douglas from Marion, IN
  • Difficulty Level:
    Really Easy
  • Total Repair Time:
    Less than 15 mins
  • Tools:
    Screw drivers
13 of 19 people found this instruction helpful.
Was this instruction helpful to you?
Thank you for voting!

Belt wore off and broke

Opened the back panel of the washing machine. Removed the old belt and wrote down the part number. Shopped online for a suitable replacement and found a perfect match at part select.com. I put in an order and it was delivered in a couple of days! I opened the back panel of the washing machinie again. This time I decided to also replace the isolators that came with the kit. For this, I had to unscrew the motor and gently tug it free. I placed it on the floor of the washing machine. I then replaced the 2 isolators as described in the kit, reinstalled the motor and put the screw back on. I then proceeded to place the belt on the motor and on to the wheel. This took couple of tries to get the grooves right. I then tested the washing machine on a rinse cycle and things looked good. Its been working fine so far.
  • DANIEL from WEST CHESTER, PA
  • Difficulty Level:
    Easy
  • Total Repair Time:
    Less than 15 mins
  • Tools:
    Wrench (Adjustable)
38 of 46 people found this instruction helpful.
Was this instruction helpful to you?
Thank you for voting!