Parts That Fix Whirlpool Dryer LER4634PQ0 Door won’t close
Door won’t close is a commonly reported symptom for the LER4634PQ0 Whirlpool Dryer, and we have put together a full guide on how to fix this. This advice is based on feedback from people who own this exact appliance. We have listed the most common parts for your LER4634PQ0 Whirlpool Dryer that will fix Door won’t close. We have included repair instructions, and helpful step-by-step video tutorials. If you are experiencing this issue, not to worry, DIYers just like you have fixed this, and shared their experience to help you!
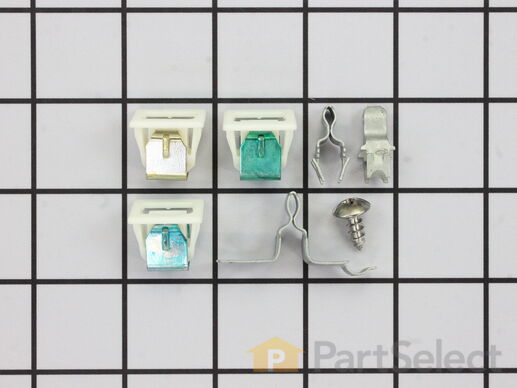
This part replaces your appliances latch (Door Latch Kit, Door Catch, Dryer Door Latch Kit). On your appliance you will find both a strike and a catch. The strike is mounted on the body of the dryer, while the catch is mounted on the dryer door. These two parts work together to keep your dryer door closed. The catch holds the door strike to keep the door closed during the drying cycle. If the door does not latch closed, you won’t be able to start a drying cycle. If this part is malfunctioning, you may not be able to open or close your door. In some instances, it may seem like your door is closing, but if it is not latching properly you won’t be able to start your drying cycle. You should replace this part as soon as it’s malfunctioning. Your dryer may run even though the latch is malfunctioning, but it is unsafe if the dryer continues to run while the door is open. This replacement part features 1 door latch kit which includes 2 strikes, 3 catches, and a set of instructions. This model is constructed of plastic and metal, and comes in white/silver.
Replacing your Kenmore Dryer Door Catch Kit

Customer Repair Stories
Door wouldn't latch.
-
Melody from North Las Vegas, NV
-
Difficulty Level:Really Easy
-
Total Repair Time:Less than 15 mins
Door Catch part had fallen out,/ was missing
-
Terri from Saint Augustine, FL
-
Difficulty Level:Really Easy
-
Total Repair Time:Less than 15 mins
Sold individually.
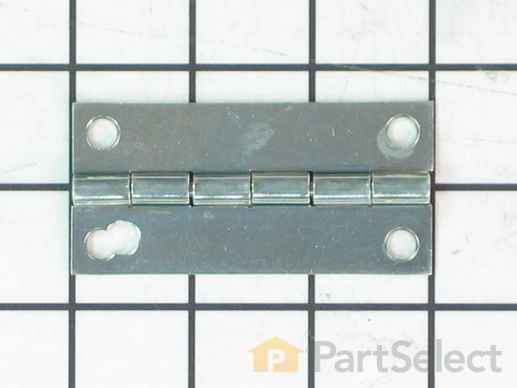
Replacing your Whirlpool Dryer Door Hinge

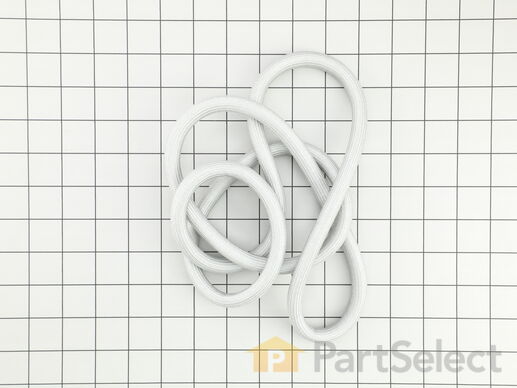
This door seal does not include the adhesive glue.
Replacing your Whirlpool Dryer Door Gasket

Customer Repair Stories
wore out gasket
-
diora from ROCKFORD, IL
-
Difficulty Level:Very Easy
-
Total Repair Time:Less than 15 mins
-
Tools:Pliers, Screw drivers
Door Gasket tore out
-
Manolak from MURFREESBORO, TN
-
Difficulty Level:Easy
-
Total Repair Time:Less than 15 mins


