Parts That Fix Frigidaire Washer FAFS4272LW0 Will Not Start
Will Not Start is a commonly reported symptom for the FAFS4272LW0 Frigidaire Washer, and we have put together a full guide on how to fix this. This advice is based on feedback from people who own this exact appliance. We have listed the most common parts for your FAFS4272LW0 Frigidaire Washer that will fix Will Not Start. We have included repair instructions, and helpful step-by-step video tutorials. If you are experiencing this issue, not to worry, DIYers just like you have fixed this, and shared their experience to help you!
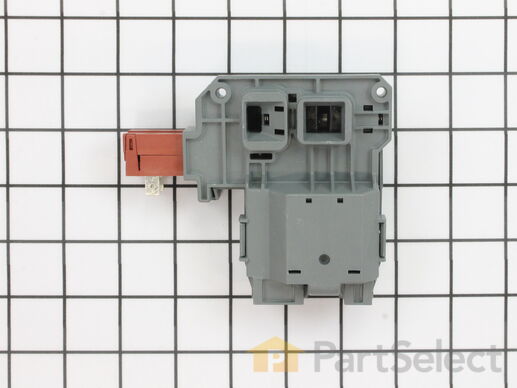
This door lock and switch assembly is manufactured to lock the door on your front load washer to prevent it from opening while it is running. You may need to replace the door lock and switch if the door does not open or lock. Your washer will not start if the door does not lock. This part is also known as a washing machine door lock assembly. As per the manufacturer, some models require a new wire harness and a door strike for this door lock assembly to work on the appliance. The original style lock would require the door lock kit.
Replacing your Frigidaire Washer Front Load Washer Door Lock and Switch Assembly

Customer Repair Stories
Washer would not spin
-
Keith from Sayville, NY
-
Difficulty Level:Really Easy
-
Total Repair Time:Less than 15 mins
-
Tools:Screw drivers
Door on washer wouldn't lock or start
2. Unscrew 2 nuts holding top in place in rear of unit using phillips head screwdriver.
3.Slide top back and remove.
4. Open door of washer and unscrew 2 screws holding in door lock unit.
5.Pull out unit from the top and install new unit reconnecting the 3 wire connections.
-
DOUG from KING FERRY, NY
-
Difficulty Level:Really Easy
-
Total Repair Time:Less than 15 mins
-
Tools:Screw drivers
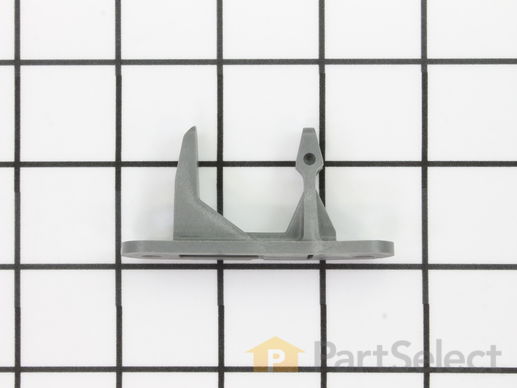
This is a door striker, it is gray in color and is a part found on your washer. The purpose of the striker is to keep your washer door closed for usage. This piece will attach to your appliance lid and will activate the door switch when your lid is closed. The most common reasons for needing to replace this part are if your lid will not consistently open or close, and your washer will not consistently start. The only tool you will need to complete this installation is a Phillips screwdriver.
Replacing your Frigidaire Washer Door Striker

Customer Repair Stories
Pice busted off of door striker.
-
Terrance from Three Lakes, WI
-
Difficulty Level:Really Easy
-
Total Repair Time:Less than 15 mins
-
Tools:Screw drivers
Door Striker broken
-
Susan from Oakland, ME
-
Difficulty Level:Really Easy
-
Total Repair Time:Less than 15 mins
-
Tools:Screw drivers
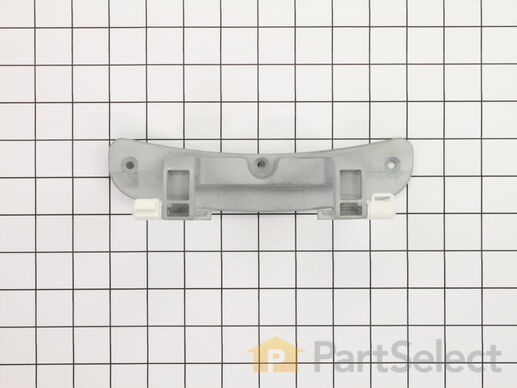
This is a door hinge with bushings and works in conjunction with your washer. The purpose of this part is to attach to the outside of the front door panel to help with the lid opening and closing properly. The hinge will fasten the front panel of the washing cabinet to the lid of the washer. This piece is roughly 9 inches long, almost 3 inches high, and roughly 2.5 inches wide. The reason for needing to replace this part is if your lid/door will not open or close properly, which may lead to leaking.
Customer Repair Stories
Door hinge bottom bushing broke - Door latch no longer lined up with catch
Once hinge screws were removed I put a towel down on a counter to keep the front of the door from getting ... Read more marked up and proceeded to remove all of the screws around the back of the door so that I could lift the frame up enough to remove the broken hinge and insert the new hinge. It was a bit tricky to get the new hinge with bushings in place. I gently lifted the frame up with a flat head screw driver to widen the opening so I could get the bushings on the new hinge into position on the frame. Make sure they are properly inserted before you start tightening up screws.
Next, replaced all the screws on the frame, returned to the washing machine with helper who held the door up while I aligned the holes in the new hinge to the holes in the frame around the opening to the washer.
After everything was secured and tightened, to my surprise, the door latch did NOT line up with catch without lifting up about a 1/4" or a little more, on the bottom of the door. If someone slams the door without doing that you could break off part of the plastic latch or damage the catch inside the door frame.
I believe the original holes on the door frame were not drilled precisely during the manufacturing process and that is why the bottom bushing broke. We have always had to lift up a bit on the door to line up the latch with the catch. Eventually the strain on the bottom bushing caused it to break and then the door tilted down so you had to lift it up about 3/4 inch to latch it. I bought new hinge because if the top bushing broke the door could have come off.
Next time I buy a washing machine, I will pay more attention to the line up of the door latch with the door catch.
Flashlight helped me line up the holes.
-
John from Dover, NH
-
Difficulty Level:Easy
-
Total Repair Time:15 - 30 mins
-
Tools:Screw drivers
Bushings in door were worn out so door real sloppy- had to raise it up shut it
-
RALPH from GREENFIELD, IN
-
Difficulty Level:A Bit Difficult
-
Total Repair Time:15 - 30 mins
-
Tools:Screw drivers


