Parts That Fix Maytag Dryer DE410 Noisy
Noisy is a commonly reported symptom for the DE410 Maytag Dryer, and we have put together a full guide on how to fix this. This advice is based on feedback from people who own this exact appliance. We have listed the most common parts for your DE410 Maytag Dryer that will fix Noisy. We have included repair instructions, and helpful step-by-step video tutorials. If you are experiencing this issue, not to worry, DIYers just like you have fixed this, and shared their experience to help you!
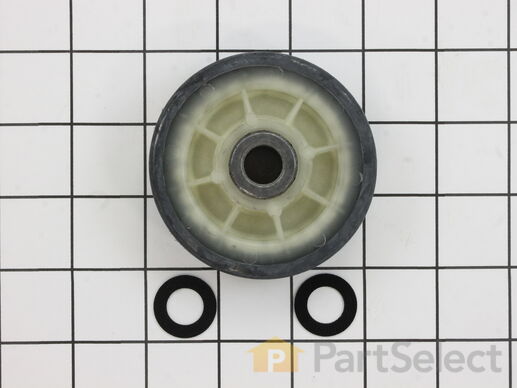
The drum support roller (Dryer Drum Support Roller, Drum Roller and Washer Assembly) holds the drum in the proper position while it spins on the support wheels. This part rotates on the roller shaft which is attached to the rear bulkhead. This part should be replaced whenever it does not rotate easily on the roller shaft. If you’re noticing a thump, scrape, or squeal while your drum is spinning, it may be your drum support rollers. Take a look at your existing drum rollers; if one or both of them are worn or broken, you’ll need to replace them. The drum support roller is subject to constant wearing when your dryer is in use, which causes them to break down over time. This part features 1 roller and 2 small washers, and measures approximately 3 inches in diameter. It is constructed with a combination of plastic, metal and rubber. This model comes in black/beige.
Replacing your Maytag Dryer Drum Support Roller Kit

Customer Repair Stories
noisy
-
Hazel from CONNERSVILLE, IN
-
Difficulty Level:A Bit Difficult
-
Total Repair Time:More than 2 hours
-
Tools:Nutdriver, Screw drivers, Socket set
Dryer was making awful noise during use
-
Pam from Aberdeen, WA
-
Difficulty Level:A Bit Difficult
-
Total Repair Time:1- 2 hours
-
Tools:Screw drivers
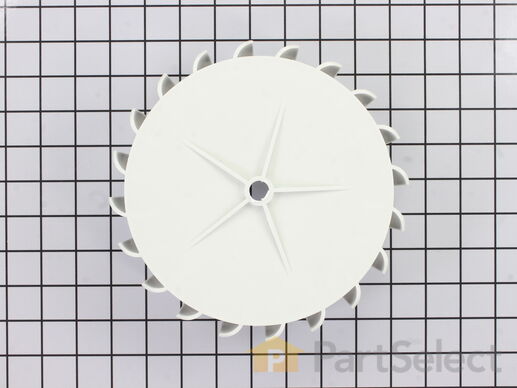
This comes with a metallic hub clamp to hold it firmly in place. The blower wheel with clamp is part of your dryer assembly. You will find this part attached to the drive motor shaft, which disperses air through the drum and out of the exhaust vent. This part might need to be replaced if you notice your dryer is taking too long to dry clothing, it is not tumbling, or is making any unusually loud noises. The blower wheel measures about 7.5 inches in diameter by 3-3/8 wide. The blower wheel can be accessed by removing the front panel of your appliance.
Replacing your Maytag Dryer Blower Wheel with Clamp

Customer Repair Stories
Loud rumbling at startup, periodic rumbling during drying, rumbling after motor stopped
Turn off the power.
Remove the two screws on the access panel, which is the canted panel just below the dryer door, and remove the panel.
Remove the two screws at the top ... Read more of the dryer door. These screws are on top of the dryer facing downward, and unless you're Yao Ming, you won't see them without a stepstool. You can then lift up the door and swing it out from the bottom.
There are two wires attached to the door which you should disconnect. You can set the door aside without disconnecting any other wires.
Next, remove the lint filter and the housing assembly it fits into. First, disconnect the ground wire connected to the upper-left corner of the housing, then remove 4 hex-screws accessed from inside the dryer tumbler.
You should take this opportunity to thoroughly remove lint from inside the housing.
The blower housing is now accessible. Remove the screws on the periphery of the blower housing cover (a.k.a. faceplate), and remove the cover.
The blower wheel is held in place by an external retaining ring and by a blower clamp. The replacement blower wheel came with a new blower clamp, and that clamp can be manipulated with a regular pair of pliers. I went out and bought a pair of snap ring pliers to deal with the retaining ring.
After removing the retaining ring and then taking off the blower clamp, I removed the old wheel. The new wheel was a little tough to put on, but after reading the story of the people who used a hammer to break their wheel, I just pushed on it until it popped on. I used my pliers to install the new clamp, then re-installed the retaining ring and the blower housing cover.
Reinstall the lint duct housing, making sure housing duct centers into the blower seal (looks like a felt circle). Reconnect the ground wire.
While you're inside the tumbler, at the front end of the tumbler just below the door there is a black plastic sensor with two metal bars on it called an automatic dry sensor. Fabric softener can coat the metal bars and cause the sensor to not function. Lightly sand the metal bars to remove any buildup.
Reconnect the wires to the dryer door. Reinstall the door by tilting the bottom in first, guiding the clips on the bottom of the door into the slots they fit in, then push the top of the door into position. Reinstall the screws at the top.
Reinstall the access door.
Turn the power back on! Done!
-
Ed from Long Beach, CA
-
Difficulty Level:Easy
-
Total Repair Time:1- 2 hours
-
Tools:Nutdriver, Pliers, Screw drivers
The blower fan (nylon) stripped off the motor shaft (steel)
-
Stephen from Lafayette, IN
-
Difficulty Level:Really Easy
-
Total Repair Time:1- 2 hours
-
Tools:Nutdriver, Pliers, Screw drivers
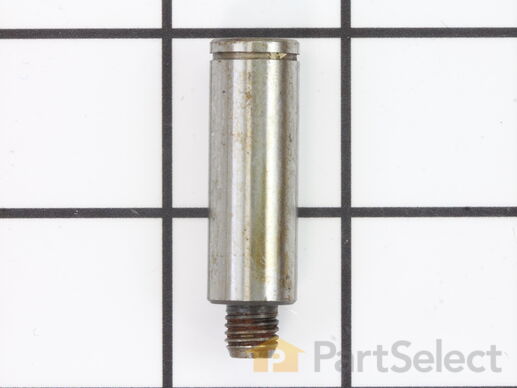
This roller shaft is also known as a support roller shaft or a drum roller axle, and is a part for your dryer. The function of this piece is to act as the axle for the drum roller; it provides a place for the roller to spin. The tools required for this repair are a stubby Phillips screwdriver, a 5/16 nut driver, a pair of snap ring pliers, and a 9/16 wrench. The first step before replacing this part should be to disconnect your dryer from the power source.
Replacing your Maytag Dryer Roller Shaft

Customer Repair Stories
shaft had become worn , making loud noise and also causing drum roller to wear prematurely.
-
kenneth from mineral bluff, GA
-
Difficulty Level:Easy
-
Total Repair Time:15 - 30 mins
-
Tools:Pliers, Screw drivers, Socket set
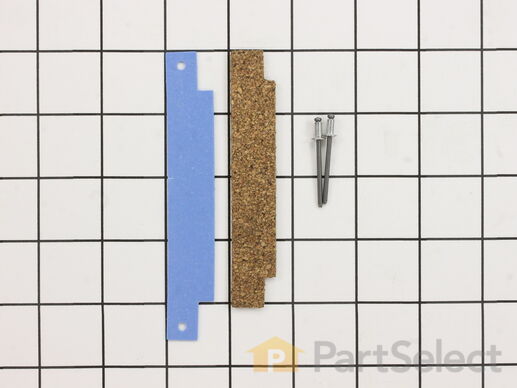
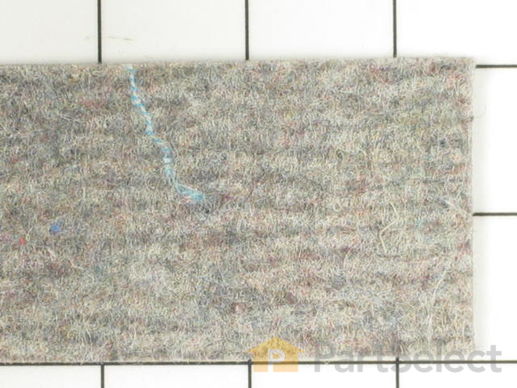
The front glide is located at the front of the dryer, the drum rides along it. If you hear a metal-on-metal noise when your dryer is running, your front glide may be worn out and require replacing. This front glide kit comes with a blue plastic glide, a brown cork pad, and two metallic rivets. Two kits are required per appliance. While you have the front bulkhead removed for this repair, you may want to inspect the felt that lines it. If the felt is damaged, it is recommended that you replace it at the same time. You will need a rivet tool for this installation, as well as a stubby Phillips screwdriver, a 5/16 nut driver, and a drill with a 1/8-inch bit.
Replacing your Maytag Dryer Front Glide Kit

Customer Repair Stories
My dryer - which is about 20 years old - was starting to make some rubbing/scraping sounds from the drum area.
1. Removed the two screws at the front bottom that are holding on the fromt panel, and then lift up and remove the panel.
2. Disconnect the door-open-safety-switch, remembering which color of wire goes on which connection.
3. Remove the four s ... Read more crews (two on each side) on the front bracket that supports the drum and tthat contains the front glides.
4. Remove support bracket and lint trap, letting the drum rest gently on the stuff underneath.
5. Remove the screws holding the lint trap to the support bracket. (My model had five screws.) Remove lint trap from support bracket.
6. Drill out the two pop rivets on each of the two glides, noting the orientation of the teflon pad and mounting strip.
7. Secure - and here is where I had a little problem - new glides in place with pop rivets. (I hadn't use a rivet gun in a while, so I messed up the first pop rivet and had to go to the hardware store to get a replacement. I didn't hold the pop rivet in all the way while I was accuating the gun!)
8. Reverse the process for assembly, and you are all done.
It's simple.
-
Richard from Loretto, MN
-
Difficulty Level:Really Easy
-
Total Repair Time:1- 2 hours
-
Tools:Nutdriver, Screw drivers
Noisy and thumping drum
-
Barry from League City, TX
-
Difficulty Level:Really Easy
-
Total Repair Time:1- 2 hours
-
Tools:Nutdriver, Screw drivers
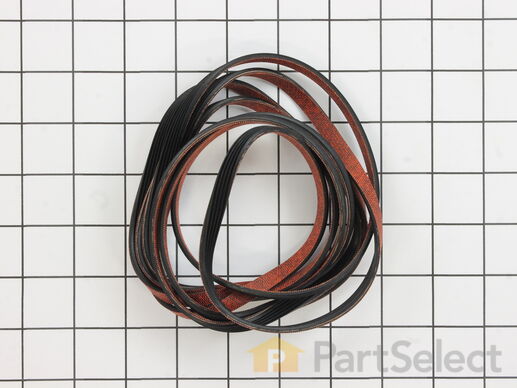
The tumbler and motor belt in your dryer allows the drum to spin during the drying cycle. At 100 inches in length, this dryer drum belt is 3/8 of an inch wide and has five ridges. The belt is black in color and it is made entirely of rubber. If your dryer will not tumble, is noisy during operation, or will not start you may need to replace the belt. To complete this repair, you will need to remove the front panel as well as the drum. You will need a 5/16 nut driver and a stubby Phillips screwdriver to complete the repair. Be sure to disconnect power to the dryer before you begin this repair. During the repair, make sure the belt doesn't fall into the groove in the drum, which will cause it to be too loose. You should be able to access the belt and replace it by removing the front panel and bulkhead.
Replacing your Maytag Dryer Tumbler and Motor Belt

Customer Repair Stories
The dryer drive belt broke. The dryer wouldn't tumble nor blow heated air.
STEP ONE, UNPLUG ... Read more THE UNIT (and/or shut off the gas supply), CAREFULLY. Then, I took the front of the unit off by removing the 2 screws on the front panel near the bottom of the unit and disconnected the wiring that shuts the unit off when the door is opened. Set the front door panel aside. Then I removed the front of the tumbler retainer along with the exhaust duct and lint screen assembly by removing 4 screws that affixed the reatiner frame to the rest of the outer cabinet. Set this aside as well. Remove the entire tumbler unit. Set aside. Remove 4 screws on the back of the unit that hold the tensioner and motor access panel and remove it. Set it aside. At this point, I vacuumed every bit of lint and debris from the snapped belt out of the enitre unit, lubricated/greased all moving parts, cleaned off the friction bearing surfaces, and collected loose change ($1.35).
When the belt arrived, I unwrapped it, and placed the smooth side to the tumbler and rubber banded the slack off to the bottom right side (sort of the 4:30 position as you put the tumbler back into the unit). I carefully jimmied the tumbler back into the unit BEING CAREFUL not to pinch the groved belt between the tumbler and any other parts inside the cabinet. I replaced the tumbler retainer and screwed the 4 bolts back into place. I spun the tumbler over near the tensioner assembly (so I could see the slack through the access panel hole in the back) and removed the rubber band. I threaded the belt through the tensioner and over the drive pulley and rotated the tumbler clockwise to align the drive train of the belt. I plugged the 2 wires back into the switch on the inside of the door panel and then I replaced it on the front of the unit and screwed the 2 screws back in at the bottom front of the panel. I plugged the unit back in and tested opperation. It worked great! I unplugged the unit again (I'm not finished yet). I then replaced the access panel on the back of the unit and screwed the 4 screws back in. I moved the unit back against the wall and plugged it back in. Done! The dryer is less noisey now and more efficient most likely b/c I cleaned all the lint out of the thing! Thanks for the prompt shipment of the belt!! I'll get a few more years out of this dryer before spending $700 on a new one!!! Thanks again!
-
Lee from Royal Oak, MI
-
Difficulty Level:Really Easy
-
Total Repair Time:30 - 60 mins
-
Tools:Nutdriver, Screw drivers, Socket set
Dryer belt broke
First I unplugged the dryer from the outlet, and then I removed the access plate in the back of the dry by removing the four screws. Once I removed the plate, it was quickly obvious that the belt had broken, as bits of belt were all over the interior of the dryer. ... Read more
I removed the front panel of the dryer (where the main door is located) by removing the two retaining screws at the bottom of the panel. After removing the screws, I was able to swing the entire front assembly up and remove the panel. The door sensor is attached to the front panel by two wires; I simply pulled the two wires from the door sensor, which allowed me to completely remove the front panel from the dryer.
I removed four screws on either side of the dryer which attached the front tumbler assembly to the dryer frame. The tumbler assembly also has the lint screen attached to it as well. Removal of the lint screen allowed me greater access to the internals of the dryer. I took the opportunity to use my Shopvac to clean out the accumulated 15 years of dirt and lint from inside the dryer.
Once the front tumbler assembly was removed, the main dryer tumbler came out easily. I removed the tumbler from the dryer and inspected it for damage. I also did more cleaning inside the dryer with my Shopvac. Removal of the tumbler is required for installing the new belt.
I wrapped the new belt around the tumbler and reinserted the tumbler back inside the drier. I reinstalled the front tumbler assembly, but I didn't tighten the four screws until I was sure the main tumbler was seated correctly on both the rear and front tumbler assemblies. Only then did I tighten the four screws.
I then went to the back access panel on the dryer and threaded the belt around the dryer motor rotor and belt tensioning roller. The new belt twisted a few times in the process, so I manually rolled the tumbler to straighten out the belt.
Once I was confident the belt was seated properly around the tumbler and motor rotor, I replaced the front dryer panel loosely. I also reconnected the two wire door sensor and then plugged in the dryer. I purposely left the back access panel off, so I could observe the motor and belt while the dry was running. I turned the dryer to a non-heat setting (i.e. air fluff) and started the dryer. I observed the rotation of the belt for about 2 minutes to insure it was rolling properly. Next, I set the dryer to a heated setting and ran it again for 2 minutes to be sure all the heating elements were working. It is good to check both the rotation of the belt and the heat elements prior reinstalling the back access panel. There is nothing worse than putting the dryer back together only to discover the belt is improperly tensioned/seated or the dryer heater elements are no longer working.
I secured the dryer front panel using the two screws. I reattached the back access panel with the four screws. Finally, I reconnected the dryer hose.
Dryer is running like new and haven't had any further problems.
-
Matthew from Carrollton, VA
-
Difficulty Level:Easy
-
Total Repair Time:15 - 30 mins
-
Tools:Nutdriver, Screw drivers, Socket set
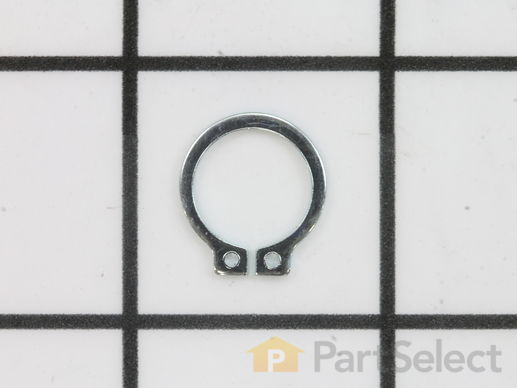
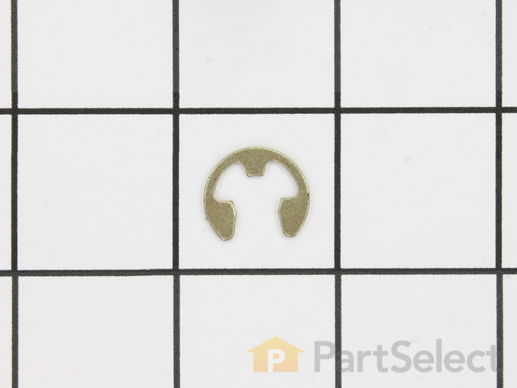
This part is a retaining ring, sometimes called a retaining clip, that holds the drum support roller onto the shaft of a dryer. It is made entirely of metal and measures less than an inch in diameter. The retaining ring is a genuine OEM part sourced directly from the manufacturer. The ring may vary in appearance due to manufacturer substitution, but the function is the same. You may need to replace this part if the dryer is noisy during tumbling, will not tumble, or takes too long to dry. Be sure to check drum support roller kit and shaft before ordering parts.
Replacing your Maytag Mixer Retaining Ring

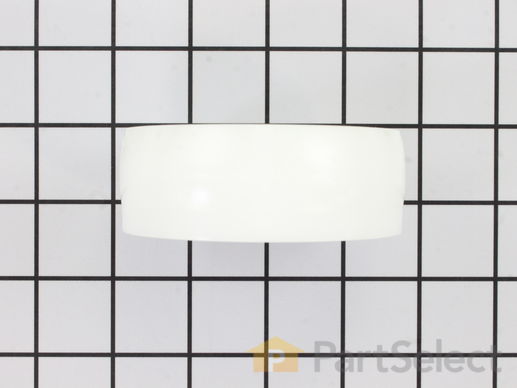
This part is used to help the belt to rotate the drum. It is white and made of plastic with a metallic bearing in the center.
Replacing your Maytag Dryer Idler Pulley Wheel

Customer Repair Stories
Dryer making strange thumping noise
-
William from New Bern, NC
-
Difficulty Level:Easy
-
Total Repair Time:15 - 30 mins
-
Tools:Pliers, Screw drivers
Squealing noise on start up.
I pulled the retainer clip and tension spring from the idler pulley and removed it. I applied some grease to the shaft and reinstalled the idler p ... Read more ulley.
The squeal was gone confirming that the pulley bushing was dry. I ordered the new idler pulley and when it arrived the next day I cleaned the grease off of the shaft and installed the new idler pulley. Problem solved.
-
William from Winter Park, FL
-
Difficulty Level:Easy
-
Total Repair Time:15 - 30 mins
-
Tools:Nutdriver, Pliers, Screw drivers
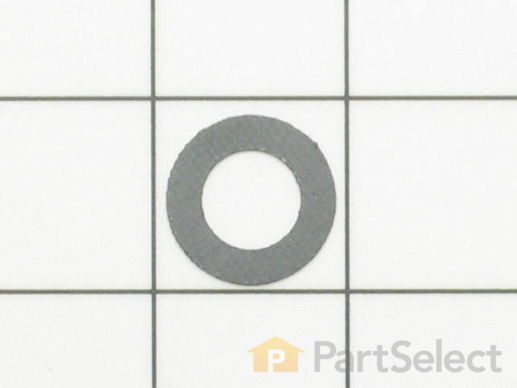
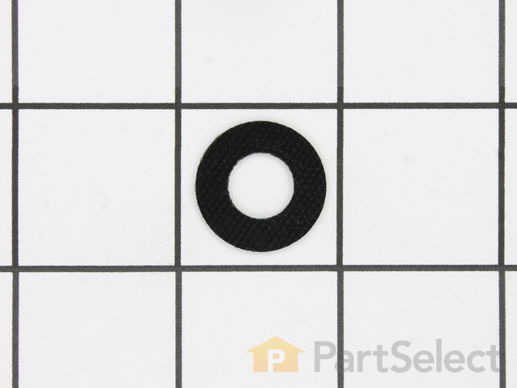
If you notice that your dryer is noisy or will not tumble, then you may need to replace the drum roller shaft washer. This drum roller shaft washer is just under an inch in diameter and is sold individually. It is located on the shaft of the drum roller, in the interior of your dryer. To access the drum roller shaft, you will need to remove the front panel of your dryer, and then remove the drum. Before completing this repair, be sure to disconnect the power source from the dryer. Tools required for this repair include a 5/16 nut driver, a stubby Phillips screwdriver, and a pair of snap ring pliers.
Replacing your Maytag Dryer Drum Roller Shaft Washer

Customer Repair Stories
worn roller wheel and bearing
-
David from Chadds Ford, PA
-
Difficulty Level:Easy
-
Total Repair Time:30 - 60 mins
-
Tools:Nutdriver, Screw drivers, Socket set, Wrench set
This idler pulley shaft washer is used with many clothes dryers. It is less than an inch long, and it is black in color.
Replacing your Maytag Dryer Idler Pulley Shaft Washer

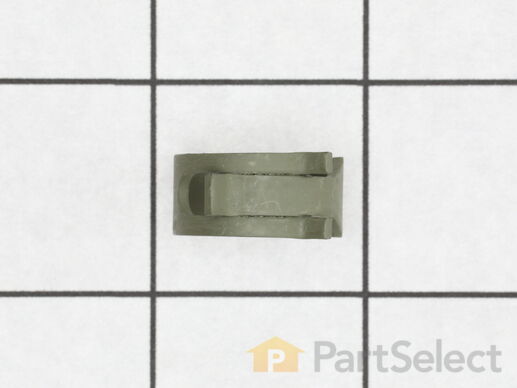
This blower wheel clamp, used in a clothes dryer, is a clamp that holds the blower wheel to the motor shaft. This part helps hold the blower wheel in place to function easily and properly. If your clothes dryer has any of the following symptoms then replacing the clamp can be a solution: making loud noises, not producing enough heat or no heat at all, and/or clothes are taking too long to dry. Make sure to unplug thedryer from power source before installing this part and refer to the installation instructions provided by the manufacturer for further guidance.
This idler shaft retaining ring is well under an inch long and is made of metal.
Replacing your Maytag Dryer Idler Shaft Retaining Ring

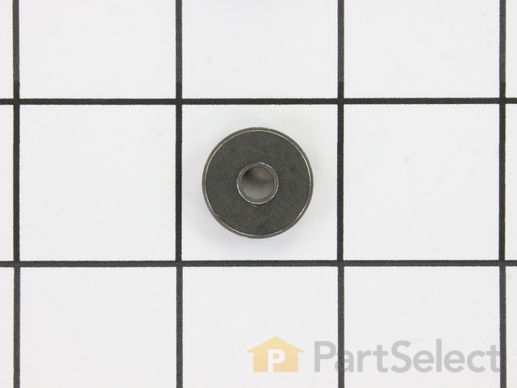
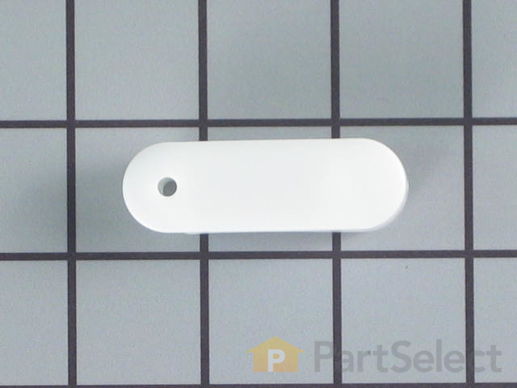
This sleeve is less than an inch in diameter. It is made of metal and is intended for use with the screw that holds the idler pulley of your clothes dryer.
Customer Repair Stories
tumbler belt broke
-
Tom from Ottumwa, IA
-
Difficulty Level:Really Easy
-
Total Repair Time:30 - 60 mins
-
Tools:Screw drivers, Socket set, Wrench (Adjustable)
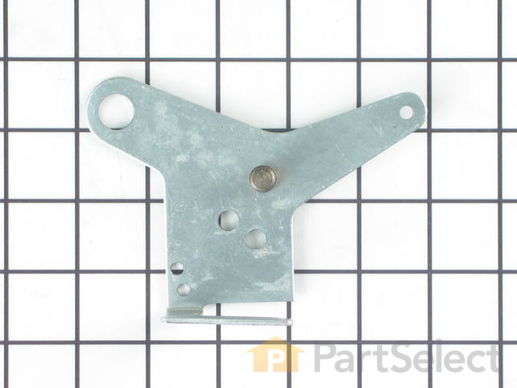
A dryer's idler pulley wheel serves to help the belt to rotate the drum. This arm is what attaches to the idler pulley wheel.
Customer Repair Stories
The axel assy had broken on the pulley wheel.
-
Jackie from Cleveland, TN
-
Difficulty Level:Easy
-
Total Repair Time:Less than 15 mins
-
Tools:Screw drivers, Socket set
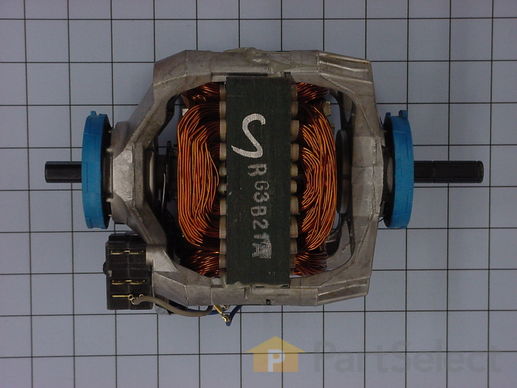
This motor comes with a redesigned motor switch and new wire terminals. This part runs at 1/4hp. It performs 1725 revolutions per minute and carries 4.5 amps and 115V.
Replacing your Maytag Dryer Drive Motor - 60Hz 115V

Customer Repair Stories
Wouldn't run
1. Remove the back access plate to release the belt from the pulley.
2. Remove the two screws at the bottom front of the dryer, rotate the front to release it at the top. R ... Read more emove the wires from the door status switch.
3. Remove the 4 nuts holding the drum support frame and pull straight out.
4. Putting one hand inside the drum and supporting it, gently pull the drum toward you until it clears the rollers. Reach in along both sides of the outside top of the drum and slide the belt off the back of the drum. With a hand inside supporting the weight of the drum tip the drum slightly forward and out the front. Set it out of the way.
5. Remove the two bolts holding the thermostat cover (silver odd shaped metal plate at the front of the dryer).
6. Remove the dryer blower cover plate by removing the 6 bolts holding it to the blower housing with a short ¼” nut driver. Remember to remove the bolt holding the plate to the bottom of the dryer.
7. Release the door status wire from the clips on the left side of the dryer and set the blower housing plate to the right, out of your way without removing the wires.
8. Remove the blower wheel by removing the snap-ring at the front of the shaft and then removing the collar- compression clip.
9. Pull out the blower wheel (this was a bear as it was very tight on the shaft – the shaft-collar of the blower wheel has grooves in it. We used very small screw drivers to carefully pry the segment of the collar between the grooves away from the shaft and used a penetrating oil and with a very slight rocking force muscled the blower wheel off then removed the rear snap-ring from the motor shaft.
10. Release the 5 wires attached to the motor.
11. Remove the ground wire on the back of the motor by backing the screw out.
12. Release the front and back motor clips (Use a large straight-blade screw-driver to press down and out on the end of the clips.
13. Lift out the motor.
14. Remove the rear pulley from the motor using an Allen wrench and transfer it to the new motor (We used heavy duty thread locked on the Allen set screw. – When we removed the pulley it was necessary to heat the Allen set-screw area with a propane torch to soften the thread-locker cement. IF YOU NEED TO DO THIS MAKE SURE YOU LEAVE PLENTY OF TIME FOR THE PULLEY TO COOL BEFORE YOU HANDLE IT!
15. Set the new motor in the support frame, ensuring the lips of the vibration isolation rings are pointed down to slip over the frame and are not facing up towards the clips ( makes clip installation much easier).
16. Hook up the wires, following the color coding on the motor controller you are attaching to.
17. Hook up the ground wire on the back of the motor.
18. Reinstall the rear snap-ring, blower wheel (went on a lot easier than it came off), front snap-ring, collar-compression clip, blower housing front cover (Including the bolt to the dryer bottom) ,
19. Re-route the door switch wire up the left side and secure with clips.
20. Reinstall the thermostat cover,
21. Reinstall the drum and belt (use scotch tape to temporarily secure belt) , the drum front support frame (ensure the felt seals for the drum and the blower cover are properly aligned and seated correctly),
22. Reinstall the belt through the back access panel over the pulley and idler wheel (make sure the belt smooth side is against the drum, the grooved side against the pulley and the belt is inside the belt guide on the idler wheel and remove the scotch tape from the belt). Make sure no tools are in the dryer cabinet.
23. Rotate the drum clockwise a few revolutions to align the belt and reinstall the rear panel.
24. Hook up the door status wire before you set the front cover and install the 2 screws,
We previously replaced the front drum felt seal and the tumbler glides, the belt and both drum rollers.
-
MARCELLE from DUNDEE, NY
-
Difficulty Level:A Bit Difficult
-
Total Repair Time:1- 2 hours
-
Tools:Nutdriver, Screw drivers, Wrench set
Hummed when start button was pushed.
-
Bob from Thayer, KS
-
Difficulty Level:Really Easy
-
Total Repair Time:30 - 60 mins
-
Tools:Screw drivers, Wrench set
The tumbler seal can be used for the front or rear. Sold individually.
Customer Repair Stories
idler pulley, idler bracket, idler spacer & Belt worn from age
Removed two screws from lower area of front panel, pulled bottom of front panel toward yourself so as to swing out and up, continue to swing panel up to your self ... Read more until it comes free from top clips.
Once free set gently on floor and remove door switch wires, noting which wire goes to which contact is not essential but could be more convenient when putting it all back together.
Remove door switch wire from clasp at top inside from panel, set front panel aside in safe place.
Now look under the two top front corners on the inside and you will see a screw in each corner; these screws must be removed in order to raise top panel.
This is kind of tedious because sometimes these screws are long and difficult to turn and space is limited and tight in getting rachet or nut driver on the head of these screws.
Be patient , because they will come out with a little work. To make this process a little easier you might do the following step first but you cannot do this little trick when putting it back together.
Once these screws are out raise top panel and lean back against wall; be careful because the two enamel surfaces are slick and if leaned too far back the top will want to slide out at the bottom from being on a lean.
Remove four screws from tumbler front, lift slightly so as to come off side clips then pull straight out. Remove door wire from clasp and drop wire gently back inside so as to let it fall to the bottom of the machine and away from the tumbler, which is to be removed next.
Once this is done the tumbler will go down in the front due to pressure from belt. The belt could have been removed from pulley right from the start to relieve this tension but I just do it this way.
Once tumbler sags or leans down in the front gently work the belt off of the back of the tumbler; there will still be a little pressure on the belt and gentle force may be required in sliding it toward the back and then off; once belt is off gently lift tumbler up and out and put in a safe place.
Once this is done you will be able to easily see everything in the bottom of the dryer; motor, gas valves, thermal switches, vent pipe and pulley, pulley bracket and belt which by this time has fallen to the bottom of dryer; gently remove belt from pulley and set aside in safe place.
Make sure it is out of reach of children or it will be played with or used as a hangmans noose; it is long an flexible and children just seem to love playing with it.
At this point you can either continue to work from the front of the machine or the back; I f you choose to work from the back then lower the top panel so as to allow it to just sit back down on the sides of the machine, pull the machine away from the wall and work from the back; because I am experienced at this I continue to work from the front.
If you choose to work from the back then while standing in the back of the machine look to lower right corner and you will see an access panel with four screws in it; remove these screws and the panel will come free giving you a clear view of the belt pulley.
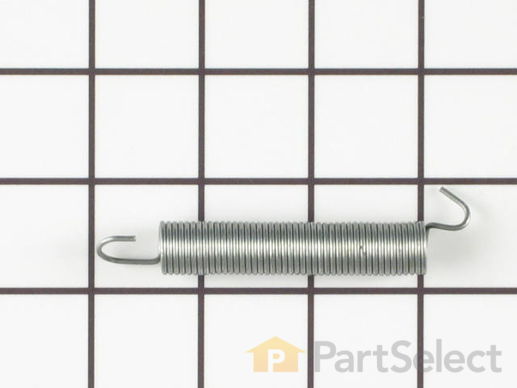
From either back or front view you will see a spring attached to pulley bracket which can easily be removed when pulley bracket is in relaxed position; remove this spring and put in a safe place if you have plans of reusing it. I installed a new spring on this repair.
Once this spring has been removed then look directly beneath bracket at what is easily seen to be its pivot point and you will see a mounting screw. Remove this screw with a nut driver and the bracket will then come completely free; slide through access hole and come out with it.
Once it is out the white spacer is easily seen on bracket; look at the bracket side of the spacer and you will see a mounting screw; remove this screw and spacer will come off.
When installing new space
-
Jeff from Gardendale, AL
-
Difficulty Level:Really Easy
-
Total Repair Time:30 - 60 mins
-
Tools:Nutdriver, Screw drivers
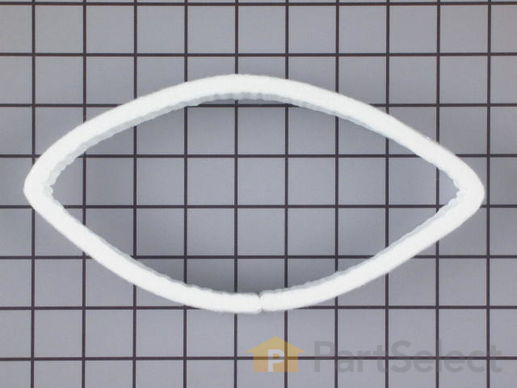
The blower housing seal makes an airtight seal between the blower housing and the blower housing cover in the dryer.
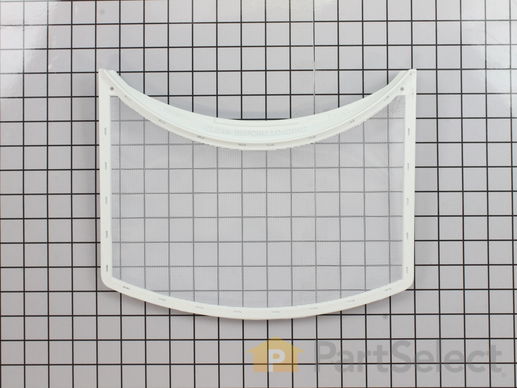
This lint filter is a genuine OEM replacement filter for your dryer. Replacing it is easy as it just slides in like your normal filter. Make sure to check the filter slot for excess buildup of lint, and clean it out after every use of the dryer.
Replacing your Maytag Dryer Lint Filter

Customer Repair Stories
damaged filter
-
Jaime from Miami, FL
-
Difficulty Level:Really Easy
-
Total Repair Time:Less than 15 mins
Maytag dryer is 33 years old and needed a new lint filter.
-
Diane from York, ME
-
Difficulty Level:Easy
-
Total Repair Time:Less than 15 mins
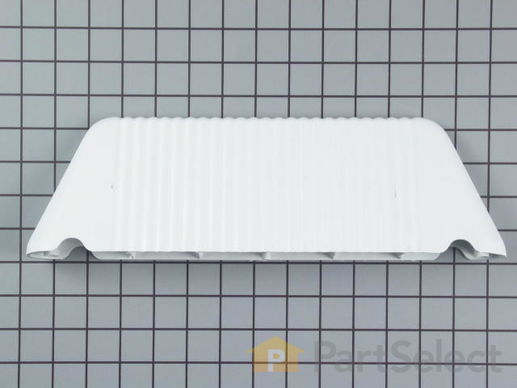
This part moves the clothes around inside your dryer and helps to direct the flow of hot during the drying cycle.
Customer Repair Stories
Lost 2 of 3 baffles
-
KEVIN from VALHALLA, NY
-
Difficulty Level:Easy
-
Total Repair Time:30 - 60 mins
-
Tools:Screw drivers, Socket set
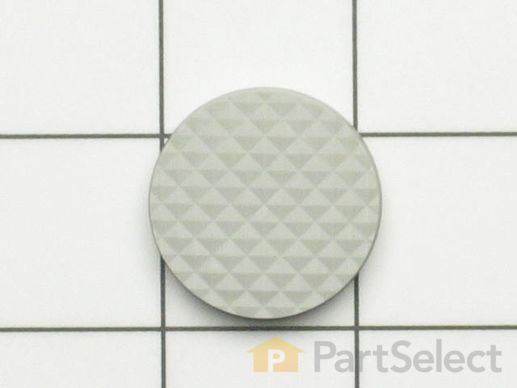
This gray levelling leg foot pad is made of rubber and is just over an inch in diameter. Sold individually.
Replacing your Maytag Dryer Rubber Leveling Leg Foot Pad

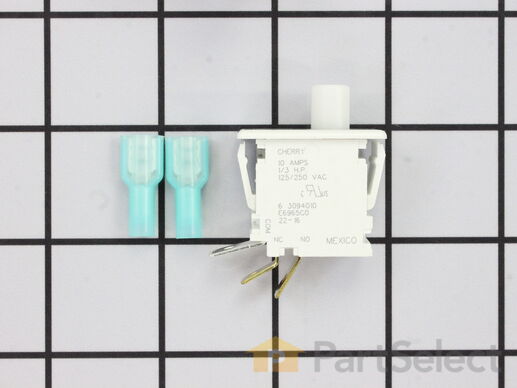
This part replaces two terminal switches in a dryer and prevents the dryer from running when the door is open. This includes two connectors. If your dryer will not shut off, start, or does not tumble, replacing the door switch can solve this appliance problem. The tools needed for replacement are a screw driver and wire strippers. Make sure to attach the two wires to the right two poles of the new switch, to do this you can check the resistance of the switch. Unplug the dryer before installing this part, also refer to the diagram provided by the manufacturer.
Replacing your Maytag Dryer Door Switch Kit

Customer Repair Stories
Switch did not turn off dryer when door opened
-
paul from madison, CT
-
Difficulty Level:Really Easy
-
Total Repair Time:Less than 15 mins
Switch sticking in on position
-
Don from Jacksonville, FL
-
Difficulty Level:Really Easy
-
Total Repair Time:15 - 30 mins
-
Tools:Nutdriver
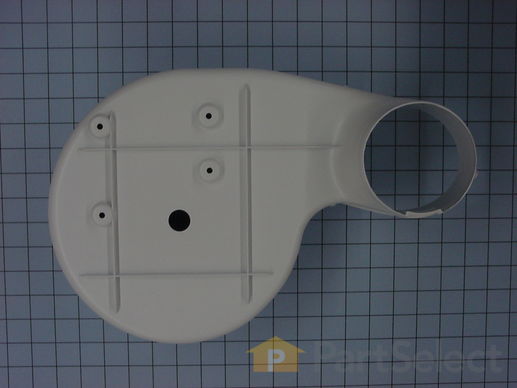
The blower housing is attached to the motor with the blower wheel located inside the housing.


