This drum support roller is sold individually. Most dryers require two. The tri-rings are included. This is a drum support roller for a dryer. It is a genuine replacement part. The part includes the drum roller only and does not include the tri-rings. This part is sold separately. Most dryers require two drum rollers. It is recommended to check and replace both drum support rollers at the same time to ensure proper drum rotation and because they often wear at the same rate. The drum support roller holds the drum in the proper position while it spins on the support wheels. If rollers are worn out, they will cause the dryer to be noisy.
How Buying OEM Parts Can Save You Time and Money
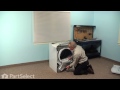
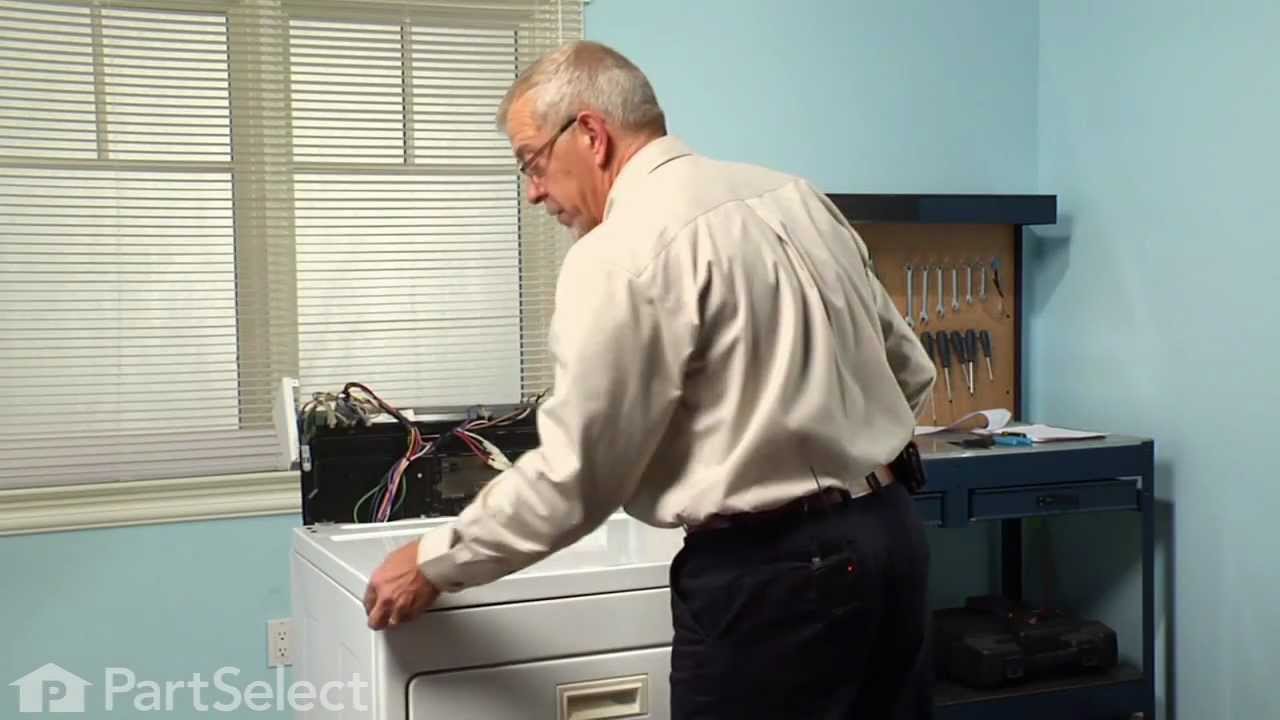
Part Videos
Replacing your Whirlpool Dryer Dryer Drum Support Roller
Keep searches simple. Use keywords, e.g. "leaking", "pump", "broken" or "fit".
Sorry, we couldn't find any existing reviews that matched. Try using some different or simpler keywords.
★★★★★
★★★★★
John R - May 3, 2023
Verified Purchase
Easy Repair
Great condition. Fast delivery.
★★★★★
★★★★★
Jessica M - April 6, 2022
Verified Purchase
Count your rollers
To fix my screaching dryer I replaced the drum rollers and pulley wheel assembly. The only problem I had was I ordered 5 rollers. Then I removed the drum and figured out I needed a 6th roller. The parts arrived as expected and saved me time waiting for repair.
★★★★★
★★★★★
WILLIAM A - April 2, 2021
Verified Purchase
Great service and Parts
The part arrived quickly and worked perfectly - I would usePartsSelect again
★★★★★
★★★★★
David C - February 6, 2021
Verified Purchase
Worked as expected.
Oh man, although this pandemic is amongst us, I'm completely satisfied with my order.
★★★★★
★★★★★
Brenda S - December 11, 2020
Verified Purchase
Drum support roller
Easy repair. Just what we needed
★★★★★
★★★★★
Kevin T - April 22, 2020
Verified Purchase
Happy Customer
The parts came in a timely manner and fit perfect.
★★★★★
★★★★★
Keith M - November 13, 2019
Verified Purchase
Cheaper than buying a new dryer
My dryer is back working.
★★★★★
★★★★★
Andy H - June 15, 2019
Verified Purchase
Not bad
The part made a big difference
★★★★★
★★★★★
Duane S - May 1, 2019
Verified Purchase
Seems ok
It came with two triangle washers.
★★★★★
★★★★★
Judith M - April 9, 2019
Verified Purchase
the right parts for the job
great part and the numbers matched old parts everything fit and dryer is working great
< Prev
1
2
3
Next >
Customer Repair Stories
Average Repair Rating: 3.0 / 5.0, 20 reviews.
What's this?
Sort by:
< Prev
1
2
Next >
Search filter:
Clear Filter
Your search term must have 3 or more characters.
Keep searches simple. Use keywords, e.g. "leaking", "pump", "broken" or "fit".
Sorry, we couldn't find any existing installation instruction that matched.
Making a racket.
Took the top off and then front off and drum out . Replaced Drum roller and shaft support bolts.
Carl from MARION, KY
Difficulty Level:
Really Easy
Total Repair Time:
More than 2 hours
Tools:
Nutdriver, Pliers, Screw drivers, Socket set
1 personfound this instruction helpful.
Was this instruction helpful to you?
Thank you for voting!
Dryer was Noisy
I simply followed the video and apart from a couple of areas that were not relevant to my model, everything went exactly as illustrated. The video is excellent and made the repair so easy.
The only issue I experienced was being short two rollers, as the parts diagram did not clearly show that there were two rollers in the back
... Read moreand two in the front.
A kit, with its own part number should be prepared that would show 4 rollers and belt as the recommended required parts.
It was an easy fix, I just did half the install a second time.
YOU NEVER SENT ME THE PARTS!!! I had to drive to a parts store to find them. On January 17, 2024, I tried to call you when the parts did not arrive and your recording said there were no reps available and you hung up. WE CANNOT GET HELP TO CANCEL THIS ORDER. We have been going in circles with PartSelect and shipping. SO, how do I
... Read moreget my refund of the $107.26 for the parts that I never received!!
Read less
Thomas from TULELAKE, CA
Difficulty Level:
Very Difficult
Total Repair Time:
30 - 60 mins
1 personfound this instruction helpful.
Was this instruction helpful to you?
Thank you for voting!
It came off the dryer support roller
I actually bought $254 worth of parts almost to point of rebuilding , which included both roller axles, drum belt, idler pulley, both rollers, the cloth that wraps around the drum for edging, and light bulb. 15 years before this the heater element and thermostat and the belt. This dryer is 27 years old and still being used on a daily basi
... Read mores. The mechanical parts and no LED components can last a life time. The wife always wants new, but this dryer with alittle love and patience is a workhorse. I'm thankful for websites like this. The videos are helpful! Thank you Parts Select! Sincerely, MIke Orkin
I'm still waiting on my idler pulley. It arrived at Fed EX depot in Tracy CA on December 14th and has still not been shipped. So it is pretty fucking hard for me to install it! Maybe if you had customer service that would answer their phones or reply to my Emails would be helpful
I followed the very informative video and wrote down step-by-step notes for myself. The repair went very smoothly. The only thing I didn't realize, was that the dryer has 4 rollers, not just 2 shown in the video. All are easy to access once you disassemble. I had to do it twice since I had to order 2 more rollers in order to replace t
... Read morehem all. Also, the triangle plastic washers come with the roller, so you won't need to order them separately like I did. I also changed the idler pulley roller while I was in there since that has bearings too. Just as easy. I'm very happy with my quiet dryer! One last note: The new rollers are a bit louder than normal at first, but they quiet down very quickly as you use the dryer. It must be because they are brand new.
Easy repair. Bought replacement parts on Amazon and they lasted 1month. Should have purchased from you in the first place. Re replaced with your parts and no issues.
Dryer would run 1 min then stop running with some heat in drum
Videos are excellent to open and access internal parts. It turned out a rat was killed in the blower fan when we first encountered the problem. This prevented the blower from turning which interfered with motor function.
This required removing drum & belt, disconnecting motor clips, blower belt, and blower housing. The blower
... Read morehousing needed to be disassembled. Having a 5/16” & 1/8” ratcheting nut driver makes this process much easier. Don’t try this with a wrench.
After getting rid of the rat and decomposition, we sanitized the entire housing with soap & chlorine bleach.
Reassembly was uneventful and relatively easy. We ended up replacing 4 rollers, 2 belts (drum belt & blower belt), the thermistor which was damaged as a result of the blocked blower.
Ask our experts a question about this part and we'll get back to you as soon as possible!
14 questions answered by our experts.
Sort by:
< Prev
1
2
Next >
Search filter:
Clear Filter
Your search term must have 3 or more characters.
Keep searches simple. Use keywords, e.g. "leaking", "pump", "broken" or "fit".
Sorry, we couldn't find any existing answers that matched.Try using some different or simpler keywords, or submit your new question by using the "Ask a Question" button above!
Gary
September 8, 2017
Is there a kit for this which includes everything or do i just guess at which one of drum support bearings it is, probably outboard, but i hate to tear it down and see if it needs more parts, and have to wait for materials, appreciate any info u can suggest, i have two support brgs and unit is 6 yrs old
For model number MED6000XW Maytag
Hello Gary, thank you for contacting us. The drum support rollers have the bearing already in them. The part you reference would be the correct support roller for your model. Other parts that would usually get repaired at the same time would be the belt and idler pulley if needed. Good luck with the repair!
20 people found this helpful.
Was this helpful?
Thank you for voting!
Dennis
March 20, 2022
How do I get the cabinet open to replace the rollers?
For model number MEDB955FC0
Hello Dennis, Thank you for the question. We have linked a video on how to perform the repair. If you need help placing an order, customer service is open 7 days a week. Please feel free to give us a call. We look forward to hearing from you!
10 people found this helpful.
Was this helpful?
Thank you for voting!
Gary
September 8, 2017
Dryer started making noise, its 6 years old so i ordered two drum support brgs but have read some info regards similar probs, citing there are 4 support brgs, and something abt an idler brg and a seal for drum. Should i order more parts??
For model number Maytag MED6000XW
Hi Gary,
Thank you for your inquiry. If you dryer is making noise and you have replaced the drum support bearings, you will need to check the drive belt, the drum roller axle, the drum glides or slides, the idler pulley, the drum felt seal, the motor, the blower wheel and housing and the baffle. I hope this helps. Thank you and have a great day!
10 people found this helpful.
Was this helpful?
Thank you for voting!
J.R.
December 22, 2017
How to remove belt. Do you have to remove squirrel cage fan shaft in order to remove belt?
For model number WET3300XQ0
Hello J.R., Thank you for your inquiry. You do not need to remove the blower wheel in order to remove the belt. I have included a link to an installation video for this part. Good Luck with your repair!
https://www.youtube.com/watch?v=whFYs7Tg9Uw
2 people found this helpful.
Was this helpful?
Thank you for voting!
J.R.
December 23, 2017
My washer/dryer is a stack unit and does not come apart as shown in the link you provided? There is no apparent or obvious way to remove the belt.
For model number WET3300XQ0
Hello J.R.,
Thanks for your question. You will need to remove the rear access panel, and possibly the front panel as well to access the belt. Push the idley pulley away from the motor pulley to release the belt tension and pull the belt off of the pulleys.
I hope this helps.
2 people found this helpful.
Was this helpful?
Thank you for voting!
Mike Byas
February 12, 2018
Need rollers and clips on my roller d39t yours says d36t so is it the same part?
For model number MEDC200XW1
Hi Mike,
Thank you for your question. The part number listed under your model number for the drum support roller is PS11752609. I hope this helps. Thank you and have a great day!
2 people found this helpful.
Was this helpful?
Thank you for voting!
George
November 1, 2019
Our dyer is squeaking. I saw suggestions online that a drop of sewing machine oil on the roller shafts would fix the problem. I did that, but sadly it still squeaks. I saw in one of your comments that one should not lube the shafts. Hope i did not do any damage. I could feel no play in the rollers. Is the next step new rollers? How does one determine if the roller shafts are bad? Thanks!
For model number WED9400SU0
Good Day George. Thank you for your email in regards to your unit (Model Number WED9400SU0). We do apologize but we were not able to locate the information you requested. For more specialized assistance or to speak with someone about this, we recommend calling the manufacturer of the equipment directly. They may be able to provide you with the part number that you need. Once you have this information, please feel free to check back with us for pricing and availability information.
2 people found this helpful.
Was this helpful?
Thank you for voting!
John
January 20, 2024
No mater if I place the temperature setting on low or medium the dryer always runs on the highest heat.
For model number CED147SDW1
Hello John, thank you for reaching out. We have concluded that the issue is with the timer, part number PS11749833. We would recommend replacing it to fix the issue. We hope this solves your problem!
does this model need two drum support rollers or more?
For model number 11077741600
Hello David, thank you for contacting us. Based on our research, this model needs four drum rollers, part number PS11752609, in order to spin the drum efficiently. This part is sold individually. We hope this information helps!
Was this helpful?
Thank you for voting!
Jeff
November 26, 2022
Dryer squeals loudly when turned on. Works fine, but loud. What do we need?
For model number MEDB850YW0
Hello Jeff, thank you for reaching out. According to our research, we would recommend checking the following parts to fix your issue: drum support rollers, part number PS11752609, idler pulley wheel and arm, part number PS11756154, and belt, part number PS11748884. If you need help placing an order for it, please feel free to give us a call. We look forward to hearing from you!