Parts That Fix Whirlpool Washer WTW8600YW1 Will Not Start
Will Not Start is a commonly reported symptom for the WTW8600YW1 Whirlpool Washer, and we have put together a full guide on how to fix this. This advice is based on feedback from people who own this exact appliance. We have listed the most common parts for your WTW8600YW1 Whirlpool Washer that will fix Will Not Start. We have included repair instructions, and helpful step-by-step video tutorials. If you are experiencing this issue, not to worry, DIYers just like you have fixed this, and shared their experience to help you!
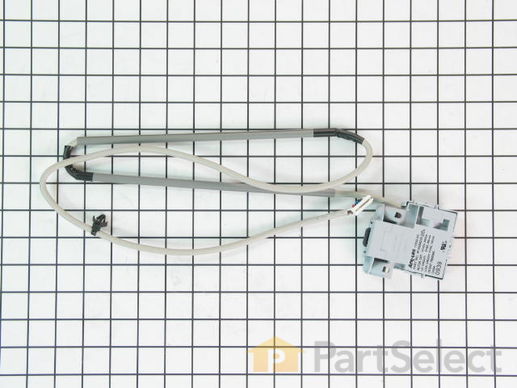
This part makes sure that the lid is shut before allowing the machine to start or agitate. NOTE: This is a manufacturer substitution. Part may differ in appearance but is a functional equivalent to prior parts including
Replacing your Whirlpool Washer Lid Lock Assembly

Customer Repair Stories
Washer would not start due to lock mechanism turning on and off.
-
Dyleena from HOUSTON, TX
-
Difficulty Level:Really Easy
-
Total Repair Time:30 - 60 mins
-
Tools:Screw drivers
Lid Lock broke
-
Judith from SAYRE, PA
-
Difficulty Level:A Bit Difficult
-
Total Repair Time:1- 2 hours
-
Tools:Screw drivers, Socket set, Wrench (Adjustable)
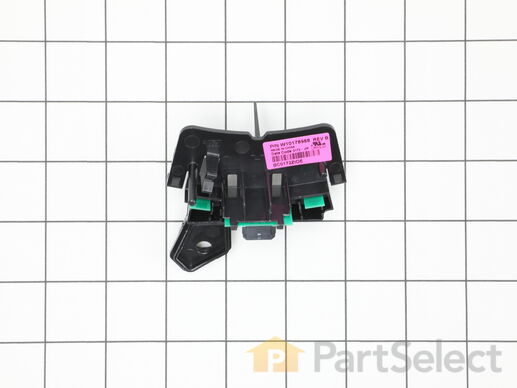
This rotary position sensor is a genuine OEM part for your washing machine. It helps to ensure the load of clothing stays balanced during the wash cycle. Customers have rated this repair as easy. To complete this repair, you will need an Allen wrench, 3/8 inch socket, and a screwdriver. The repair will involved turning off the power and water supply, and tilting the washer on its front to access the sensor.
Replacing your Whirlpool Washer Sensor

Customer Repair Stories
mins after start it stopped and got code f51. then put it manual spin and got UL code
-
victor m from campo, CA
-
Difficulty Level:Easy
-
Total Repair Time:1- 2 hours
-
Tools:Pliers, Screw drivers, Socket set
F51 error code
https://www.youtube.com/watch?v=_-Hg8rLGiKQ
The hardest part on fixing this is trying to move the washer out of its place so I can tilt it to see underneath the washer where the repair would be.
-
Edgardo from SALEM, OR
-
Difficulty Level:Really Easy
-
Total Repair Time:30 - 60 mins
-
Tools:Nutdriver, Screw drivers, Socket set


