Models > WSF26C3EXF01 > Symptoms > Light not working

Parts That Fix Whirlpool Refrigerator WSF26C3EXF01 Light not working

Light not working is a commonly reported symptom for the WSF26C3EXF01 Whirlpool Refrigerator, and we have put together a full guide on how to fix this. This advice is based on feedback from people who own this exact appliance. We have listed the most common parts for your WSF26C3EXF01 Whirlpool Refrigerator that will fix Light not working. We have included repair instructions, and helpful step-by-step video tutorials. If you are experiencing this issue, not to worry, DIYers just like you have fixed this, and shared their experience to help you!

Fixes Symptom 84% of time
★★★★★
★★★★★
83 Reviews

Rated by 47 customers 


Really Easy 

Less than 15 mins 

Ratings submitted by customers like you who bought this part.   

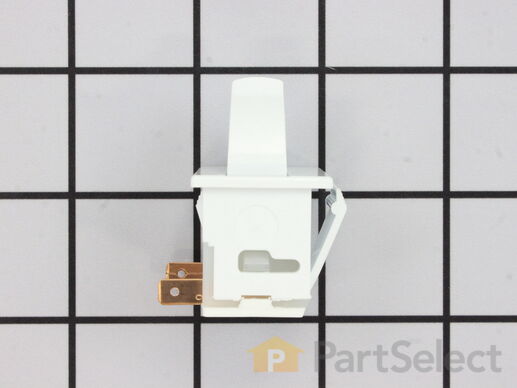
Door switch turns the light off when you close the door.

$ 38.48
  In Stock
PartSelect Number PS12728638
Manufacturer Part Number W11384469

Replacing your Kenmore Refrigerator Refrigerator Door Switch

Replacing your Refrigerator Door Switch

Customer Repair Stories

Light Switch broke

An easy job for smaller hands. Removed the two bolts holding the light cover. Removed two electrical connections from the old switch by pinching the retaining clip,removed the switch, snapped in the new one and re-attached the connectors. Your online illustrations helped me to know that the plastic housing for the light switch would only swing down so far and was not intended to be removed. Saved me from breaking that plastic cover's tabs. This home repair saved me more than 5 times the cost of hiring a professional to do it. Very happy homeowner.
  • James Richard from St. Cloud, MN
  • Difficulty Level:
    Easy
  • Total Repair Time:
    Less than 15 mins
  • Tools:
    Socket set
44 of 60 people found this instruction helpful.
Was this instruction helpful to you?
Thank you for voting!

Lights inside refrigerator not working

I used a flat-head screwdriver to pop out the old light rocker switch. Then, I unplugged the wires, plugged them into the new light rocker switch, and then popped the new switch into the hole. That's it! Lights began working again.
  • Clint from Rayville, MO
  • Difficulty Level:
    Really Easy
  • Total Repair Time:
    Less than 15 mins
  • Tools:
    Screw drivers
119 of 194 people found this instruction helpful.
Was this instruction helpful to you?
Thank you for voting!
Fixes Symptom 11% of time
★★★★★
★★★★★
6 Reviews

Rated by 8 customers 


Really Easy 

Less than 15 mins 

Ratings submitted by customers like you who bought this part.   

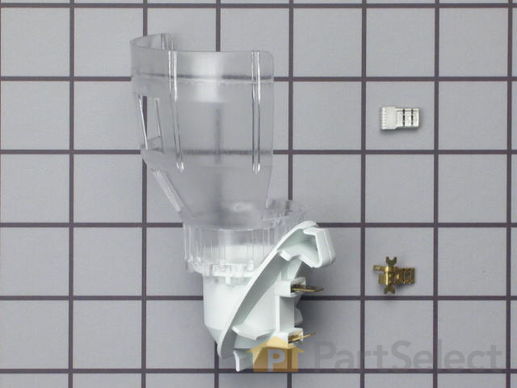
The light socket in your refrigerator houses the light bulb and connects it to the power source. If your refrigerator light is not coming on when you open the door, you may need to replace the light socket. Before you replace the light socket, be sure that your light bulb is in working condition, as this may solve the same problem. This light socket kit comes with 2 wire connectors, a light shield, and the new socket. The wire connectors that come with this kit are included so your new socket can replace a variety of old ones. If this light socket is different than your original, you will need to use the connectors to make it fit your refrigerator. Be sure to follow the instructions provided, so this part will fit your refrigerator properly.

$ 70.72
  In Stock
PartSelect Number PS371236
Manufacturer Part Number 4387478

Replacing your Kenmore Refrigerator Light Socket Kit

Replacing your Light Socket Kit

Customer Repair Stories

socket melted with bulb in it.

plastic warped in ,spaced out and, the socket snapped back in place.
  • martin l. from JACKSONVILLE,, IL
  • Difficulty Level:
    Really Easy
  • Total Repair Time:
    Less than 15 mins
12 of 18 people found this instruction helpful.
Was this instruction helpful to you?
Thank you for voting!

Light Would Not Go On In The Refrigerator

First I removed the old lightbulb from the socket and replaced it with a new one to confirm that the bulb was not the problem. I then pryed the socket out with a flat-head screwdriver. I could tell that the socket was anchored in its hole with clips so it was relatively easy to pry it out. Once the socket was out, I disconnected the lead wires and ordered a replacement socket kit from Partselect. When the new one arrived, I reconnected the lead wires to it, snapped it back into its hole, screwed in a new lightbulb, and presto!! The light was back on with no further problem. Thank you, Partselect!! A $15.00 part saved me what probably would have been at least a $100. service call and heaven knows what the technician would have told me I needed!!!
  • DANIEL from MINNEAPOLIS, MN
  • Difficulty Level:
    Easy
  • Total Repair Time:
    Less than 15 mins
  • Tools:
    Screw drivers
61 of 77 people found this instruction helpful.
Was this instruction helpful to you?
Thank you for voting!
3 Socket
Fixes Symptom 4% of time

Rated by 2 customers 


Really Easy 

Less than 15 mins 

Ratings submitted by customers like you who bought this part.   

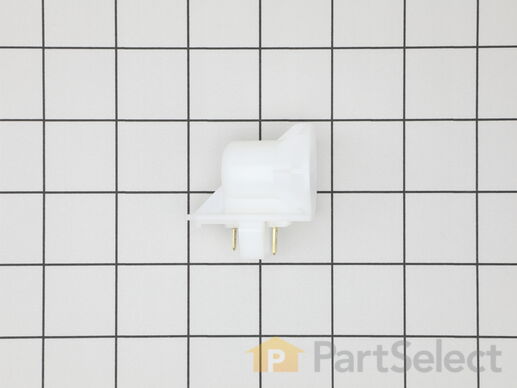
This light socket is a genuine OEM part for your refrigerator. The light socket powers the bulb that lights your fridge. To repair this part, you will need to remove the screws holding the control panel in place. Pull the panel out and unplug any terminals or wires connected to the socket. Plug the new socket into place, and reattach terminals and wires.

$ 7.95
  In Stock
PartSelect Number PS11749929
Manufacturer Part Number WPW10191429

Customer Repair Stories

Both Upper Lights Burned Out Same Time

The holder is held in place with two screws. Once you have it unscrewed you can snap the old sockets out and replace them.

Ordered new sockets and presto, the lights work again.
They just snapped into the holder and the holder went up with two screws.
HINT: I did take a photo of the 4 electrical connectors AND labeled each one with a Sharpie 1, 2, 3, and 4 from left to right.
  • Victor from CEDAR CREEK, TX
  • Difficulty Level:
    Very Easy
  • Total Repair Time:
    Less than 15 mins
  • Tools:
    Nutdriver
2 of 2 people found this instruction helpful.
Was this instruction helpful to you?
Thank you for voting!

Lights failed despite new bulbs.

Used u-tube video to review steps in making repair. Wires shorter than described but after looking at replacement sockets difference was clear.
  • Thomas from EASTON, MD
  • Difficulty Level:
    Easy
  • Total Repair Time:
    15 - 30 mins
  • Tools:
    Screw drivers
3 of 5 people found this instruction helpful.
Was this instruction helpful to you?
Thank you for voting!
4 SWITCH
Fixes Symptom 1% of time

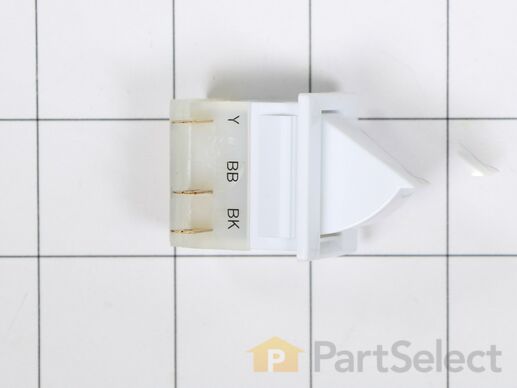
This part turns the light on/off as the door opens and closes.

$ 19.31
  In Stock
PartSelect Number PS16218024
Manufacturer Part Number W11457217