Parts That Fix Whirlpool Washer WFW8300SW04 Will not drain
Will not drain is a commonly reported symptom for the WFW8300SW04 Whirlpool Washer, and we have put together a full guide on how to fix this. This advice is based on feedback from people who own this exact appliance. We have listed the most common parts for your WFW8300SW04 Whirlpool Washer that will fix Will not drain. We have included repair instructions, and helpful step-by-step video tutorials. If you are experiencing this issue, not to worry, DIYers just like you have fixed this, and shared their experience to help you!
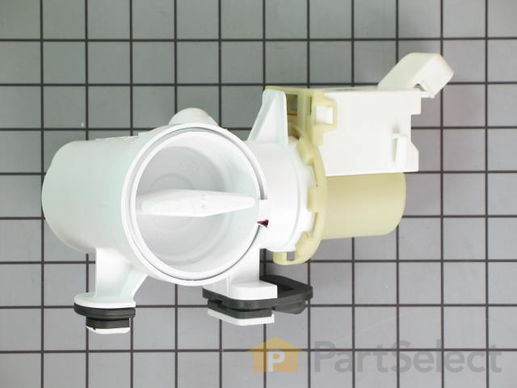
This is a manufacturer-approved replacement drain pump for your washing machine. To complete this repair you will need a 1/4 inch nut driver, 5/16ths nut driver, a flat blade screwdriver, and a pair of pliers. Make sure to disconnect power to the washer before beginning this repair.
Replacing your Maytag Washer Washer Drain Pump

Customer Repair Stories
water pump failed
-
Kurt from Caliente, NV
-
Difficulty Level:Really Easy
-
Total Repair Time:15 - 30 mins
-
Tools:Nutdriver, Pliers
F 21 error
The washer drained water out, lift the washer up to un screw the drain pump. Then unhooked the hoses from pump put the other pump in.
-
Andrew from St.Louis, MO
-
Difficulty Level:Easy
-
Total Repair Time:15 - 30 mins
-
Tools:Screw drivers, Socket set
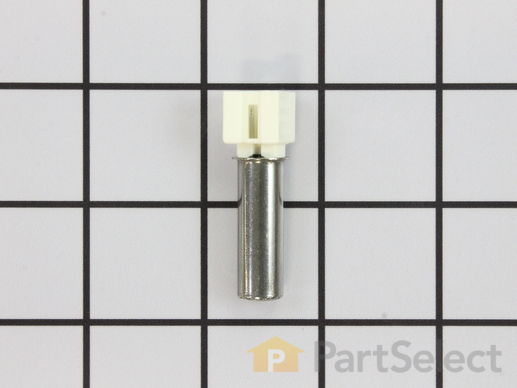
This part regulates the temperature of the water in the tub. The sensor is located in the heating element.
Replacing your Whirlpool Washer Temperature Sensor

Replacing your Whirlpool Washer Temperature Sensor

Customer Repair Stories
Washer posting a f6 error
-
Robert from Salt Lick, KY
-
Difficulty Level:Really Easy
-
Total Repair Time:Less than 15 mins
-
Tools:Screw drivers
Replacing the heat sensor following an F-24 Error Notice.
be careful when disconnecting the two prong electrical connector from
the heat sensor. the two black wires can pull free easily. In that case, the
rear of the female plastic wired connector must be extracted to allow the two black wires to be "pushed" ... Read more into the narrow slot which displaces the
wire insulation and allows for a good electrical connection. If a punch tool is not available a pair of needle nose pliers works. Also, observe
the orientation slots on both the male andfemale connectors - they
connect one way only! I set the washer on it's face while effecting this
repair to better see what I was doing (eyesight not as good as it used to be). Thanks for the timely support!
-
william from VIRGINIA BCH, VA
-
Difficulty Level:Really Easy
-
Total Repair Time:30 - 60 mins
-
Tools:Nutdriver, Pliers
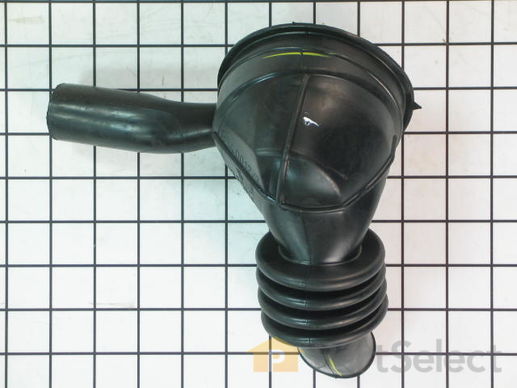
This is a replacement tub-to-pump hose for your washer. This hose runs from the bottom of the tub to the water pump, and is used to transport water. The hose can develop a hole, and when this happens you will notice water leaking onto the floor. The tub-to-pump hose is found below the washer tub. To disconnect the hose, you will need to release the clamps that hold it in place with a pair of pliers. When you replace the tub hose, you will need to transfer the ball, air chamber, and clamps from the old pump to the new one. To do this, you will need a set of wire cutters and a new zip tie to replace the one you will need to cut.
Customer Repair Stories
mice chewed thru hose
-
oscar from MEMPHIS, TN
-
Difficulty Level:Really Easy
-
Total Repair Time:15 - 30 mins
-
Tools:Nutdriver, Pliers, Screw drivers
Front loading washer is leaking
Finally, I discovered a wet area and cut on the drum-to-pump hose. When I removed the hose, I found that the culprit was a credit card that had broken into shards and sli ... Read more t the side of the hose. I was happy to see it was from the previous owners, which meant it wasn't my fault!
I did have a hard time removing the clamps (double-wire "rotor clip" or "spring clamps", according to Google) holding the hose to the drum and pump. This became a problem when replacing the hose as well. I was not strong enough to squeeze the ends together to loosen the clamp.
Getting the old hose off was easy enough, as was putting the hose back on. The problem was clamping it back on, as I mentioned.
I tried using zip ties, but this was a disaster! I tested it using a rinse and spin cycle, and the zip tie seemed to hold. However, the hose slid off during the first full cycle I ran and dumped at least 15 gallons of water on the floor. Clean up was not fun!
My recommendation (and what I finally went with) is to use hose clamps with the small screw that lets you tighten the clamp with a screw driver. I used that on both the connection to the drum and the connection to the pump and I've had no issues since.
Overall, it's a quick fix once you have the hose replacement and the right parts. If I'd gotten the hose clamps right away, I could have been done in 30 minutes.
Hope this helps and good luck with your repairs!
-
Michelle from WAREHAM, MA
-
Difficulty Level:Really Easy
-
Total Repair Time:1- 2 hours
-
Tools:Screw drivers, Wrench (Adjustable)


