Models > WDF510PAYS6 > Symptoms > Not draining

Parts That Fix Whirlpool Dishwasher WDF510PAYS6 Not draining

Not draining is a commonly reported symptom for the WDF510PAYS6 Whirlpool Dishwasher, and we have put together a full guide on how to fix this. This advice is based on feedback from people who own this exact appliance. We have listed the most common parts for your WDF510PAYS6 Whirlpool Dishwasher that will fix Not draining. We have included repair instructions, and helpful step-by-step video tutorials. If you are experiencing this issue, not to worry, DIYers just like you have fixed this, and shared their experience to help you!

Fixes Symptom 80% of time
★★★★★
★★★★★
57 Reviews

Rated by 16 customers 


Really Easy 

15 - 30 mins 

Ratings submitted by customers like you who bought this part.   

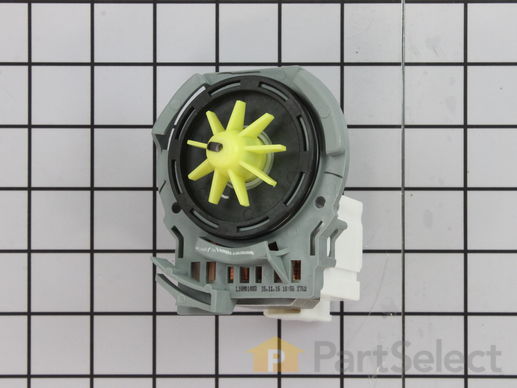
This drain pump is used in dishwashers to remove water from the dishwasher tub. If the impeller in the dishwasher is damaged or the motor has been shorted out and will not drain, it is possible the body is cracked, causing leakage. To prevent this from happening, replace the drain pump. The tools needed for this installation are: Phillips screwdriver, 5/16 inch nut driver, 5/8 inch wrench, and a flathead screwdriver. Remember to unplug your dishwasher from the power source before beginning this installation project. Refer to the manual provided by the manufacturer for further installation instructions.

$ 91.96
  In Stock
PartSelect Number PS11753379
Manufacturer Part Number WPW10348269

Replacing your Whirlpool Dishwasher Dishwasher Drain Pump

Replacing your Dishwasher Drain Pump

Customer Repair Stories

Water not draining from the dishwasher

I watched the video and this was the easiest repair ever. Took longer to disconnect and reinstall than it did to change out the pump. Highly recommended watching the video
  • Frederick from BIG PRAIRIE, OH
  • Difficulty Level:
    Very Easy
  • Total Repair Time:
    30 - 60 mins
  • Tools:
    Screw drivers, Wrench (Adjustable)
11 of 11 people found this instruction helpful.
Was this instruction helpful to you?
Thank you for voting!

dishwasher not draining after wash cycle

Caviat: The actual repair is less than 15 minutes, but I spent a lot of time playing with it before I figured out it was that easy and fast. You don't need to remove the dishwasher from the counter to do this. And it will probably help to look at the new part closely so you can understand where the retainer clip is to press it and release the old pump.

First remove the water from the dishwasher pan that would not drain with a wet/dry vac. Otherwise the water will all drain on the floor when you remove the pump. Then remove the two screws on the kickplate on the front of the unit below the door. Remove the kickplate/maintainence access cover. The drain pump is on the right about 8 inches in. Using two hands you grasp the drain pump with your right hand and use the left hand to push the retaining clip down. Then the drain pump will rotate 1/4 turn counterclockwise and can be removed without pulling the dishwasher out. There is likely to be some water leak out that was traped in the pump housing that you can not reach with the vac. Disconnect the wire. Connect the wire to the new pump, put it in place and 1/4 turn clockwise to install it. Replace the kickplate and you're done.
  • Andrew from Alexandria, VA
  • Difficulty Level:
    Easy
  • Total Repair Time:
    Less than 15 mins
  • Tools:
    Screw drivers
475 of 527 people found this instruction helpful.
Was this instruction helpful to you?
Thank you for voting!
Fixes Symptom 6% of time
★★★★★
★★★★★
21 Reviews

Rated by 8 customers 


Really Easy 

15 - 30 mins 

Ratings submitted by customers like you who bought this part.   

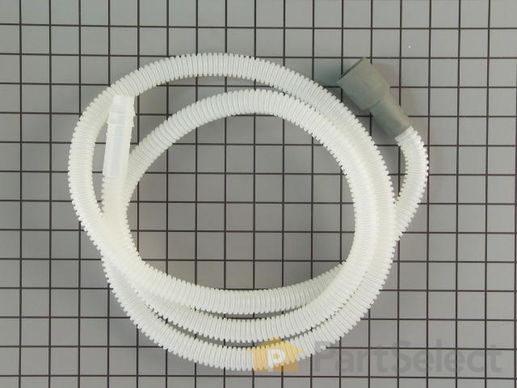
This drain hose is 6 and 1/2 feet.

$ 31.60
  In Stock
PartSelect Number PS2358130
Manufacturer Part Number 8269144A

Replacing your KitchenAid Dishwasher Drain Hose

Replacing your Drain Hose

Customer Repair Stories

Drain hose leaking

I did not relize that the drain hose was in two parts. Naturally I ordered the wrong half. So after I relized my mistake, I re-ordered the correct part. Once the correct part was received the repair was easy and went well.
  • Robert from Beaufort, SC
  • Difficulty Level:
    Easy
  • Total Repair Time:
    15 - 30 mins
  • Tools:
    Pliers
7 of 11 people found this instruction helpful.
Was this instruction helpful to you?
Thank you for voting!

Unwanted water.

A Mouse friend had seen fit to chew through the original drain line. I used my Model Number, and was able to order the correct part . It arrived the next day. The job itself is fairly straight forward. You will need to access the rear of the machine. This may include shutting off, and disconnecting the water supply line. (Adjustable wrench). Mine is under the sink, on the "Hot" side. You may also need to un-plug the unit. (recommended) . A pair of (Pliers) will be needed for the spring clamp.
  • David from PITTSBURGH, PA
  • Difficulty Level:
    Easy
  • Total Repair Time:
    30 - 60 mins
  • Tools:
    Pliers, Screw drivers, Wrench (Adjustable)
7 of 8 people found this instruction helpful.
Was this instruction helpful to you?
Thank you for voting!
Fixes Symptom 5% of time
★★★★★
★★★★★
7 Reviews

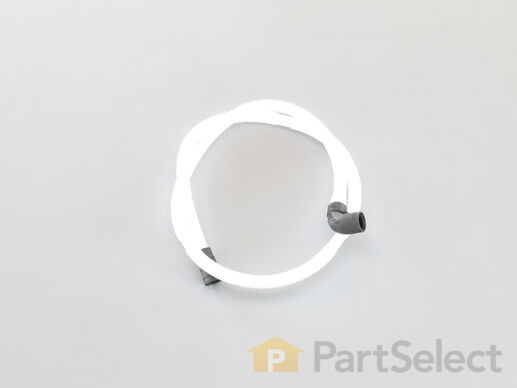
This part is used to drain water from your dishwasher.

$ 48.22
  In Stock
PartSelect Number PS11756139
Manufacturer Part Number WPW10545278

Replacing your Whirlpool Dishwasher Drain Hose

Replacing your Drain Hose
Fixes Symptom 4% of time
★★★★★
★★★★★
4 Reviews

Rated by 1 customer 


Easy 

15 - 30 mins 

Ratings submitted by customers like you who bought this part.   

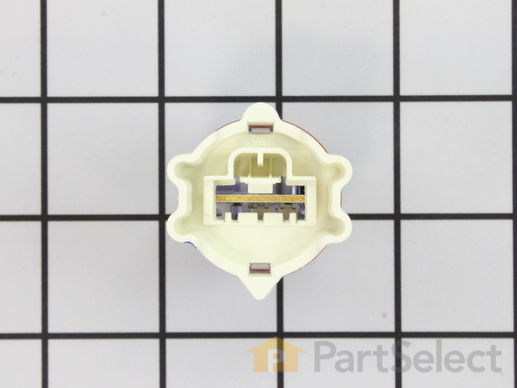
Measures level of soil in the water.

$ 33.73
  In Stock
PartSelect Number PS11757214
Manufacturer Part Number WPW10705575

Replacing your KitchenAid Dishwasher Turbidity Sensor

Replacing your Turbidity Sensor

Customer Repair Stories

Failed diagonistics test for OWI sensor

Pulled the dishwasher out from the counter, on the lower right hand side, about mid way back there is a bundle of all yellow wires, follow that to the sensor which mounts into the bottom of the wash tub. The sensor is easily removed by grasping it by hand and turn it about a half turn (can't remember which direction). It then just pulls out. Disconnect the wire bundle by pushing on the retaining clip and the install is the reverse.
  • Mark from Lancaster, NY
  • Difficulty Level:
    Easy
  • Total Repair Time:
    15 - 30 mins
  • Tools:
    Screw drivers
58 of 83 people found this instruction helpful.
Was this instruction helpful to you?
Thank you for voting!
Fixes Symptom 4% of time
★★★★★
★★★★★
32 Reviews

Rated by 5 customers 


Very Easy 

Less than 15 mins 

Ratings submitted by customers like you who bought this part.   

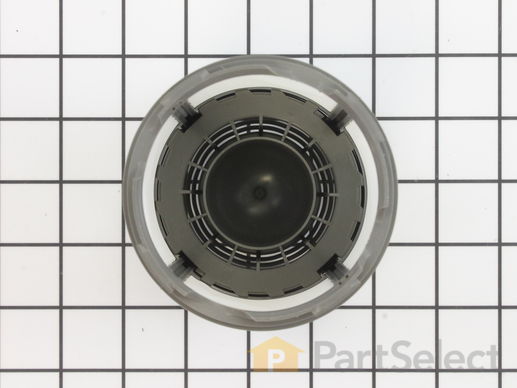
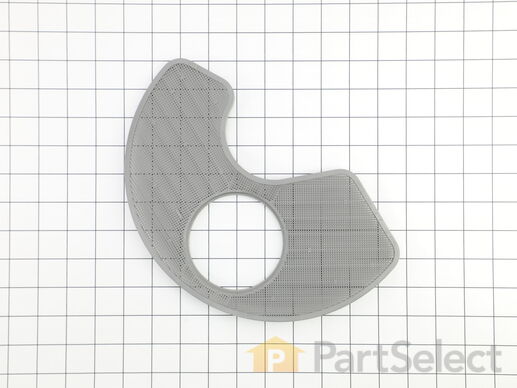
This filter works with the water pump in your dishwasher. It prevents debris from entering the pump and causing damage. As a result, the filter can occasionally become clogged or damaged, and will need to be replaced. A good indication of a damaged filter is if your dishwasher is not draining or cleaning the dishes properly. This filter has a gray plastic top and bottom that are approximately 5 inches in diameter. This is a genuine OEM part that comes directly from the manufacturer. To replace the filter, simply turn it counterclockwise to unlock, and then screw in the new filter

$ 58.02
  In Stock
PartSelect Number PS11759673
Manufacturer Part Number W10872845

Replacing your Whirlpool Dishwasher Dishwasher Filter

Replacing your Dishwasher Filter

Customer Repair Stories

Water filter needed replacing

The old filter simply unscrews and the new one screws in.
  • Martha from SAN DIEGO, CA
  • Difficulty Level:
    Very Easy
  • Total Repair Time:
    Less than 15 mins
2 of 2 people found this instruction helpful.
Was this instruction helpful to you?
Thank you for voting!

Dishwasher would not drain

After bailing out the unit, filled filter hole with a moderate amount of Dawn dish washing detergent. Ran dishwasher twice to remove all Dawn from the unit. Had to bailout the water (and suds) from the washer both times. After the dishwasher finally drained I inserted the new filter..
  • Edward F from CINCINNATI, OH
  • Difficulty Level:
    Really Easy
  • Total Repair Time:
    30 - 60 mins
4 of 7 people found this instruction helpful.
Was this instruction helpful to you?
Thank you for voting!
Fixes Symptom 1% of time
★★★★★
★★★★★
87 Reviews

Rated by 33 customers 


Easy 

30 - 60 mins 

Ratings submitted by customers like you who bought this part.   

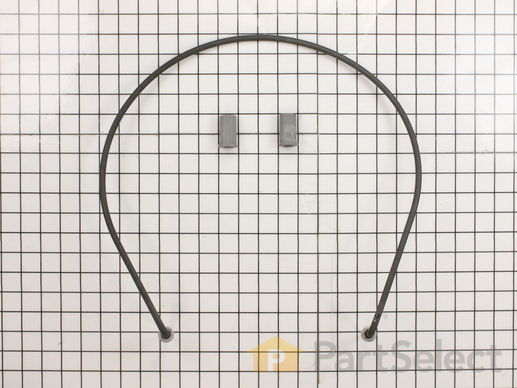
This manufacturer-certified heating element is used to create heat during the dry cycle and increase water temperature during portions of the wash cycle when certain options are selected. If your dishes are not drying or the water in the dishwasher is not getting hot you may need to replace the element. This kit includes the heater, two heater fasteners, and is a genuine OEM part. Please remember to disconnect the power before starting the repair. Use a multi-meter to test your heating element for continuity to determine whether this is the part that is causing your symptom. This part does not include any washers. To make your repair, disconnect the wires from the bottom of the element in the back, remove the plastic nuts holding it in place, remove the element, and repeat these steps in reverse order to install your new part. This is an easy repair that requires only a screwdriver, wrench set, and should take less than 30 minutes.

$ 66.15
  In Stock
PartSelect Number PS8260087
Manufacturer Part Number W10518394

Replacing your Whirlpool Dishwasher Dishwasher Heating Element

Replacing your Dishwasher Heating Element

Customer Repair Stories

clean light flashing 7 times would not run

removed screws holding dishwasher to counter top,raised leveling pads,pulled dishwasher out, unplugged wiring,removed hold down nuts from inside dishwasher and installed new heater element, this was all easy the hard part was finding the code to reset the dishwasher there was no paperwork inside the dishwasher although there was an empty plastic holder.The code that worked for my model was with the door open to push the normal wash button then the high temp button three times as fast as you can within four seconds then close the door. It worked and reset the dishwasher which ran a short cycle then shut down as normal and is now working fine.After doing this select the beverage of your choice and relax. Hope this helps someone.
  • Mark from Winchester, VA
  • Difficulty Level:
    Really Easy
  • Total Repair Time:
    30 - 60 mins
  • Tools:
    Screw drivers, Wrench (Adjustable), Wrench set
12 of 15 people found this instruction helpful.
Was this instruction helpful to you?
Thank you for voting!

Heater element broken.

Step 1: Remove the screws in the bottom of the countertop.

Step 2: Remove the screws holding the bottom kickplate.

Step 3: Loosen leveling legs.

Step 4: Pull dishwasher out of hole.

Step 5: Unlplug dishwasher.

Step 6: Disconnect wires from bottom of element in back.

Step 7: Remove plastic nuts holding element in place.

Step 8: Remove element.

Step 9: Reverse Steps 1-7.

Step 10: Drink beer.
  • Dennis from Sedro Woolley, WA
  • Difficulty Level:
    Really Easy
  • Total Repair Time:
    Less than 15 mins
  • Tools:
    Screw drivers, Wrench set
216 of 241 people found this instruction helpful.
Was this instruction helpful to you?
Thank you for voting!
7 Screen
Fixes Symptom 1% of time
★★★★★
★★★★★
6 Reviews

Rated by 2 customers 


Very Easy 

Less than 15 mins 

Ratings submitted by customers like you who bought this part.   

$ 35.73
  In Stock
PartSelect Number PS11755148
Manufacturer Part Number WPW10463906

Replacing your Whirlpool Dishwasher Screen

Replacing your Screen

Customer Repair Stories

The old filter was warped, allowing food into the sprayer system

Replaced the strainer. This keeps the two sprayers clean/clear so they do not clog up. Dishes are cleaner now. Note : if your sprayers are clogged it is a long process to clear out the sprayers. Dishes will not be clean until your sprayers are all cleared.
  • George from LYMAN, ME
  • Difficulty Level:
    Really Easy
  • Total Repair Time:
    Less than 15 mins
1 person found this instruction helpful.
Was this instruction helpful to you?
Thank you for voting!