Models > PVM1870SM3SS > Symptoms > Won’t turn on

Parts That Fix General Electric Microwave PVM1870SM3SS Won’t turn on

Won’t turn on is a commonly reported symptom for the PVM1870SM3SS General Electric Microwave, and we have put together a full guide on how to fix this. This advice is based on feedback from people who own this exact appliance. We have listed the most common parts for your PVM1870SM3SS General Electric Microwave that will fix Won’t turn on. We have included repair instructions, and helpful step-by-step video tutorials. If you are experiencing this issue, not to worry, DIYers just like you have fixed this, and shared their experience to help you!

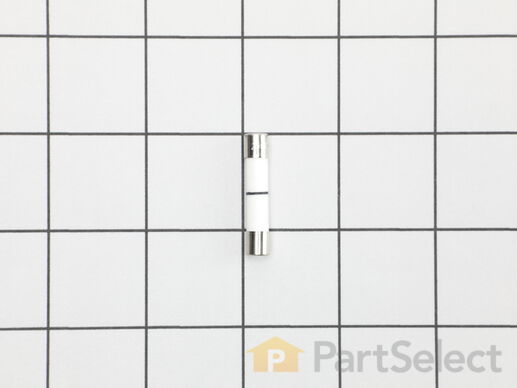
1 FUSE
Fixes Symptom 55% of time
★★★★★
★★★★★
19 Reviews

Rated by 17 customers 


Really Easy 

30 - 60 mins 

Ratings submitted by customers like you who bought this part.   

This ceramic microwave fuse is just over an inch in length. It is white in the center, and metal on both ends. This is a 20-amp fuse, and is used to power your microwave. If the touch pad on the microwave becomes unresponsive, the microwave produces little to no heat, or the appliance simply does not turn on, it could mean that your fuse is at fault and needs to be replaced. Because this part contains an electrical charge, remember to disconnect power to the microwave unit before you begin this repair. NOTE: Before you start this repair, ensure that the microwave is unplugged, and the capacitor is discharged. A capacitor stores large amounts of electricity even after your microwave is unplugged.

$ 10.58
  In Stock
PartSelect Number PS1481237
Manufacturer Part Number WB27X10928

Customer Repair Stories

I diagnosed the problem incorrectly: based on a previous repair.

The old fuse is perfectly good. The new ones arrived within a day.
  • Ralph from Brandon, FL
  • Difficulty Level:
    Easy
  • Total Repair Time:
    Less than 15 mins
  • Tools:
    Pliers, Screw drivers
64 of 135 people found this instruction helpful.
Was this instruction helpful to you?
Thank you for voting!

Microwave completely stopped working

Turned out the issue was easily solved by replacing a single, inexpensive fuse.

First off, UNPLUG THE MICROWAVE.

The fuse is located under the plastic grill at the top of the microwave. It's held on by two screws. Once you've removed the screws and taken off the plastic grill, you go to the right side of the microwave and remove another screw that holds a small metal grill in place. Removing the small metal grill is probably the toughest part of this repair. You kind of have to rock it back and forth a bit to get it to release. Once that's off, you can get to the fuse. I removed the burnt out one with a pair of needle nose pliers. I also put a small piece of cardboard under the fuse when I did this so I didn't accidentally drop it into the innards of the microwave. I did the same thing when I replaced the new fuse. I then plugged the appliance back in and made sure it worked. Once that was confirmed, I replaced both grills.
  • Kim from Cliffside Park, NJ
  • Difficulty Level:
    Really Easy
  • Total Repair Time:
    15 - 30 mins
  • Tools:
    Screw drivers
953 of 1228 people found this instruction helpful.
Was this instruction helpful to you?
Thank you for voting!
Fixes Symptom 20% of time
★★★★★
★★★★★
45 Reviews

Rated by 30 customers 


Easy 

15 - 30 mins 

Ratings submitted by customers like you who bought this part.   

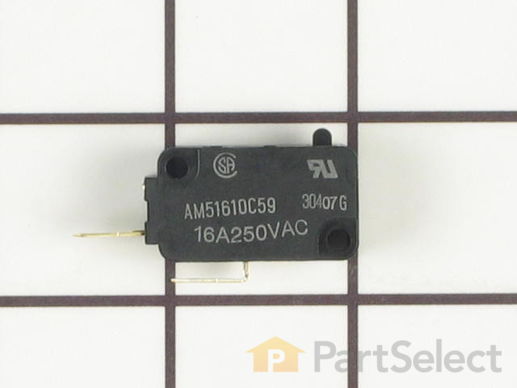
The secondary door switch is a simple on/off mechanism that stops the microwave from operating when the door is open (normally opened). The switch monitors the door latch position, and communicates whether the door is open or closed to the electrical control board. This door switch is approximately 1 inch long, and has 2 metal prongs called terminals that extend out of its body. Common symptoms related to a faulty secondary door switch include: microwave will not turn/shut off, or the microwave will not heat properly. NOTE: Before you begin this repair, first make sure your microwave is unplugged, and that your capacitor is discharged. A capacitor stores large amounts of electricity even when your microwave is unplugged.

$ 45.34
  In Stock
PartSelect Number PS237421
Manufacturer Part Number WB24X829

Customer Repair Stories

Microwave Fan Turned on When Door Was Opened

To get to the switches you need to remove the metal cover/housing of the microwave, by first removing several screws that hold it in place, and then sliding the cover towards the back of the unit. You'll find the switches in some plastic holders above the door-open button, and it's its easy to see how the mechanism engages/disengages the switches when the door is opened and closed.

If it is not obvious which switch is bad, in our case the bad switch felt "soft" when we pressed the switch button with our fingers. A good switch has a firm "click" when pressed.

The switches are easy to replace - pop out the old switch (no tools required) and pull off the electrical connectors. Then pop in the new switch and reattach the connectors.
  • Bishop from Coupland, TX
  • Difficulty Level:
    Easy
  • Total Repair Time:
    30 - 60 mins
  • Tools:
    Screw drivers
46 of 57 people found this instruction helpful.
Was this instruction helpful to you?
Thank you for voting!

light worked, timer and control pad worked, but no turntable, no heat, no noises of any sort, just didn't start up

Noted on partselect.com that someone else with this problem, found it to be secondary door switch. There are three door switches in this model, but online info noted that one of the three might feel "soft" (in my case, one switch clicked in a rather "jiggly" way, the other two were strong decisive clicks.) To access the door switches on this model was the only difficult part. First use a torx bit to remove the two torx screws below the latches inside the microwave. This frees the latching part inside, that holds the door switches, which you will remove after you take off the control panel. The top grill has to come off before you can remove the door panel. Remove the screws above the grill, on the microwave top cover, The grill on this model is covered with a panel that moves out when it vents. After removing the two top screws, the covered grill vent slides left to remove. Be careful, as the sliding tabs are plastic. Wiggle and jiggle it, to slip it off. Below the removed grill, is a small metal grill with one screw in lower center. Remove that screw, and wiggle that out. You'll then see the one screw that holds on the control panel. Remove this screw, and lift the control panel up to remove. Again, go slowly and gently, as the bottom tabs holding the control panel in, are also plastic and easily broken. Lay the control panel on something, (I used the coffee maker) and pull out the wire bundles tucked on the left, that are attached to the latching panel. Wiggle the latching panel gently to lift it up off of it's plastic tabs and pull it out towards you, so you can see the three door switches. Each switch (part number WB24X829) has a little black switch on it. Feel each switch with either your finger, or a screwdriver to see which one doesn't "click" strongly. The weak one is the one you will replace. The door switches are fitted into a tab, and plugged into their wires. Remove the defective switch, pull out the wires, and replace it with the new switch, plugging back the wires, and slipping it back into it's plastic tabs. Then put everything back together in reverse order. The entire job took me fifteen minutes EXCEPT for figuring out how to slide off the upper grill, which I have told you. A repairman would have cost $150, the part was $18. AND, there's a good chance, the other two switches will get "used up" in the next year or so as well, so I'll be ready next time. Thank you, Partselect, why work all day, to make money, only to give it to somebody else, for fifteen minutes of work. All I needed was the knowledge.
  • Marla from Arlington, TX
  • Difficulty Level:
    Easy
  • Total Repair Time:
    Less than 15 mins
  • Tools:
    Screw drivers
310 of 370 people found this instruction helpful.
Was this instruction helpful to you?
Thank you for voting!
Fixes Symptom 10% of time
★★★★★
★★★★★
14 Reviews

Rated by 14 customers 


Really Easy 

15 - 30 mins 

Ratings submitted by customers like you who bought this part.   

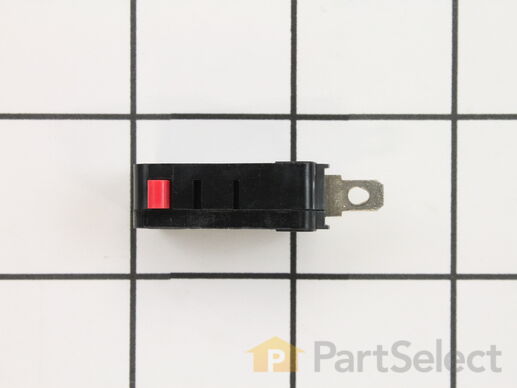
Unplug your microwave before attempting this repair. You will need to remove the grill, which is held into place by two screws at the top of the grill (open your microwave door before doing this). Remove the grill. Remove the screw on the left holding the control panel in place. Loosen the screw behind the panel. You should now be able to lift the panel up and pull forward to detach. You will find the door switch by removing the screws to detach the switch assembly. Press on the release tab to remove the middle switch. Disconnect the wire connector to release the old switch. The door switch is normally closed.

$ 37.02
  In Stock
PartSelect Number PS237422
Manufacturer Part Number WB24X830

Customer Repair Stories

When you open the door at the start the fan wood come on

I removed the unit from the wall removed the top two screws holding the panel above the door I the two screws holding the control panel removed the three switchs I found the top one to be blown and replaced it
  • Larry from CHARLOTTE, NC
  • Difficulty Level:
    Easy
  • Total Repair Time:
    15 - 30 mins
  • Tools:
    Screw drivers
8 of 8 people found this instruction helpful.
Was this instruction helpful to you?
Thank you for voting!

Microwave would not go on

All electrical worked (fan, lights, control panel) door switch was broke. Pulled the oven out. Took out two big screws from the cabinet above. (be careful not to drop oven)Set the oven on kitchen counter. Took off five screws that held the vent cover. Removed vent cover. Took out one screw that held the control panel. Lifted, turned and slid the panel into the space below so I could get to the upper door switch. Replace door switch and re-assemble.
  • Jim from Lincolnshire, IL
  • Difficulty Level:
    A Bit Difficult
  • Total Repair Time:
    15 - 30 mins
  • Tools:
    Screw drivers
17 of 29 people found this instruction helpful.
Was this instruction helpful to you?
Thank you for voting!
Fixes Symptom 7% of time
★★★★★
★★★★★
8 Reviews

Rated by 1 customer 


Easy 

Less than 15 mins 

Ratings submitted by customers like you who bought this part.   

$ 45.60
  In Stock
PartSelect Number PS239811
Manufacturer Part Number WB27X1127

Customer Repair Stories

Microwave stopped working it lost complete power

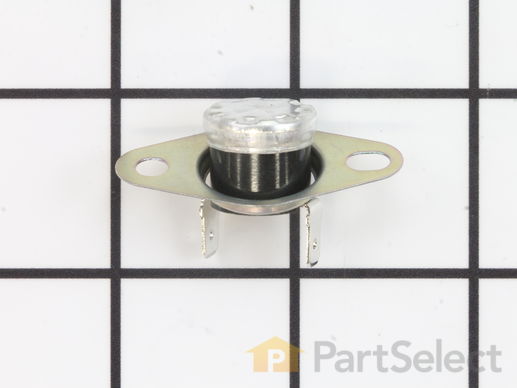
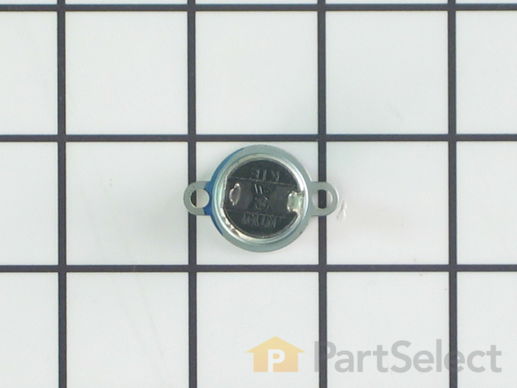
Upon taking the faceplate off (unplugged power source first) I found one of the wires going to the THERMO SW-TCO SENSE TEMP was completely burned away. I cut back the wire and spliced a new section with heat shrink connectors and I replaced the THERMO SW-TCO SENSE TEMP. I plugged the power back in and it works great.
  • Thomas from HAMPTON BAYS, NY
  • Difficulty Level:
    Easy
  • Total Repair Time:
    Less than 15 mins
  • Tools:
    Screw drivers
17 of 24 people found this instruction helpful.
Was this instruction helpful to you?
Thank you for voting!
Fixes Symptom 6% of time

Rated by 1 customer 


Easy 

30 - 60 mins 

Ratings submitted by customers like you who bought this part.   

$ 29.33
  In Stock
PartSelect Number PS953949
Manufacturer Part Number WB27X10810

Customer Repair Stories

Completely dead, no display

Uninstalled microwave from above range, removed cover then vent assembly (slide slightly to the left to free it). Opened the control panel (slide up then tilt forward) to access the troubleshooting/repair/test sheet. Followed the diagnostic flowchart and determined the TCO above the cooking cavity had failed. No other faults found. Ordered part Sat. afternoon and rcvd it Monday. Part is held in place with spring clips and quick connect terminals so installation was easy. Microwave was back in operation in no time.
  • Henry from Cedarburg, WI
  • Difficulty Level:
    Easy
  • Total Repair Time:
    30 - 60 mins
  • Tools:
    Screw drivers
Was this instruction helpful to you?
Thank you for voting!

No Power to Microwave

Microwave would not turn on--No lights--Nothing worked 1. Removed screws from back and side and pull off microwave cover. Be careful! There HIGH voltage back there due to a large capacitor that stores power. This capacitor is charged up even with Microwave unplugged. I checked the fuse located on top back part of Microwave. A lot of the time this is the problem but this time the fuse was good. I used an Ohm meter to check to see if there was an open circuit in one of the Thermostats. There are two of them in the Microwave. The Thermostats are about the size of a dime. One is located on the top right side and the other is on the top left side. One of them was bad. I ordered a new Thermostat. It arrived in just 2 days. I installed it and the Microwave was repaired and working great.
  • Charles from Chester, VA
  • Difficulty Level:
    Really Easy
  • Total Repair Time:
    Less than 15 mins
  • Tools:
    Screw drivers
Was this instruction helpful to you?
Thank you for voting!
Fixes Symptom 3% of time
★★★★★
★★★★★
1 Review

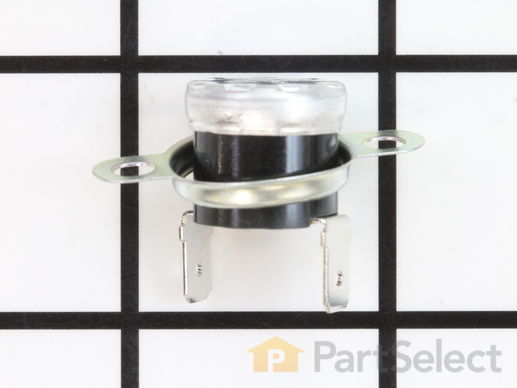
The thermostat hood or thermostat cut out is used in microwaves. This safety device switches the microwave off if it begins to overheat. It closes with heat to run the vent fan and ensure the temperature is at a safer level. If your thermostat hood is broken or damaged, it can affect the safety of the microwave. In this case you may need to replace this part to solve any problems and prevent future damage. The measurements for this part are: 0.8 inches in length, 0.6 in width, 1.2 inches in height, and weighs 0.05 pounds. Remember to unplug your appliance from the power source before beginning this installation. Refer to the manual provided by the manufacturer for further installation instructions.

  No Longer Available
PartSelect Number PS239318
Manufacturer Part Number WB27X10194