Parts That Fix General Electric Microwave PEB2060SM2SS No heat
No heat is a commonly reported symptom for the PEB2060SM2SS General Electric Microwave, and we have put together a full guide on how to fix this. This advice is based on feedback from people who own this exact appliance. We have listed the most common parts for your PEB2060SM2SS General Electric Microwave that will fix No heat. We have included repair instructions, and helpful step-by-step video tutorials. If you are experiencing this issue, not to worry, DIYers just like you have fixed this, and shared their experience to help you!
This ceramic microwave fuse is just over an inch in length. It is white in the center, and metal on both ends. This is a 20-amp fuse, and is used to power your microwave. If the touch pad on the microwave becomes unresponsive, the microwave produces little to no heat, or the appliance simply does not turn on, it could mean that your fuse is at fault and needs to be replaced. Because this part contains an electrical charge, remember to disconnect power to the microwave unit before you begin this repair. NOTE: Before you start this repair, ensure that the microwave is unplugged, and the capacitor is discharged. A capacitor stores large amounts of electricity even after your microwave is unplugged.
Customer Repair Stories
I diagnosed the problem incorrectly: based on a previous repair.
-
Ralph from Brandon, FL
-
Difficulty Level:Easy
-
Total Repair Time:Less than 15 mins
-
Tools:Pliers, Screw drivers
Microwave completely stopped working
First off, UNPLUG THE MICROWAVE.
The fuse is located under the plastic grill at the top of the microwave. It's held on by two screws. Once you've removed the screws and taken off the plastic grill, you go to the right side of the mic ... Read more rowave and remove another screw that holds a small metal grill in place. Removing the small metal grill is probably the toughest part of this repair. You kind of have to rock it back and forth a bit to get it to release. Once that's off, you can get to the fuse. I removed the burnt out one with a pair of needle nose pliers. I also put a small piece of cardboard under the fuse when I did this so I didn't accidentally drop it into the innards of the microwave. I did the same thing when I replaced the new fuse. I then plugged the appliance back in and made sure it worked. Once that was confirmed, I replaced both grills.
-
Kim from Cliffside Park, NJ
-
Difficulty Level:Really Easy
-
Total Repair Time:15 - 30 mins
-
Tools:Screw drivers
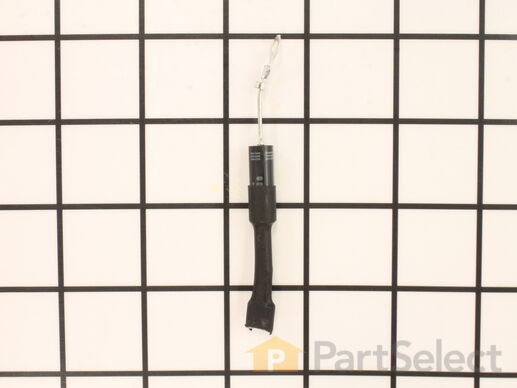
This part is the replacement high-voltage diode for your microwave. It is approximately 3 inches long and is sold individually. The high voltage diode is an electrical current control device inside your microwave. Be sure to disconnect power to the microwave, and use extreme caution when completing this repair, as microwaves can still retain an electrical charge even when unplugged. This part is an authentic OEM part sourced directly from the manufacturer.
Customer Repair Stories
Microwave not heating.
-
Seven from MOUNT AIRY, MD
-
Difficulty Level:Easy
-
Total Repair Time:15 - 30 mins
-
Tools:Screw drivers
Microwave made loud buzz noise and did not heat
-
Gregg from Santa Ana, CA
-
Difficulty Level:Really Easy
-
Total Repair Time:Less than 15 mins
-
Tools:Screw drivers
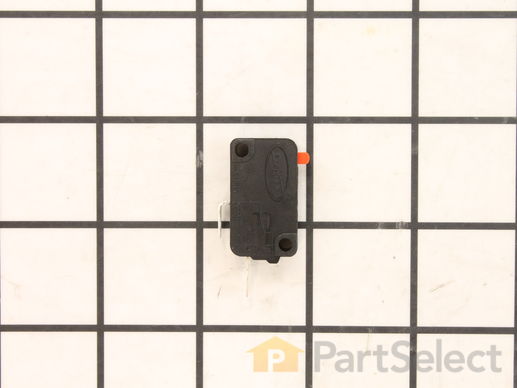
This interlock switch is located in the door latch.
Customer Repair Stories
Microwave would turn on and count down, but not heating and not rotate turntable. Pressing door up would occasionally start heat.
-
Michael from Ridgefield, CT
-
Difficulty Level:Really Easy
-
Total Repair Time:Less than 15 mins
-
Tools:Screw drivers
Microwave runs with the door open
and test to see if that solved the problem. If so then well done!!
-
Thomas from Andover, NJ
-
Difficulty Level:Really Easy
-
Total Repair Time:15 - 30 mins
-
Tools:Pliers, Screw drivers
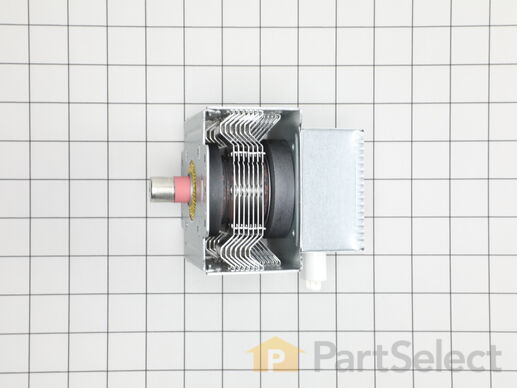
Genuine OEM magnetron for your microwave. Always use proper safety equipment and follow the manufacturers instructions while installing.
Customer Repair Stories
Sparking from the magnetron
Repair process: Without appliance repair experience I went onto Google and searched for parts for my model PEB1590DM2WW. I ... Read more was able to find a great parts schematic on partselect.com. At first I ordered a magnetron and while waiting for the parts to arrive I also learned that the capacitor can also fail easily as described in the other install feedback on the partsselect website. So I ordered a capacitor just in case. These convection microwaves are around $600 new so a $80 in parts is not out of line for 8 years of service.
I installed the magnetron first and turned it on. sparking immediately continued so I quickly shut the unit off. After replacing the capacitor and letting it charge for several minutes before trying to start the microwave cycle was the issue. I choose to leave the replaced magnetron as the original unit was discolored and felt the replacement was inexpensive insurance. I also learned that if the wave guide (which is a plastic/metallic composite material) that covers the opening to the magnetron is burnt or has metal melted to it as mine did it will act similar to the microwave having metal inside the enclosure and will continue to spark and basically melt the wave guide further. Replacing the wave guide was very easy as well.
I am very thankful for the knowledge base and support available from Partselect.com as they made this repair possible on my own. Thank you partselect.com
-
Reid from LITTLETON, CO
-
Difficulty Level:A Bit Difficult
-
Total Repair Time:30 - 60 mins
-
Tools:Screw drivers
Microwave function not working
-
Aaron from BLUE RIDGE, TX
-
Difficulty Level:Easy
-
Total Repair Time:15 - 30 mins
-
Tools:Screw drivers
Customer Repair Stories
Try to heat food and fuse would blow.
-
bart from new sarpy, LA
-
Difficulty Level:A Bit Difficult
-
Total Repair Time:1- 2 hours
-
Tools:Screw drivers


