Parts That Fix Maytag Refrigerator MFD2561HES Ice maker not making ice
Ice maker not making ice is a commonly reported symptom for the MFD2561HES Maytag Refrigerator, and we have put together a full guide on how to fix this. This advice is based on feedback from people who own this exact appliance. We have listed the most common parts for your MFD2561HES Maytag Refrigerator that will fix Ice maker not making ice. We have included repair instructions, and helpful step-by-step video tutorials. If you are experiencing this issue, not to worry, DIYers just like you have fixed this, and shared their experience to help you!
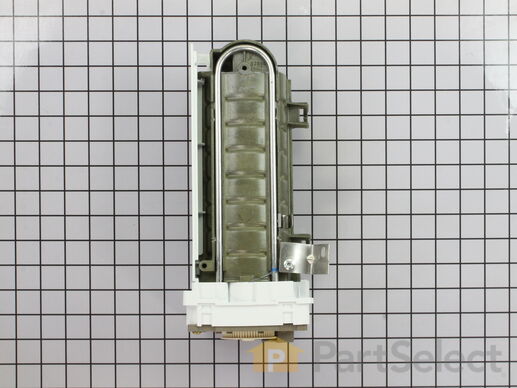
This ice maker (Ice Maker Assembly, Refrigerator Ice Maker) produces ice cubes that are ejected into the storage bucket. It is located in the freezer section of your appliance, mounted on the freezer wall. The ice maker can break from normal wear and accidental damage. If this happens, your refrigerator may no longer make ice cubes, or may not make enough cubes, and the part should be replaced. This model measures approximately 11 inches long and 5 inches wide. It’s constructed of plastic and metal, and comes in black/white/silver. This assembly includes the ice mold and the control device.
Replacing your Amana Refrigerator Replacement Ice Maker

Customer Repair Stories
Water overflowed ice maker turnning ice bucket into solid mass of ice
-
Harry from Grand Ledge, MI
-
Difficulty Level:A Bit Difficult
-
Total Repair Time:30 - 60 mins
-
Tools:Pliers, Screw drivers
Icemaker producing few or no cubes and often leaving "kling-ons" on ice tray
Unplug appliance.
Remove timer cover by hand pressure @ edge.
Remove single attachment screw & bracket at lower front of icemaker.
Disconnect wiring harness from socket @ rear of compartment.
Tricky part was determin ... Read more ing what type of connection held the other two attachment points along the long edge of the icemaker. I did not have repair manual or useful drawing but looked @ PartsDirect pic of side brackets & used a small mirror to confirm that mine were also some sort of "snap in" attachment.
Remove icemaker unit by pushing upward and outward on the unit. I takes a good bit of pressure and will pop loose, but be careful not to break attachment bracket from freezer wall.
Scavenge shut off bar and wiring harness from old icemaker once you have it out & attach to new one before installing it back in freezer.
Again, you might find a mirror useful to align those pesky snap-in brackets with the new unit.
Since you probably kept your freezer running while waiting for the part, the plastic snap-ins will be cold and brittle. I warmed them up first by applying a dampened cloth heated in the microwave to make them a little more pliable.
A good push of the new unit towards the snap-ins along with some upward force will get it stable.
Reattach the metal screw in bracket & connect the wiring harness to rear plug... and don't forget to plug the whole thing back in.
It will take awhile for the first batch of cubes dump as the timer may need to cycle completely around to get to the fill cycle... be patient.
Dump the first couple of batches of cubes just to make sure you're free of any residue.
-
Bernie from Diamond Bar, CA
-
Difficulty Level:Easy
-
Total Repair Time:30 - 60 mins
-
Tools:Nutdriver
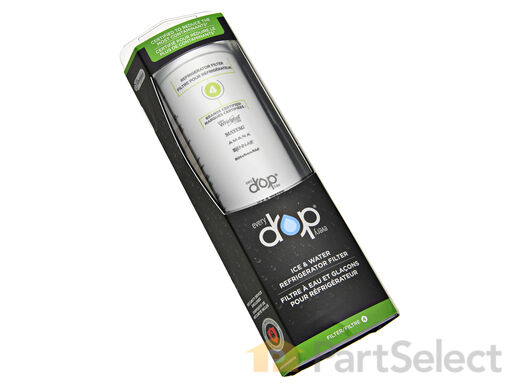
This water filter (Whirlpool EveryDrop Refrigerator Water Filter, Single Turn Filter) purifies water going to the water dispenser and sometimes the icemaker as well. This part should be replaced if it is causing reduced water flow or just replaced periodically per the owner manual. Replacing this water filter may fix a noisy or leaking fridge, a fridge that is not dispensing water (or reduced flow rate), and an ice maker that is not making ice at all, or not making enough ice. This filter is white, sold individually and measures 8 inches by 3 inches in diameter. This water filter has been updated by the manufacturer. It may appear different but will still function the same. It is sold individually.
Replacing your Maytag Refrigerator Refrigerator Water Filter

Customer Repair Stories
Removing the existing filter by rotating as directed and then dislodging from 'docking' station proved difficult. Turns out, the old filter is under a bit of vacuum pressure and getting the unit to separate or release was a challenge.
-
Jake from Novato, CA
-
Difficulty Level:Easy
-
Total Repair Time:Less than 15 mins
light on to order water filter
-
Douglas from Byron, NY
-
Difficulty Level:Really Easy
-
Total Repair Time:Less than 15 mins
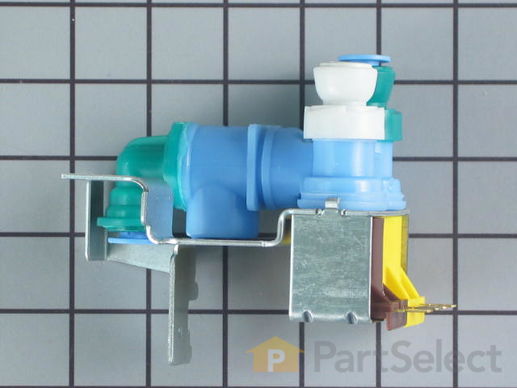
This part, when activated, releases water from the supply line into the ice mold. This water inlet valve is for refrigerators. Water inlet valve supplies water to the refrigerator ice maker and water dispenser. Safely store any food that could deteriorate while the power is off and unplug the refrigerator before installing this part. Wear work gloves to protect your hands.
Replacing your Maytag Refrigerator Dual Water Valve

Customer Repair Stories
Water dispenser dripping
-
William from Niskayuna, NY
-
Difficulty Level:Easy
-
Total Repair Time:30 - 60 mins
-
Tools:Nutdriver, Pliers
Trickle to no water from dispenser / very little ice
-
Salvador from McAllen, TX
-
Difficulty Level:Easy
-
Total Repair Time:15 - 30 mins
-
Tools:Nutdriver, Pliers
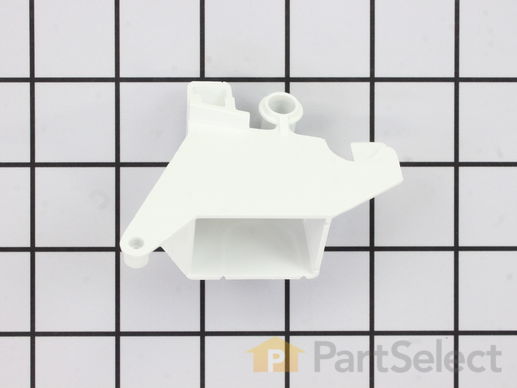
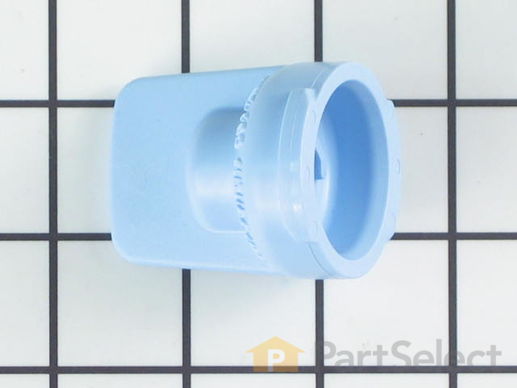
This refrigerator ice maker fill cup dispenses the water into the ice cube mold during the fill cycle. Replacing the water fill cup is a possible solution if you notice that the ice maker is leaking, or not making/dispensing ice. If you notice the fill cup has been damaged or cracked; replace the part straight away. This water fill cup is a genuine OEM part and will fit most refrigerators, but check the list of compatible brands to make sure yours is included before purchasing.
Replacing your Kenmore Refrigerator Water Fill Cup and Bearing

Customer Repair Stories
Icemaker arm was broken
Once I got this part, I removed the freezer door and trays, and pulled the icemaker out by removing 3 flathead screws and unplugging the c ... Read more ables. Laying in the freezer on the floor was a bit unconfortable, but not too bad.
Then I inspected the icemaker. There was no obvious way to remove the part without disassembling the front of the unit (where the motor is) to release the spindle and free the part, so I did that - 3 or 4 nuts was all that held it together. Once that was out, I removed the spindle, swapped out the part, and put it all back together and back in the freezer. Plugged it in and waited.
It took a while to start making ice. Like 5 hours. Now it's going pretty slow (much slower than before.) Haven't had time to look into it, but my suspicion is the rubber hose that feeds water into the icemaker is blocked with ice or kinked. In any case, we have ice now (but not a lot), and the unit shuts itself off properly. However, we went from having too much ice (thing never shut off) to too little (thing makes ice too slow), so I need to shoot for somewhere in the middle ;)
-
Jason from Austin, TX
-
Difficulty Level:A Bit Difficult
-
Total Repair Time:30 - 60 mins
-
Tools:Nutdriver, Screw drivers
The Bearing Cup Assembly was broken and ice would jamb against it during the ice making cycle.
-
David from Chester, CA
-
Difficulty Level:Really Easy
-
Total Repair Time:Less than 15 mins
-
Tools:Nutdriver, Screw drivers
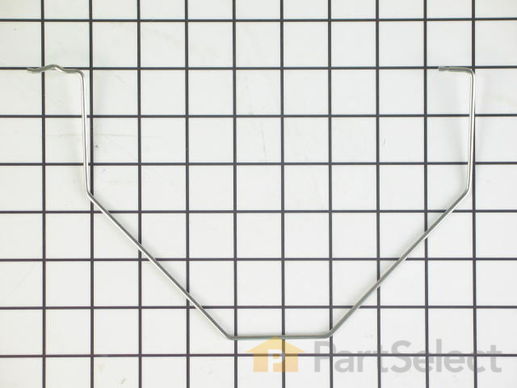
The icemaker shut off arm, used in a refrigerator, gives the icemaker a signal to stop making ice once the bin has a reached a certain limit. This helps monitor ice production. If your icemaker is not making ice properly or consistently, replacing this part could be a solution to your problem. The tools required for this installation are a 1/4 inch nut driver, a Phillips screwdriver, and needle nose pliers. Refer to the manual guide provided by the manufacturer for further guidance and instructions. Remember to safely store food when the refrigerator power is off to keep it from deteriorating.
Replacing your Amana Refrigerator Ice Maker Shut-Off Arm

Customer Repair Stories
Lost the arm
I decided to try making ice with gravity fed water from a converted water fountain placed on a higher level than the refrigerator, locater in my garage next to the kitchen.
When I looked at ... Read more the rear of the frig. I saw a copper pipe (on the bottom of the frig.) that lead to a valve, with a plastic tube that went to the freezer. I didn't think that the gravity fed water could go down to the bottom and return to the freezer at the top, so I cut the plastic tube, and fed the water directly to the ice maker.
I only put a small amount of water in my water source because I wasn't shure what would happen. The water filled the tray and the rest of the water went to the container that catches the ice.
I did get one tray of ice. I later found that the valve that the copper pipe went to, has a 7 minute timer that only allows a small amount of water to pass.
My next effort will be to connect to the copper pipe and see if it will allow the gravity fed water to rise to the ice maker. Wish me luck
-
Gerald T. from Tampa, FL
-
Difficulty Level:Really Easy
-
Total Repair Time:Less than 15 mins
New Ice maker was install but technician failed to transfer arm off old ice maker and put on new one..
-
Royal from RICHMOND, VA
-
Difficulty Level:Very Easy
-
Total Repair Time:15 - 30 mins
-
Tools:Pliers
This water filter bypass cap, also known as a water filter bypass plug, is an authentic OEM part that replaces the regular water filter cartridge in refrigerators. It allows water to flow freely through the dispensing system when the filter is not present. The bypass can fail if it becomes clogged, cracked, or falls out of alignment. A faulty filter bypass will result in leaking, poor ice production, and difficulties dispensing water. You can find the filter bypass inside the refrigerator, near the water filter housing. Disconnect the water supply lines and remove the faulty bypass. Insert the new bypass in its place and reconnect the water supply lines.
Replacing your Maytag Refrigerator Refrigerator Water Filter Bypass

Customer Repair Stories
no water when under sink water filter installed
-
Emi from Arlington, VA
-
Difficulty Level:Easy
-
Total Repair Time:Less than 15 mins
Remove the water filter to install the bypass cap
-
Phil from GREENFIELD, IN
-
Difficulty Level:Very Easy
-
Total Repair Time:Less than 15 mins
-
Tools:Pliers
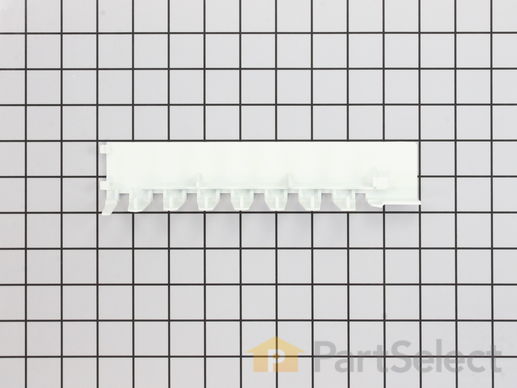
This is an authentic appliance part that is sourced directly from the genuine manufacturer. This ice stripper functions by stripping the ice maker mold of ice during the ejection cycle, after the water has frozen into cubes. The ice stripper rotates to push the cubes into the ice bucket and prevents the ice from falling back into the mold. You may need to replace the ice stripper if your ice maker is no longer making ice. This part is approximately 9 inches long and is sold individually.
Customer Repair Stories
The ice stripper cracked from freezing.
-
David from Discovery Bay, CA
-
Difficulty Level:Really Easy
-
Total Repair Time:15 - 30 mins
-
Tools:Nutdriver
Ice stripper broken on ice maker
-
Kenneth from New Braunfels, TX
-
Difficulty Level:Really Easy
-
Total Repair Time:Less than 15 mins
-
Tools:Screw drivers
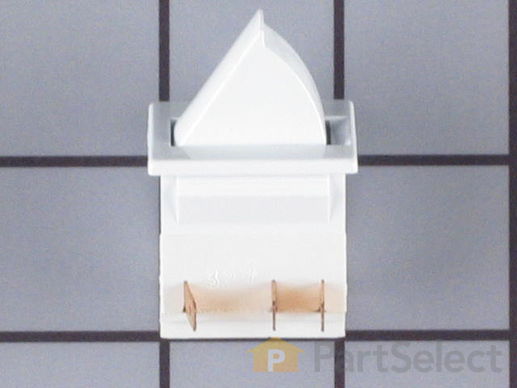
This light switch may also be known as a refrigerator door switch or a light switch kit, and is compatible with your refrigerator. The function of the refrigerator door switch is to turn on the light when your fridge door is open, and to make sure it is off when your refrigerator door is closed. The reason you would need to replace this part is if your light is not turning on when your door is open. For this repair, you will need a putty knife, and a small flat-blade screwdriver.
Replacing your Maytag Refrigerator Door Switch

Customer Repair Stories
broken light switch
-
Richard from West Warwick, RI
-
Difficulty Level:Really Easy
-
Total Repair Time:Less than 15 mins
-
Tools:Screw drivers
while closing the door, the light switch fouled, resulting in the switch breaking
-
Kevin from Beckley, WV
-
Difficulty Level:Really Easy
-
Total Repair Time:Less than 15 mins
-
Tools:Screw drivers
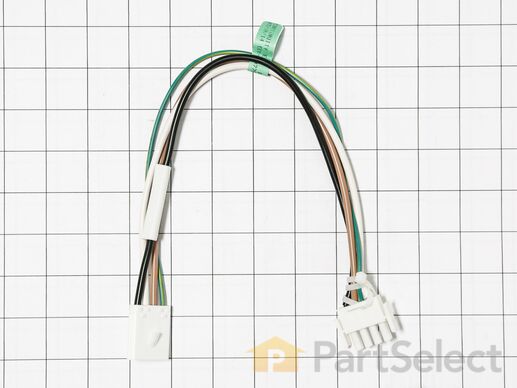
This part connects to the electrical and allows power to flow through your appliance.
Customer Repair Stories
Ice maker not producing ice
-
frank from NORTHRIDGE, CA
-
Difficulty Level:Very Easy
-
Total Repair Time:15 - 30 mins
-
Tools:Nutdriver


