Models > MED6600TQ0

MED6600TQ0 Maytag Dryer - Overview

Sections of the MED6600TQ0

[Viewing 3 of 3]

Manuals & Care Guides for MED6600TQ0

Click to download
Keep searches simple, eg. "belt" or "pump".
Thermal Cut-Off Kit – Part Number: 279816
Thermal Cut-Off Kit
★★★★★
★★★★★
(134)
PartSelect #: PS334299
Manufacturer #: 279816
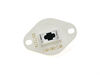
The thermal cut-off (Dryer Thermal Cut-Off Fuse Kit, Dryer Thermal Cut-Off Kit) prevents the dryer from overheating when the dryer high limit thermostat fails in a closed circuit condition. This part ...
$36.58
  In Stock
Door Catch – Part Number: WPW10111905
Door Catch
★★★★★
★★★★★
(104)
PartSelect #: PS11748369
Manufacturer #: WPW10111905
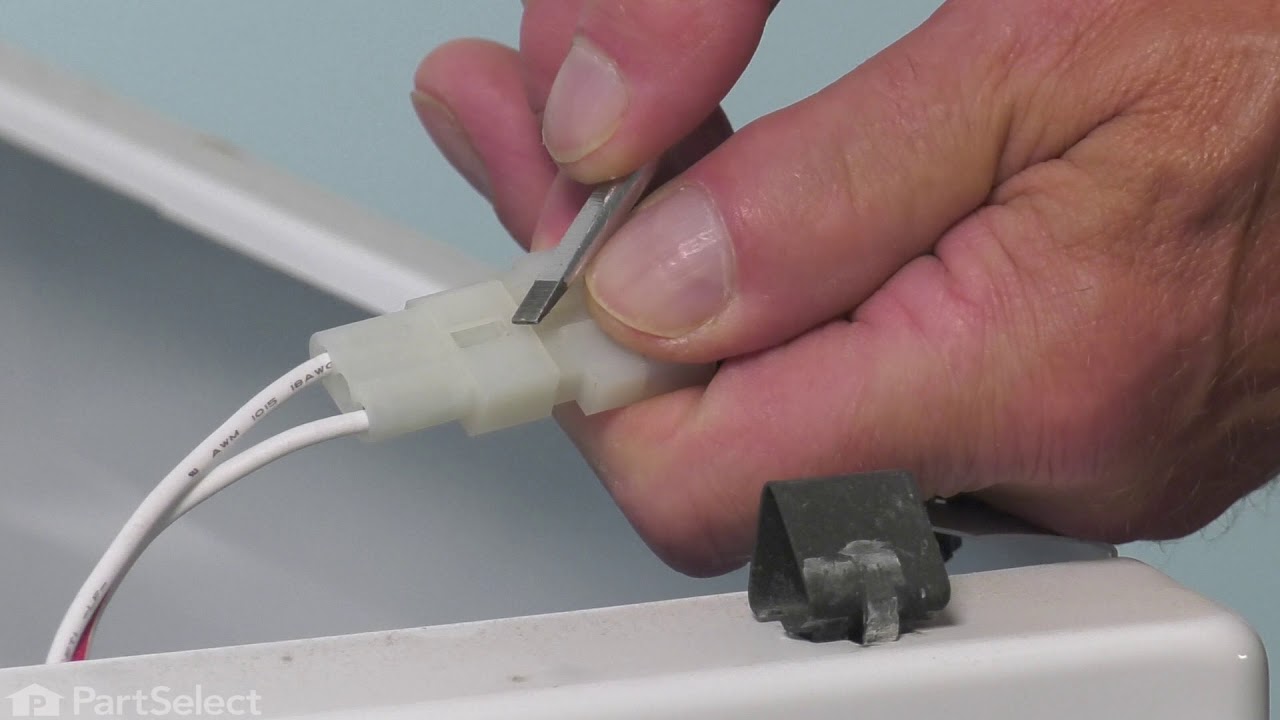
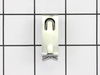
This replacement door catch is for your dryer door. If the catch is broken and the door will not stay shut, the dryer may not turn on. Use a putty knife to pop out the existing door catch by the locki...
$7.37
  In Stock
Thermostat, Internal-Bias – Part Number: WP8577274
Thermostat, Internal-Bias
★★★★★
★★★★★
(30)
PartSelect #: PS11746740
Manufacturer #: WP8577274
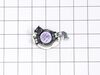
The internal-bias thermistor (Thermistor, Dryer Thermister, Dryer Thermistor) prevents the dryer from overheating by monitoring and controlling the temperature of the inside of the dryer drum. It is l...
$47.74
  In Stock
Roller Support Tri-Ring – Part Number: WPW10512946
Roller Support Tri-Ring
★★★★★
★★★★★
(5)
PartSelect #: PS11755850
Manufacturer #: WPW10512946
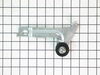
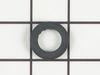
If you notice that your dryer is noisy or will not tumble, you may need to replace the tri ring. This part is triangular, and is less than an inch in size. Tri rings can be found both on the idler pul...
$13.42
  In Stock
Leveling Foot – Part Number: 49621
Leveling Foot
★★★★★
★★★★★
(13)
PartSelect #: PS1609293
Manufacturer #: 49621
If your washer shakes or vibrates loudly when it reaches its max speed, check that the leveling legs are even. To ensure that the washer is firmly on the ground using all four legs, adjust the legs so...
$11.40
  In Stock
Heating Element Connection Wire Kit – Part Number: 279457
Heating Element Connection Wire Kit
★★★★★
★★★★★
(3)
PartSelect #: PS334206
Manufacturer #: 279457
This kit is used for electric clothes dryers, and it comes with a yellow wire nut.
$11.06
  In Stock
Light Bulb - 10W – Part Number: WP22002263
Light Bulb - 10W
★★★★★
★★★★★
(16)
PartSelect #: PS11739347
Manufacturer #: WP22002263
This ten watt appliance light bulb is two inches tall. It is used with both washers and dryers.
$16.32
  In Stock
Screw, 8/18 x 3/8 – Part Number: WP90767
Screw, 8/18 x 3/8
★★★★★
★★★★★
(2)
PartSelect #: PS11746840
Manufacturer #: WP90767
This screw is sold individually.
$5.42
  In Stock
Dryer Blower wheel – Part Number: WP694089
Dryer Blower wheel
★★★★★
★★★★★
(18)
PartSelect #: PS11743785
Manufacturer #: WP694089
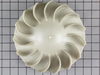
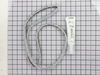
The blower wheel is a squirrel cage type wheel whose purpose is to move the air through the room or appliance. The blower wheel spins on the motor shaft to blow air through the dryer drum and out through the exhaust.
$36.63
  In Stock
Idler Pulley Arm with Wheel – Part Number: 8547174
Idler Pulley Arm with Wheel
★★★★★
★★★★★
(15)
PartSelect #: PS1487714
Manufacturer #: 8547174
A dryer's idler pulley wheel serves to help the belt to rotate the drum. This arm is what attaches to the idler pulley wheel.
$33.54
  In Stock
Assembly, Lint Screen – Part Number: WP8572270
Assembly, Lint Screen
★★★★★
★★★★★
(23)
PartSelect #: PS11746639
Manufacturer #: WP8572270
Also known as Lint Screen. Handle is white in color.
$74.53
  In Stock
Cover Screw – Part Number: WP308685
Cover Screw
PartSelect #: PS11740701
Manufacturer #: WP308685
Sold individually.
$7.95
  In Stock

Questions And Answers for MED6600TQ0

Ask our experts a question about this model and we'll get back to you as soon as possible!

1 question answered by our experts.
Sort by:
  • 1
Sorry, we couldn't find any existing answers that matched.Try using some different or simpler keywords, or submit your new question by using the "Ask a Question" button above!
Charlie
August 17, 2023
Door switch is broke. Need installation instructions
For model number MED6600TQ0
PartSelect logo
Hi Charlie, thank you for getting in touch. We have included a video that you may reference on how to replace the door switch. The washer in the video may appear different from yours, but it will give you a general idea of how to install the door switch. We hope this helps with the repair!

Was this helpful?
Thank you for voting!
  • 1

Common Symptoms of the MED6600TQ0

[Viewing 11 of 11]
Noisy
Fixed by
these parts
Fixing Fixing Fixing
Show All
Door won’t close
Fixed by
these parts
Fixing Fixing Fixing
Show All
Too hot
Fixed by
these parts
Fixing Fixing Fixing
Show All
Not Heating
Fixed by
these parts
Fixing Fixing Fixing
Show All
Leaking
Fixed by
these parts
Fixing
Show All
Drum Not Spinning
Fixed by
these parts
Fixing
Show All
Touchpad does not respond
Fixed by
these parts
Fixing
Show All
Won’t Start
Fixed by
these parts
Fixing
Show All
Marks left on clothes
Fixed by
these parts
Fixing
Show All
Heat stays on after drum has stopped
Fixed by
these parts
Fixing
Show All
Door Pops Open
Fixed by
these parts
Fixing
Show All
Keep searches simple. Use keywords, e.g. "leaking", "pump", "broken" or "fit".
No Heat
First tried heating element and thermal fuse with no luck. Ordered thermal cutoff and fixed problem. Had I used an ohm meter first I would have determined problem before having ordered heating element and fuse, as both had resistance. I wast just lazy and ordered the took the most common failed components first before taking dryer back off.
Parts Used:
Thermal Cut-Off Kit
  • Vernon from Niceville, FL
  • Difficulty Level:
    Really Easy
  • Total Repair Time:
    15 - 30 mins
  • Tools:
    Nutdriver
886 of 948 people found this instruction helpful.
Was this instruction helpful to you?
Thank you for voting!
heating coil was'nt heating up and after i change the coil realize the little thermal regulator had to also be change.
I basically took the back offo the drive, then detach
the heating coil. Afterwards had to go back in and
change the thermal regulator an the job was completed.
Parts Used:
Thermal Cut-Off Kit
  • Rube from Houston, TX
  • Difficulty Level:
    Really Easy
  • Total Repair Time:
    30 - 60 mins
  • Tools:
    Wrench set
450 of 480 people found this instruction helpful.
Was this instruction helpful to you?
Thank you for voting!
Dryer runs but no heat
unpluged the dryer, removed the back panel, I examined the heating coil, it seemed unbroken, so I used a amp meter to test the various sensors. Found the upper thermal sensor was bad, looked up the part and ordered it, had to get the thermal cut off kit to get the sensor I needed. Installed it no problem, put the back back on, and it worked great.
Parts Used:
Thermal Cut-Off Kit
  • Todd from Roswell, GA
  • Difficulty Level:
    Easy
  • Total Repair Time:
    15 - 30 mins
  • Tools:
    Socket set
191 of 265 people found this instruction helpful.
Was this instruction helpful to you?
Thank you for voting!