Models > MDB7749AWB2 > Symptoms > Not cleaning dishes properly

Parts That Fix Maytag Dishwasher MDB7749AWB2 Not cleaning dishes properly

Not cleaning dishes properly is a commonly reported symptom for the MDB7749AWB2 Maytag Dishwasher, and we have put together a full guide on how to fix this. This advice is based on feedback from people who own this exact appliance. We have listed the most common parts for your MDB7749AWB2 Maytag Dishwasher that will fix Not cleaning dishes properly. We have included repair instructions, and helpful step-by-step video tutorials. If you are experiencing this issue, not to worry, DIYers just like you have fixed this, and shared their experience to help you!

Fixes Symptom 31% of time
★★★★★
★★★★★
45 Reviews

Rated by 15 customers 


Easy 

30 - 60 mins 

Ratings submitted by customers like you who bought this part.   

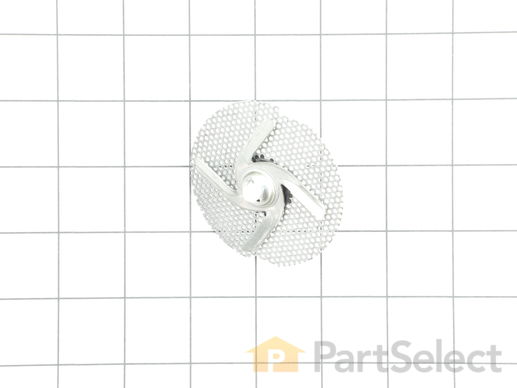
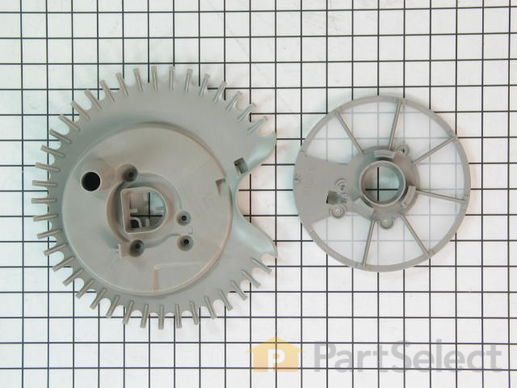
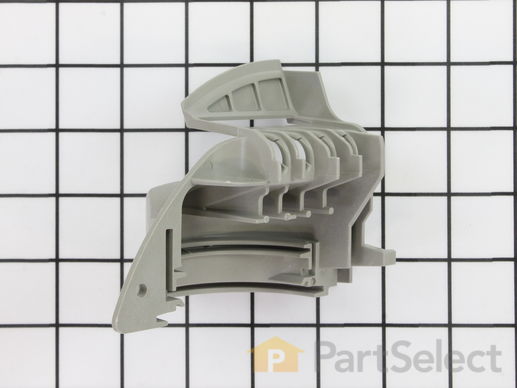
This chopper assembly chops up/mince the food particles to prevent from clogging the dishwasher pump.

$ 34.84
  In Stock
PartSelect Number PS1734917
Manufacturer Part Number W10083957

Customer Repair Stories

Upper rack was not getting clean/lower rack was hit or miss

First let me tell you I am not a "handyman". I am a 50 year old housewife who was determined not to shell out $$$ if I could help it. I researched on the internet what could be the problem...it was more than likely the chopper assembly. I found a youtube video that showed how to get to the chopper assembly. So I removed the racks by dislodging the end clips. Next I took the bottom tub sprayer off by holding the middle with my fingers and turning the blade counter clockwise. Next, I unscrewed the line that ran in the back and up to the top sprayer (I only removed the one screw so I could slide it to the right slightly so I could remove it from the connector at the bottom and it revealed four screws that needed to come out of the mesh cover. After removing that there is one more screw that comes out of the shroud that covers the chopper assembly. I cleaned the area removed the chopper assembly (totally gunked up) and replaced it with the new one I purchased here...(lightening fast shipping btw!!...Yea! for PartsSelect.com....you guys rock!) I checked for gunk in the rubber valve assembly, super easy to remove/replace. Vacuumed standing water with my shop vac to get any errant noodles and food bits and reassembled all of the housing and lines in reverse order. Before I ran my dishwasher I put some clean water in the bottom...just poured about 32 oz in. Whether you need to or not....I don't know but figured it wouldn't hurt. IT WORKED LIKE A CHAMP! Super clean dishes again!! I felt so empowered and the whole thing cost me less than 20 bucks! Listen ladies....and men....this is super easy....If I can do it....any one can!
  • Rebecca from Crawford, TX
  • Difficulty Level:
    Easy
  • Total Repair Time:
    15 - 30 mins
44 of 47 people found this instruction helpful.
Was this instruction helpful to you?
Thank you for voting!

Not cleaning top tier,all dishes not getting clean

Disassembled inside bottom section of dishwasher found broken chopper part,removed and replaced with new part,only hard part was holding spring compressed when putting in new part,needed needlenose and thin screwdriver.Thank You for your great website and help
  • Steve from Killeen, TX
  • Difficulty Level:
    Easy
  • Total Repair Time:
    15 - 30 mins
  • Tools:
    Screw drivers
77 of 87 people found this instruction helpful.
Was this instruction helpful to you?
Thank you for voting!
Fixes Symptom 14% of time
★★★★★
★★★★★
30 Reviews

Rated by 15 customers 


Really Easy 

15 - 30 mins 

Ratings submitted by customers like you who bought this part.   

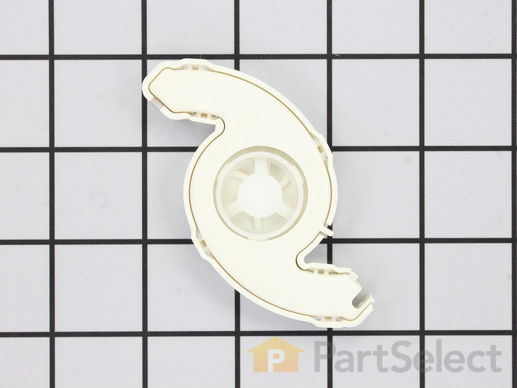
This is also called the 3rd-level spinner. This part works like a little spray arm at the top of your dishwasher.

$ 29.58
  In Stock
PartSelect Number PS972316
Manufacturer Part Number 8193983

Replacing your KitchenAid Dishwasher Spinner Kit

Replacing your Spinner Kit

Customer Repair Stories

Borke the spinner off with dishes that were too tall. (Oops!)

1. Put a towel over the bottom of the machine. (In case you drop the screw... duh!)

2. Remove the top screw.

3. Replace the snap pin (pointy end DOWN.)

4. Snap the spinner in place.

5. Replace the screw. (Or go to the hardware store to replace the screw you dropped into the bottom of the dishwasher. Dashitall!)
  • Stephen from Leavenworth, KS
  • Difficulty Level:
    Really Easy
  • Total Repair Time:
    Less than 15 mins
  • Tools:
    Screw drivers
47 of 48 people found this instruction helpful.
Was this instruction helpful to you?
Thank you for voting!

spinner kept falling off

i removed the top screw for the water input to the spinner, which gave me enough room to replace the worn nipple pin that the spinner snaps on to. then snapped the new spinner in place. and then screwed everything back into place.
  • paul from erie, CO
  • Difficulty Level:
    Really Easy
  • Total Repair Time:
    Less than 15 mins
  • Tools:
    Screw drivers
95 of 110 people found this instruction helpful.
Was this instruction helpful to you?
Thank you for voting!
Fixes Symptom 10% of time
★★★★★
★★★★★
6 Reviews

Rated by 11 customers 


Easy 

30 - 60 mins 

Ratings submitted by customers like you who bought this part.   

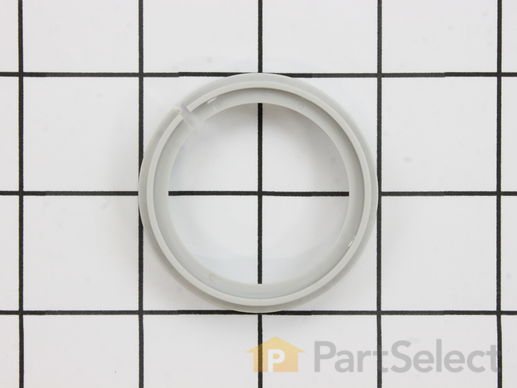
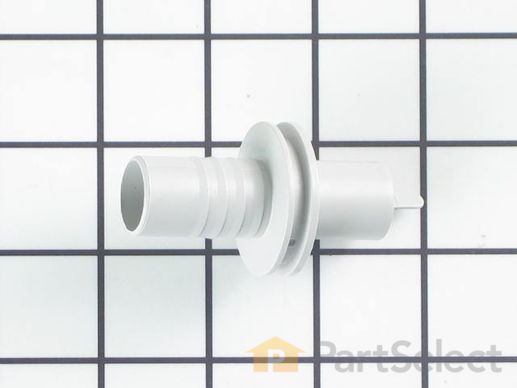
This seal is located between the spray arm and the water feed tube.

$ 13.73
  In Stock
PartSelect Number PS11745444
Manufacturer Part Number WP8268433

Replacing your KitchenAid Dishwasher Spray Arm Seal

Replacing your Spray Arm Seal

Customer Repair Stories

lack of water flow

removed rack
removed one screw
removed old seal
installed new seal
installed screw
  • Geoff from Avon, CT
  • Difficulty Level:
    Really Easy
  • Total Repair Time:
    30 - 60 mins
  • Tools:
    Screw drivers
6 of 8 people found this instruction helpful.
Was this instruction helpful to you?
Thank you for voting!
Fixes Symptom 7% of time
★★★★★
★★★★★
3 Reviews

Rated by 11 customers 


A Bit Difficult 

1- 2 hours 

Ratings submitted by customers like you who bought this part.   

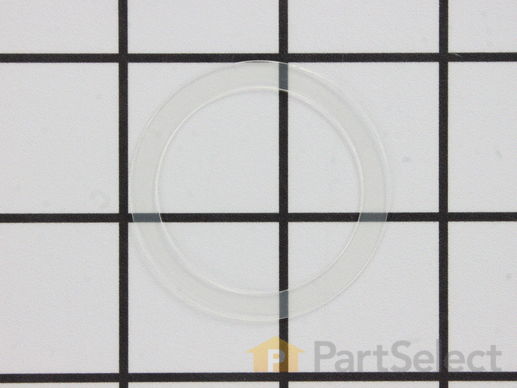
Also known as a wash arm seal.

$ 5.43
  In Stock
PartSelect Number PS11745436
Manufacturer Part Number WP8268340

Replacing your KitchenAid Dishwasher Spray Arm Seal

Replacing your Spray Arm Seal

Customer Repair Stories

PartSelect screwed up.

Couldn't do the repair because you people sent the wrong part.
I ordered #1174536, spray arm seal, but got #wp8268340, bearing.
Waiting for you to make this right.
Please feel free to publish this. Tom Hanna
  • Thomas from BLOOMFIELD, MI
  • Difficulty Level:
    Very Difficult
  • Total Repair Time:
    More than 2 hours
1 person found this instruction helpful.
Was this instruction helpful to you?
Thank you for voting!

Missing order

I wish I could describe how my repair went! My order was shipped on August 27 (per: the company's email ). However, I have not received our part, yet and it is September 11! I contacted the company, via email. The company's reply: Check FedEx's tracking. I tried that, but as soon as I got to that site, I remembered......PartSelect NEVER sent a tracking number for FedEx, whaaaat!!! Needless to say, I'm not a happy camper!!!
  • Patsy from PFAFFTOWN, NC
  • Difficulty Level:
    Very Difficult
  • Total Repair Time:
    More than 2 hours
1 person found this instruction helpful.
Was this instruction helpful to you?
Thank you for voting!
Fixes Symptom 7% of time
★★★★★
★★★★★
3 Reviews

Rated by 8 customers 


Easy 

1- 2 hours 

Ratings submitted by customers like you who bought this part.   

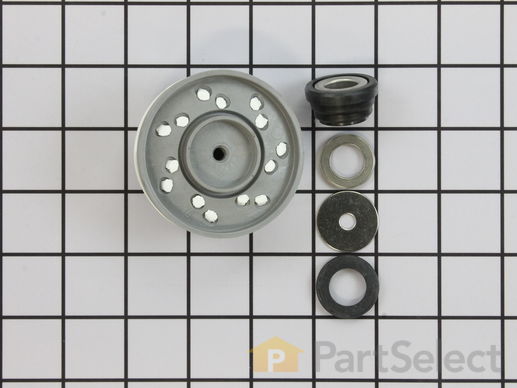
This is the replacement impeller kit for your dishwasher. This impeller kit comes with 4 pieces, including the impeller and seals which you will need for the repair. The impeller and seal kit is mounted on the dishwasher motor. If your dishwasher is not cleaning dishes properly, it may be an indication that your impeller has gone bad, and you are not getting proper water pressure. If the seals have gone bad, your dishwasher may start to leak. If you are having either of these problems, you may need to replace the impeller kit. Be sure to disconnect the water and power source from the dishwasher before you begin this repair. This is an OEM part sourced directly from the manufacturer.

$ 94.69
  In Stock
PartSelect Number PS12069388
Manufacturer Part Number 8193951A

Replacing your KitchenAid Dishwasher Impeller

Replacing your Impeller

Customer Repair Stories

The ceramic seal had failed, allowing water to destroy the front motor bearing.

Removed dishwasher from under the counter and took it to my shop. With the washer on its side, I removed the motor, then the impeller and seal. I then disassembled the motor and replaced the front bearing(purchased separately). This required an arbor press. I then reassembled the motor and installed the new seal and impeller. Reassembled in reverse order. Reinstalled under the counter and made conections. Checked for leaks and proper operation.
  • Jerome from Greensburg, IN
  • Difficulty Level:
    A Bit Difficult
  • Total Repair Time:
    More than 2 hours
  • Tools:
    Nutdriver, Pliers, Screw drivers, Socket set, Wrench (Adjustable), Wrench set
19 of 26 people found this instruction helpful.
Was this instruction helpful to you?
Thank you for voting!

Dishes would not clean

Checked grinder and cleaned it several times, adjusted blades. Dishes would be clean for approx. 6 cycles, then would not clean. Placed dishwasher on its front and removed the motor. Removed grinder and impeller which I found to be worn so that the blades would not turn on the grinder which caused it to collect food particles. The impeller locks in easily.
  • Kathryn from Gordon, NE
  • Difficulty Level:
    A Bit Difficult
  • Total Repair Time:
    30 - 60 mins
  • Tools:
    Screw drivers, Socket set
37 of 43 people found this instruction helpful.
Was this instruction helpful to you?
Thank you for voting!
Fixes Symptom 6% of time
★★★★★
★★★★★
1 Review

Rated by 9 customers 


Easy 

30 - 60 mins 

Ratings submitted by customers like you who bought this part.   

May differ in appearance, but functions same as original. This valve allows the water to flow in the drain direction only and prevents the dirty water from coming back into the tub.

$ 52.97
  In Stock
PartSelect Number PS11745441
Manufacturer Part Number WP8268375

Replacing your KitchenAid Dishwasher Sump Pump Check Valve

Replacing your Sump Pump Check Valve
Fixes Symptom 4% of time
★★★★★
★★★★★
3 Reviews

Rated by 3 customers 


A Bit Difficult 

30 - 60 mins 

Ratings submitted by customers like you who bought this part.   

Supplies water from the main water feed tube to the middle manifold water tube.

$ 34.18
  In Stock
PartSelect Number PS11748182
Manufacturer Part Number WPW10082831

Replacing your KitchenAid Dishwasher Water Supply Manifold Probe

Replacing your Water Supply Manifold Probe
Fixes Symptom 3% of time
★★★★★
★★★★★
3 Reviews

Rated by 2 customers 


Easy 

1- 2 hours 

Ratings submitted by customers like you who bought this part.   

This part includes the third level wash spinner.

$ 81.85
  In Stock
PartSelect Number PS11748132
Manufacturer Part Number WPW10077863

Customer Repair Stories

Top rack overhead spinner got whacked

At first I was just going to buy the top rack overhead spinner. I then noticed that the sprayer arm ports that supply water in one of two positions was fatigued and not closing when not in use. So I just bought the whole kit and caboodle for a couple bucks more. Installing it was just plain easy.
  • Patrick from Bothell, WA
  • Difficulty Level:
    Easy
  • Total Repair Time:
    15 - 30 mins
Was this instruction helpful to you?
Thank you for voting!

poor performance

I had turbo zone on my dishwasher. Stupidest thing ever. It just cut out the water going to the upper rack. This part got rid of turbo zone, and now my dishwasher works like a regular one (much better).
  • george from Banning, CA
  • Difficulty Level:
    Really Easy
  • Total Repair Time:
    15 - 30 mins
Was this instruction helpful to you?
Thank you for voting!
Fixes Symptom 3% of time
★★★★★
★★★★★
4 Reviews

Rated by 1 customer 


Easy 

15 - 30 mins 

Ratings submitted by customers like you who bought this part.   

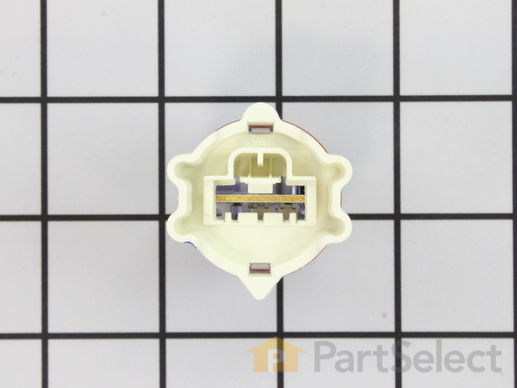
Measures level of soil in the water.

$ 33.79
  In Stock
PartSelect Number PS11757214
Manufacturer Part Number WPW10705575

Replacing your KitchenAid Dishwasher Turbidity Sensor

Replacing your Turbidity Sensor

Customer Repair Stories

Failed diagonistics test for OWI sensor

Pulled the dishwasher out from the counter, on the lower right hand side, about mid way back there is a bundle of all yellow wires, follow that to the sensor which mounts into the bottom of the wash tub. The sensor is easily removed by grasping it by hand and turn it about a half turn (can't remember which direction). It then just pulls out. Disconnect the wire bundle by pushing on the retaining clip and the install is the reverse.
  • Mark from Lancaster, NY
  • Difficulty Level:
    Easy
  • Total Repair Time:
    15 - 30 mins
  • Tools:
    Screw drivers
59 of 84 people found this instruction helpful.
Was this instruction helpful to you?
Thank you for voting!
Fixes Symptom 2% of time
★★★★★
★★★★★
5 Reviews

Rated by 1 customer 


Easy 

15 - 30 mins 

Ratings submitted by customers like you who bought this part.   

This part is essential in your dishes getting clean during the wash cycle. If there is any debris or a tear in the filter, it can cause extra buildup and, therefore, causing dirty dishes.

$ 126.33
  In Stock
PartSelect Number PS897295
Manufacturer Part Number 8193918

Replacing your KitchenAid Dishwasher Accumulator and Filter

Replacing your Accumulator and Filter

Customer Repair Stories

Dishes did not always clean with some residue left on the dishes. Needed to replace the filter

Just followed the YouTube video they sent with the receipt.
  • Ashok from CHAPEL HILL, NC
  • Difficulty Level:
    Easy
  • Total Repair Time:
    15 - 30 mins
7 of 12 people found this instruction helpful.
Was this instruction helpful to you?
Thank you for voting!
Fixes Symptom 1% of time
★★★★★
★★★★★
1 Review

Rated by 1 customer 


Easy 

30 - 60 mins 

Ratings submitted by customers like you who bought this part.   

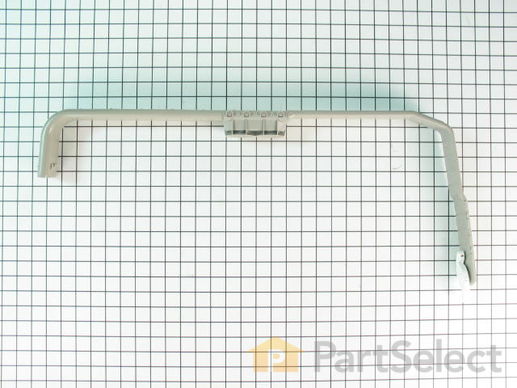
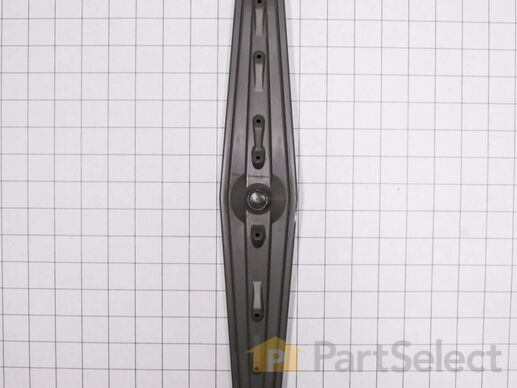
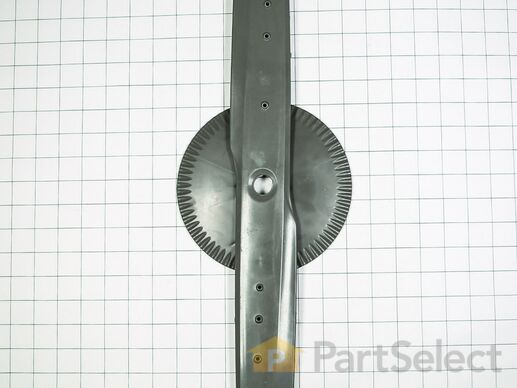
The spray arm in your dishwasher spins and sprays the water that is used to clean your dishes. If the spray arm is damaged, your dishwasher will not clean properly, and you will need to replace it. Many of our customers have rated this repair as easy, and to complete the repair you will simply need to unscrew the old arm, and replace it with a new one. Make sure the jets are facing upward when you secure the new arm. This part is made of gray plastic and is approximately 18 inches wide.

$ 45.89
  In Stock
PartSelect Number PS11748185
Manufacturer Part Number WPW10082841

Replacing your KitchenAid Dishwasher Middle Spray Arm

Replacing your Middle Spray Arm

Replacing your KitchenAid Dishwasher Middle Spray Arm

Replacing your Middle Spray Arm
Fixes Symptom 1% of time
★★★★★
★★★★★
9 Reviews

Rated by 10 customers 


Easy 

30 - 60 mins 

Ratings submitted by customers like you who bought this part.   

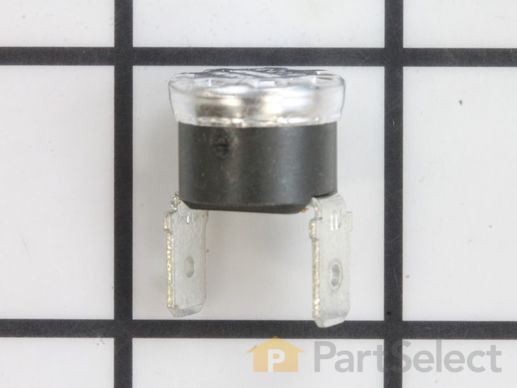
This part acts as as safety mechanism that keeps the dryer from overheating. Once the dryer temperature reaches a certain point, this part will shut down power to the heating element.

$ 20.75
  In Stock
PartSelect Number PS11743423
Manufacturer Part Number WP661566

Replacing your Kenmore Dishwasher High Limit Thermostat

Replacing your High Limit Thermostat

Customer Repair Stories

No heat. Replaced thermostat

Was able to replace and repair without taking the dishwasher out. Thermostat is behind and to the left of the power junction box. Has 2 wires going to it. It is up against the bottom of tub. I used an angled mirror to see what I was doing. 1 small screw to detach and pull down thermostat. Be sure power is off before you start. Also reprogrammed defaults. Hit any button 1-2-3, 1-2-3, 1-2-3, fast and close door. Let it sit 15 min to run and re-set defaults. Now I have heat and dry dishes.
  • Tim from BURTONSVILLE, MD
  • Difficulty Level:
    Really Easy
  • Total Repair Time:
    30 - 60 mins
  • Tools:
    Screw drivers, Socket set
10 of 10 people found this instruction helpful.
Was this instruction helpful to you?
Thank you for voting!

Dishes wouldn't dry

I shut off the power to the dishwasher, then I removed the front panel under the door. On the right side just behind the electrical box there are two wires going up to the hi-limit thermostat, (you may need a small mirror to see it), remove one screw that is holding the thermostat bracket, unplug the wires from the old thermostat and install new one. Screw bracket and thermostat back to the underside of the dishwasher, reinstall the front panel, turn on the power, done.
  • George from Lisbon, CT
  • Difficulty Level:
    Really Easy
  • Total Repair Time:
    15 - 30 mins
  • Tools:
    Screw drivers
33 of 45 people found this instruction helpful.
Was this instruction helpful to you?
Thank you for voting!
Fixes Symptom 1% of time
★★★★★
★★★★★
2 Reviews

Rated by 3 customers 


Really Easy 

30 - 60 mins 

Ratings submitted by customers like you who bought this part.   

This part is used to cover the chopper blades.

$ 81.58
  In Stock
PartSelect Number PS11746146
Manufacturer Part Number WP8531857

Replacing your KitchenAid Dishwasher Protector

Replacing your Protector
Fixes Symptom 1% of time
★★★★★
★★★★★
28 Reviews

Rated by 25 customers 


Easy 

30 - 60 mins 

Ratings submitted by customers like you who bought this part.   

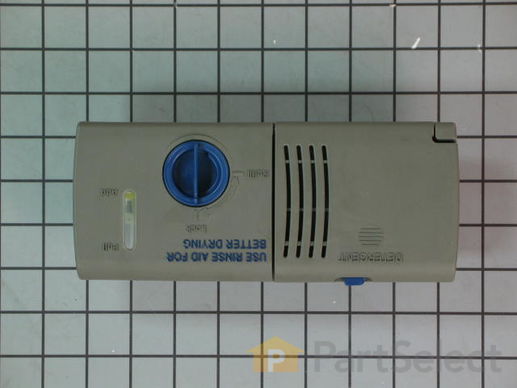
This part releases the detergent and rinse aid into the dishwasher. Light grey in color. The detergent dispenser attaches to the inner door panel and holds the dishwasher detergent and rinse agent in a covered compartment.

$ 178.19
  In Stock
PartSelect Number PS11750167
Manufacturer Part Number WPW10199696

Replacing your KitchenAid Dishwasher Detergent Dispenser Assembly

Replacing your Detergent Dispenser Assembly

Customer Repair Stories

Plastic catch that releases the soap dispenser door broke off, the soap dispenser door wouldnt stay shut.

Removed the screws holding the metal front of the dishwasher on, removed the 6 screws holding the dispenser in place. Put the new part in and put all screws back in where they were. Put the front back on the dishwasher with its screws, done.
  • Patrick from Byron Center, MI
  • Difficulty Level:
    Easy
  • Total Repair Time:
    Less than 15 mins
  • Tools:
    Nutdriver
88 of 110 people found this instruction helpful.
Was this instruction helpful to you?
Thank you for voting!

latch on dispenser cover broke

Printed door assembly parts list and photo from KitchenAid website. (With the absence of instructions, it was a big help.) Remove door cover. You'll need a star driver bit. Remove the old dispenser. Note how the metal clamp and black cover sheet are positioned. Install the new dispenser. Insure the wiring harness is snapped in place. Replace the door cover. Not difficult; just some patience. One more hint ... be careful when taking the door cover off and you won't have to disconnect any other wiring.
  • Craig from Austin, TX
  • Difficulty Level:
    Easy
  • Total Repair Time:
    30 - 60 mins
  • Tools:
    Nutdriver, Screw drivers, Socket set
141 of 155 people found this instruction helpful.
Was this instruction helpful to you?
Thank you for voting!
Fixes Symptom 1% of time
★★★★★
★★★★★
4 Reviews

Rated by 3 customers 


Easy 

15 - 30 mins 

Ratings submitted by customers like you who bought this part.   

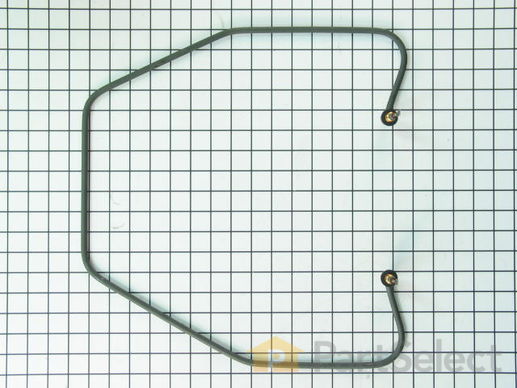
This dishwasher heating element is not designed to heat the water that enters it, but is designed to maintain the heat of the water that enters the dishwasher. It is located on the bottom of the dishwasher.

$ 67.73
  In Stock
PartSelect Number PS11748194
Manufacturer Part Number WPW10082892

Replacing your KitchenAid Dishwasher Heating Element

Replacing your Heating Element

Customer Repair Stories

Stopped washing in cycle, LED code flashed 6 times

Since I had manual from initial installation I knew code meant heater was malfunctioning. Went to Sears, Lowes..no parts to repair. Instructed to go to appliance repair shop, closed of course...ordered online instead here and received in 2 days. Repair took 20 minutes. Super easy! Do not attempt to use adjustable wrench to tighten, use socket set as plastic electrode casings will be compromised. Takes some tork. Probably saved $100-$150 repair call. Wife was pleased. I was suprised how easy.
  • Brendan from Indianapolis, IN
  • Difficulty Level:
    Really Easy
  • Total Repair Time:
    15 - 30 mins
  • Tools:
    Screw drivers, Socket set, Wrench (Adjustable)
8 of 11 people found this instruction helpful.
Was this instruction helpful to you?
Thank you for voting!

Dishwasher heater broken

I ordered this part after the sanitized light on my dishwasher was flashing. The dishes were no longer drying. To replace the part, my husband pulled out the dishwasher and unscrewed some nuts (accessing under the heater through the side openings). The entire repair took under 15 minutes, and works perfectly. I have to mention that the heater was shaped differently than the one it replaced, but was a perfect fit in the clips.
  • Ellen from Park City, UT
  • Difficulty Level:
    Easy
  • Total Repair Time:
    Less than 15 mins
17 of 20 people found this instruction helpful.
Was this instruction helpful to you?
Thank you for voting!
Fixes Symptom 1% of time
★★★★★
★★★★★
28 Reviews

Rated by 7 customers 


Really Easy 

15 - 30 mins 

Ratings submitted by customers like you who bought this part.   

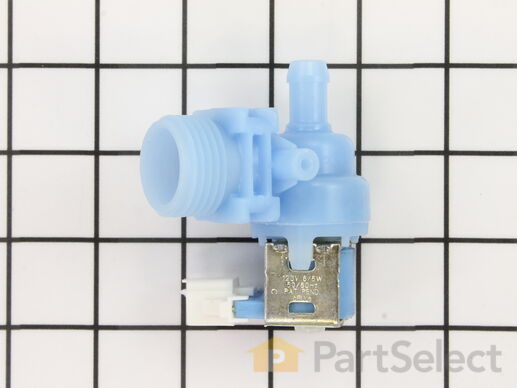
This water inlet valve should be located behind the lower kick plate panel in either the right or left corner. The attaching solenoids on the valve open and close according to the desired amount of water needed.

$ 64.14
  In Stock
PartSelect Number PS12578165
Manufacturer Part Number W11175771

Replacing your Whirlpool Dishwasher Dishwasher INLET VALVE

Replacing your Dishwasher INLET VALVE

Customer Repair Stories

clean light blinked 4 times and repeated this over and over

I took the valve off and actually hooked 110 volts to the vale and tried to blow through it and it would not let air pass through it. I replaced the the new valve in about 15 minutes and it works fine
  • Don from CLINTWOOD, VA
  • Difficulty Level:
    Really Easy
  • Total Repair Time:
    30 - 60 mins
  • Tools:
    Pliers
3 of 3 people found this instruction helpful.
Was this instruction helpful to you?
Thank you for voting!

Inlet valve wasn't working

Put thread tape on threads. Screwed water hose to part. Pushed hose onto part. Pushed electric clip to part. Screwed part onto washer. Done
  • Melissa from AIKEN, SC
  • Difficulty Level:
    Really Easy
  • Total Repair Time:
    15 - 30 mins
  • Tools:
    Pliers, Screw drivers
25 of 29 people found this instruction helpful.
Was this instruction helpful to you?
Thank you for voting!
Fixes Symptom 1% of time
★★★★★
★★★★★
118 Reviews

Rated by 41 customers 


Really Easy 

30 - 60 mins 

Ratings submitted by customers like you who bought this part.   

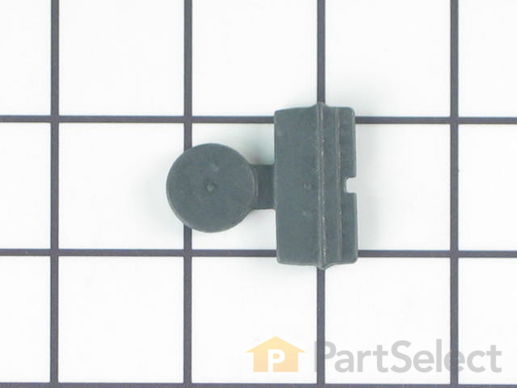
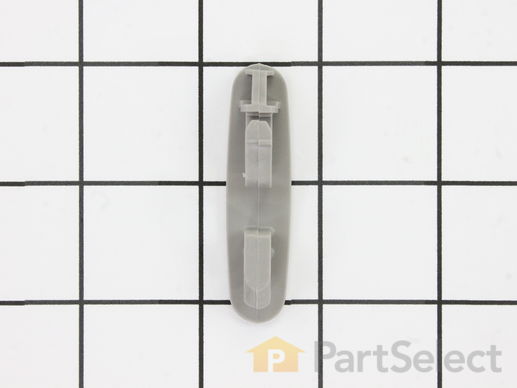
The rack track stop on your dishwasher is designed to stop the dish rack at the appropriate place when opening and closing the rack. If your dishwasher is not cleaning your dishes properly, the rack stop may need to be replaced. The replacement part may differ slightly from the broken part, depending on the model. However, the different styles are interchangeable. This product is sold individually and comes in both a white and grey plastic version. Many of our customers found this repair to be very easy and takes less than 30 minutes to complete. Simply snap the old part out and snap the new part into place. You will not require any tools to complete the job. This is an authentic part approved by the manufacturer.

$ 7.72
  In Stock
PartSelect Number PS11746591
Manufacturer Part Number WP8565925

Replacing your Whirlpool Dishwasher Rack Track Stop

Replacing your Rack Track Stop

Customer Repair Stories

Roller wheel broke off upper rack and also end rack stops needed replacing.

Husband watched your repair video. Everything went well and we are very pleased.
  • Carole from IRVINE, CA
  • Difficulty Level:
    A Bit Difficult
  • Total Repair Time:
    1- 2 hours
  • Tools:
    Screw drivers
3 of 3 people found this instruction helpful.
Was this instruction helpful to you?
Thank you for voting!

Lost stop from one side of top rack. Rack could be pulled off track.

Looked at other side of top rack which still had the stop. Just had to orient the direction of the stop and push it firmly onto the rack arm. Took a couple tries, but it went in and locked. Works perfectly. Inexpensive and easy fix to to very annoying problem.
  • Sheila from FAYETTEVILLE, NY
  • Difficulty Level:
    Very Easy
  • Total Repair Time:
    Less than 15 mins
8 of 11 people found this instruction helpful.
Was this instruction helpful to you?
Thank you for voting!
Fixes Symptom 1% of time

Rated by 9 customers 


Really Easy 

30 - 60 mins 

Ratings submitted by customers like you who bought this part.   

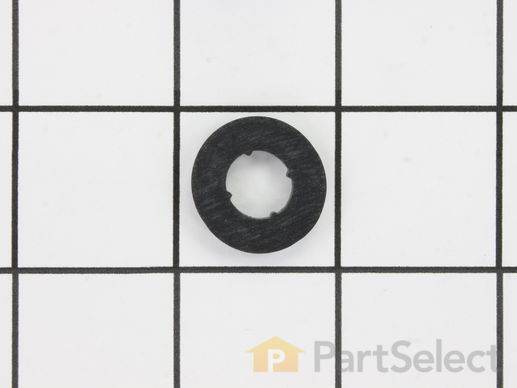
The rubber washer is a part which is specific to dishwashers and should not be substituted by a similar part. It works with the heating element to seal the receptacle opening where the heating element is attached. The rubber washer is used to prevent water leaking from your dishwasher during its cycle. Before making any repairs to your dishwasher make sure that you disconnect the power by finding the breaker for the dishwasher, and turning it off. The tools you will need to complete this repair include an adjustable wrench, and a 1/4 inch nut driver. This specific rubber washer is sold individually.

$ 7.77
  In Stock
PartSelect Number PS11743934
Manufacturer Part Number WP717273

Replacing your Whirlpool Dishwasher Rubber Washer

Replacing your Rubber Washer

Customer Repair Stories

Dishes would'nt come clean or dry from torn boot

Was a simple task to perform, a child could have done it. The technical skills diagnosing it was a bit hard though. The skills finding the culprit was indeed simple. Rubber was torn. Dishes would not come clean especially on the top & would not dry properly. The rubber piece being torn in half made it hard for the water & soap to despense to the top through thh center plastic tube, but now it cleans great. Thank's
Now to find out why it won't dry properly at the heating element is another task. It leaves water droplets on the dishes.
Once I got the rubber screw on attachment installed the dishes are clean & dry now & no water dropplets on the dishes.
The water dispenses up to the top like it suppost to throught the small tube to wash the upper rack dishes.
The wife is happy now she doesn't have to clean & dry them by hand.
Thank's so very much!!
Now on to the next project in hand to submit later on.
  • David from Sallisaw, OK
  • Difficulty Level:
    Really Easy
  • Total Repair Time:
    Less than 15 mins
7 of 17 people found this instruction helpful.
Was this instruction helpful to you?
Thank you for voting!
Fixes Symptom 1% of time

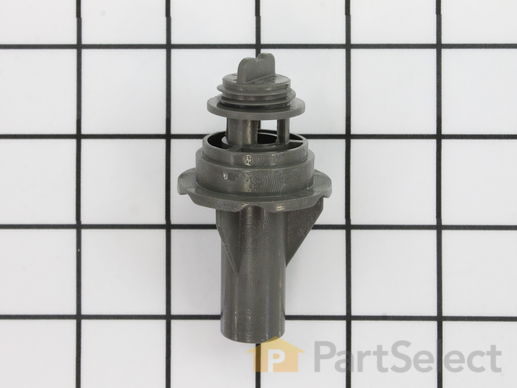
The lower spray arm hub sits inside the dishwasher at the base, and feeds water into the lower spray arm. The arm hub is made of plastic and measures 3 inches long by 1.5 inches wide. If the spray arm becomes loose, or does not spin freely, check for damage to the spray arm hub. This is a genuine OEM replacement part sourced directly from the manufacturer.

$ 98.03
  In Stock
PartSelect Number PS11748138
Manufacturer Part Number WPW10077898

Replacing your KitchenAid Dishwasher Lower Spray Arm Hub - Gray

Replacing your Lower Spray Arm Hub - Gray
Fixes Symptom less than 1% of time
★★★★★
★★★★★
6 Reviews

$ 72.40
  In Stock
PartSelect Number PS11753016
Manufacturer Part Number WPW10330588
Fixes Symptom less than 1% of time
★★★★★
★★★★★
57 Reviews

Rated by 16 customers 


Really Easy 

15 - 30 mins 

Ratings submitted by customers like you who bought this part.   

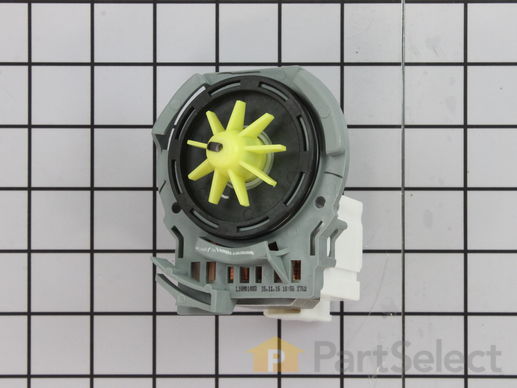
This drain pump is used in dishwashers to remove water from the dishwasher tub. If the impeller in the dishwasher is damaged or the motor has been shorted out and will not drain, it is possible the body is cracked, causing leakage. To prevent this from happening, replace the drain pump. The tools needed for this installation are: Phillips screwdriver, 5/16 inch nut driver, 5/8 inch wrench, and a flathead screwdriver. Remember to unplug your dishwasher from the power source before beginning this installation project. Refer to the manual provided by the manufacturer for further installation instructions.

$ 92.13
  In Stock
PartSelect Number PS11753379
Manufacturer Part Number WPW10348269

Replacing your Whirlpool Dishwasher Dishwasher Drain Pump

Replacing your Dishwasher Drain Pump

Customer Repair Stories

Water not draining from the dishwasher

I watched the video and this was the easiest repair ever. Took longer to disconnect and reinstall than it did to change out the pump. Highly recommended watching the video
  • Frederick from BIG PRAIRIE, OH
  • Difficulty Level:
    Very Easy
  • Total Repair Time:
    30 - 60 mins
  • Tools:
    Screw drivers, Wrench (Adjustable)
11 of 11 people found this instruction helpful.
Was this instruction helpful to you?
Thank you for voting!

dishwasher not draining after wash cycle

Caviat: The actual repair is less than 15 minutes, but I spent a lot of time playing with it before I figured out it was that easy and fast. You don't need to remove the dishwasher from the counter to do this. And it will probably help to look at the new part closely so you can understand where the retainer clip is to press it and release the old pump.

First remove the water from the dishwasher pan that would not drain with a wet/dry vac. Otherwise the water will all drain on the floor when you remove the pump. Then remove the two screws on the kickplate on the front of the unit below the door. Remove the kickplate/maintainence access cover. The drain pump is on the right about 8 inches in. Using two hands you grasp the drain pump with your right hand and use the left hand to push the retaining clip down. Then the drain pump will rotate 1/4 turn counterclockwise and can be removed without pulling the dishwasher out. There is likely to be some water leak out that was traped in the pump housing that you can not reach with the vac. Disconnect the wire. Connect the wire to the new pump, put it in place and 1/4 turn clockwise to install it. Replace the kickplate and you're done.
  • Andrew from Alexandria, VA
  • Difficulty Level:
    Easy
  • Total Repair Time:
    Less than 15 mins
  • Tools:
    Screw drivers
477 of 530 people found this instruction helpful.
Was this instruction helpful to you?
Thank you for voting!
Fixes Symptom less than 1% of time
★★★★★
★★★★★
12 Reviews

Rated by 14 customers 


Easy 

30 - 60 mins 

Ratings submitted by customers like you who bought this part.   

Sold Individually.

$ 11.32
  In Stock
PartSelect Number PS11745525
Manufacturer Part Number WP8270019

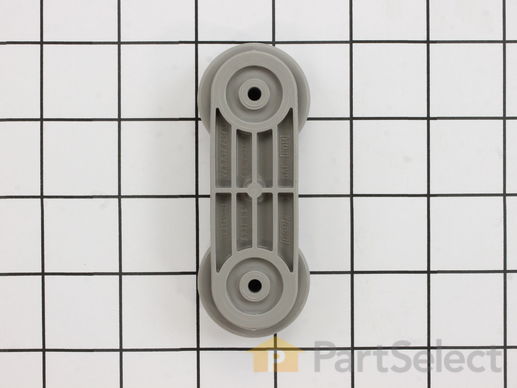
Replacing your Kenmore Dishwasher Upper Rack Wheel and Mount Assembly

Replacing your Upper Rack Wheel and Mount Assembly

Customer Repair Stories

Wheel tub snapped off

Repair was easy - The only reason that I am writing this is to brag on you guys for shipping the part as promised and on time. Had i next day which was most important.

Thanks
  • Chris from North Little Rock, AR
  • Difficulty Level:
    Easy
  • Total Repair Time:
    15 - 30 mins
  • Tools:
    Screw drivers
4 of 6 people found this instruction helpful.
Was this instruction helpful to you?
Thank you for voting!

Top rack front wheel broke.

Pulled out dishwasher. Took out old screws. Unsnapped end of rack slid new wheel in and attached to side. Very Very easy. It was great to get the part so fast and take care of this repair ourselves.
  • Teresa from Smyrna, TN
  • Difficulty Level:
    Really Easy
  • Total Repair Time:
    Less than 15 mins
  • Tools:
    Screw drivers, Socket set
15 of 17 people found this instruction helpful.
Was this instruction helpful to you?
Thank you for voting!
Fixes Symptom less than 1% of time

Rated by 1 customer 


A Bit Difficult 

More than 2 hours 

Ratings submitted by customers like you who bought this part.   

$ 43.28
  In Stock
PartSelect Number PS11745438
Manufacturer Part Number WP8268343
Fixes Symptom less than 1% of time
★★★★★
★★★★★
21 Reviews

Rated by 8 customers 


Really Easy 

15 - 30 mins 

Ratings submitted by customers like you who bought this part.   

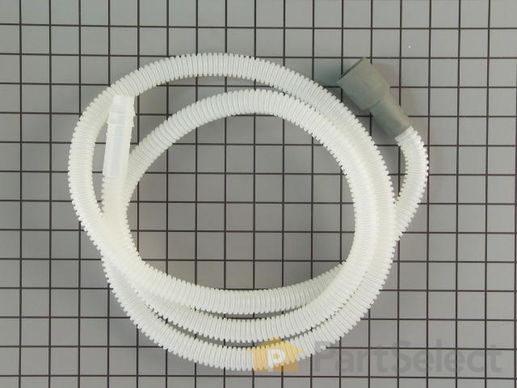
This drain hose is 6 and 1/2 feet.

$ 31.66
  In Stock
PartSelect Number PS2358130
Manufacturer Part Number 8269144A

Replacing your KitchenAid Dishwasher Drain Hose

Replacing your Drain Hose

Customer Repair Stories

Drain hose leaking

I did not relize that the drain hose was in two parts. Naturally I ordered the wrong half. So after I relized my mistake, I re-ordered the correct part. Once the correct part was received the repair was easy and went well.
  • Robert from Beaufort, SC
  • Difficulty Level:
    Easy
  • Total Repair Time:
    15 - 30 mins
  • Tools:
    Pliers
7 of 11 people found this instruction helpful.
Was this instruction helpful to you?
Thank you for voting!

Unwanted water.

A Mouse friend had seen fit to chew through the original drain line. I used my Model Number, and was able to order the correct part . It arrived the next day. The job itself is fairly straight forward. You will need to access the rear of the machine. This may include shutting off, and disconnecting the water supply line. (Adjustable wrench). Mine is under the sink, on the "Hot" side. You may also need to un-plug the unit. (recommended) . A pair of (Pliers) will be needed for the spring clamp.
  • David from PITTSBURGH, PA
  • Difficulty Level:
    Easy
  • Total Repair Time:
    30 - 60 mins
  • Tools:
    Pliers, Screw drivers, Wrench (Adjustable)
7 of 8 people found this instruction helpful.
Was this instruction helpful to you?
Thank you for voting!
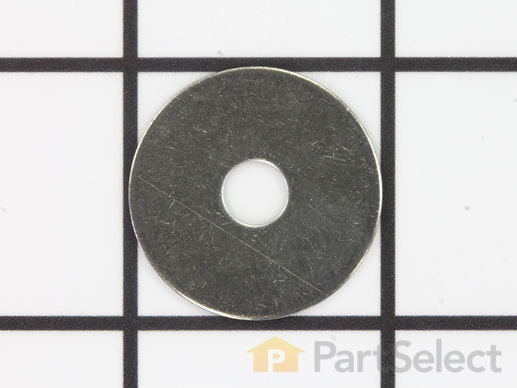
25 Washer
Fixes Symptom less than 1% of time

$ 5.37
  In Stock
PartSelect Number PS11746118
Manufacturer Part Number WP8531018
Fixes Symptom less than 1% of time
★★★★★
★★★★★
7 Reviews

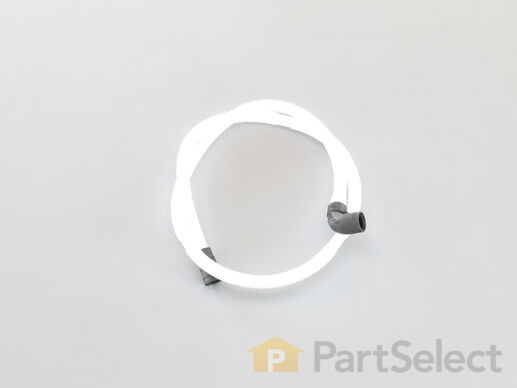
This part is used to drain water from your dishwasher.

$ 48.31
  In Stock
PartSelect Number PS11756139
Manufacturer Part Number WPW10545278

Replacing your Whirlpool Dishwasher Drain Hose

Replacing your Drain Hose
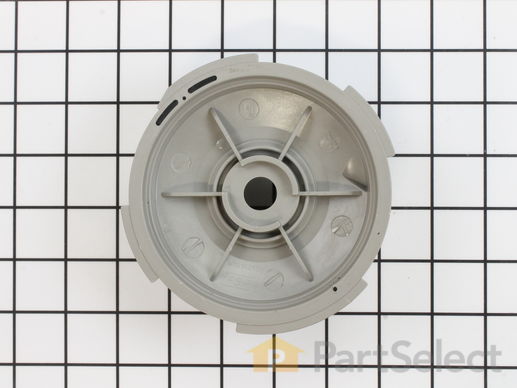
27 VOLUTE
Fixes Symptom less than 1% of time

This part forces the water from the pump to the sump area for discharge.

$ 10.68
  In Stock
PartSelect Number PS16745117
Manufacturer Part Number W11622922

Replacing your KitchenAid Dishwasher VOLUTE

Replacing your VOLUTE