Models > MCE8000AYW > Symptoms > Noisy

Parts That Fix Maytag Dryer MCE8000AYW Noisy

Noisy is a commonly reported symptom for the MCE8000AYW Maytag Dryer, and we have put together a full guide on how to fix this. This advice is based on feedback from people who own this exact appliance. We have listed the most common parts for your MCE8000AYW Maytag Dryer that will fix Noisy. We have included repair instructions, and helpful step-by-step video tutorials. If you are experiencing this issue, not to worry, DIYers just like you have fixed this, and shared their experience to help you!

Fixes Symptom 57% of time
★★★★★
★★★★★
377 Reviews

Rated by 358 customers 


Easy 

30 - 60 mins 

Ratings submitted by customers like you who bought this part.   

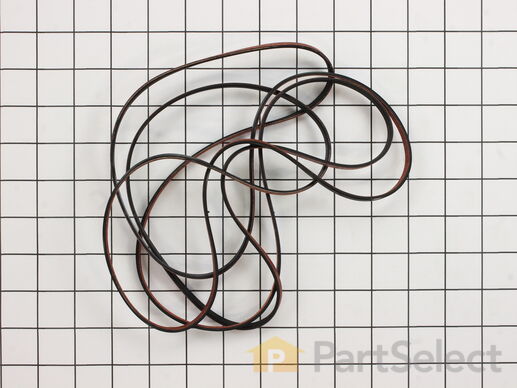
This dryer drum belt (Whirlpool Dryer Belt, Drive Belt) has four ridges, three grooves and is 1/4" wide, and 92 1/4 inches in length. It comes in black and is made of rubber. The belt transfers the rotation of the motor to turn the drum. The belt attaches to the drum, idler pulley, and motor pulley.

$ 17.19
  In Stock
PartSelect Number PS346995
Manufacturer Part Number 341241

Customer Repair Stories

Broken belt - drum would not turn

Started out taking the back off, then found online that access is from the front and much easier to get to. Simply pop the hinges in the back of the top panel and then the front of the top is popped off. From there, it is easy to remove the old belt, clean the innards (found 31 cents) and replace the new belt. It was a little disconcerting to see the idler pulley laying loose inside, but the diagram showed exactly how to put it back in place, with the new belt keeping it in place.
  • Gary from Oakland, MD
  • Difficulty Level:
    Really Easy
  • Total Repair Time:
    15 - 30 mins
  • Tools:
    Nutdriver, Screw drivers
81 of 95 people found this instruction helpful.
Was this instruction helpful to you?
Thank you for voting!

broken tumbler belt

1. Removed the screws from the lint catcher
2. Removed the bolts from upper rear of dryer
3. Pried off the dryer top from the front (it rests on rear hinges)
4. Disconnected dryer door wiring
5. Removed bolt from inside upper front corners; removed front panel (be careful: the edges are sharp and the tumbler will fall when it loses support)
6. Removed broken belt and lint from interior parts; removed tensioner (which had fallen out of place). Note: The newer models have a tensioner pulley; my older model had a smooth semicircle that was confusing at first glance
7. Flipped dryer onto its back (for easier reinsertion of new belt and tumbler)
8. Placed new belt on tumbler; reinserted tumbler
9. Inserted new belt through tensioner, inserted tensioner "legs" into grooves on floor. Note: The belt will pull the tensioner upright when it's inserted properly (which isn't obvious at first)
10. Made sure belt and tumbler seal were properly installed
11. Replaced parts in reverse order
The process took over an hour because I couldn't figure out how to insert the belt through the tensioner. The trick is to insert the folded belt through the tensioner and onto the motor pulley. If I had to do it again, it would take about 30 minutes (including cleaning lint)
  • Michael from San Antonio, TX
  • Difficulty Level:
    Easy
  • Total Repair Time:
    30 - 60 mins
  • Tools:
    Screw drivers, Wrench set
130 of 150 people found this instruction helpful.
Was this instruction helpful to you?
Thank you for voting!
Fixes Symptom 16% of time
★★★★★
★★★★★
8 Reviews

Rated by 19 customers 


Easy 

30 - 60 mins 

Ratings submitted by customers like you who bought this part.   

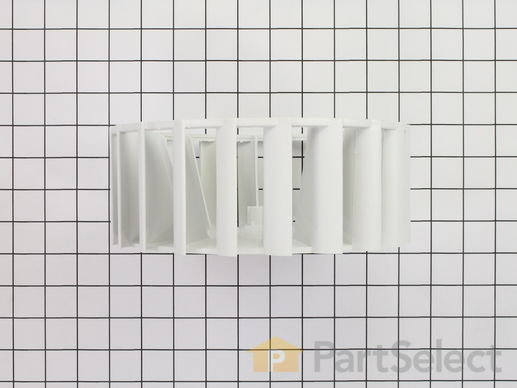
This wheel has a deep D-shaped shaft receptacle. The spring clamp is not included with this part.

$ 59.16
  In Stock
PartSelect Number PS16221211
Manufacturer Part Number W11497304

Replacing your Maytag Dryer Blower Wheel

Replacing your Blower Wheel

Customer Repair Stories

loud rattling and grinding noise when drum is turning

Always begin repairs by unplugging the power cord from the power outlet! First, push in the 2 taps under the dryer top to lift it up and secure it at a 90 degree angle. Remove the door light switch from the retaining clip and let it hang to the outside of the dryer. After removing the 2 scews inside the top front, remove the front dryer cover. Next, remove the screws holding the blower cover and set it aside. Using a pair of plyers, remove the hose clip from the blower axle. Use a c-clip tool to remove the c-clip and pull out the blower wheel. Use a vacuum attachment hose to remove lint and other dirt from the wheel housing and dryer. Apply a light dish soap to the motor axle and slide on the new blower wheel. Replace the blower housing cover, front dryer cover, light switch, and close the dryer top, making sure to allign the pins and holes near the lid clips that secure the dryer top. Plug in the dryer power cord and you are set to go! Retire to your favorite lounge chair, grab the remote, and tell your wife that it is OK to "test" the dryer! However, do not attempt the last step until AFTER you have cleaned up all the mess you made while making the repair!
  • Steve from Green Bay, WI
  • Difficulty Level:
    Easy
  • Total Repair Time:
    30 - 60 mins
  • Tools:
    Nutdriver, Pliers, Screw drivers
8 of 9 people found this instruction helpful.
Was this instruction helpful to you?
Thank you for voting!

High noise when switched on. Broken blower wheel.

Lift top off. Removed front door. Removed blower wheel cover. Replaced blower wheel. Cleaned and put back togther. Needed circlip pliers to remove circlip retaining blower wheel.
  • Alexander from Green Valley, AZ
  • Difficulty Level:
    Easy
  • Total Repair Time:
    1- 2 hours
  • Tools:
    Nutdriver, Pliers, Screw drivers, Socket set
65 of 71 people found this instruction helpful.
Was this instruction helpful to you?
Thank you for voting!
Fixes Symptom 12% of time
★★★★★
★★★★★
3 Reviews

Rated by 10 customers 


Easy 

30 - 60 mins 

Ratings submitted by customers like you who bought this part.   

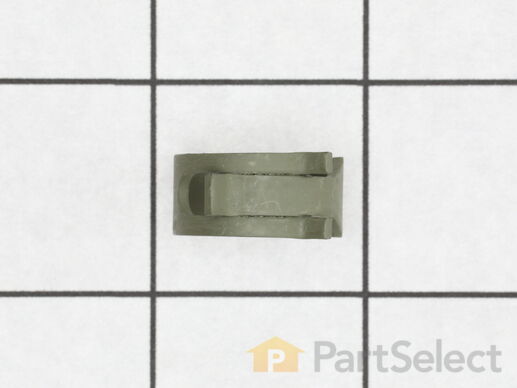
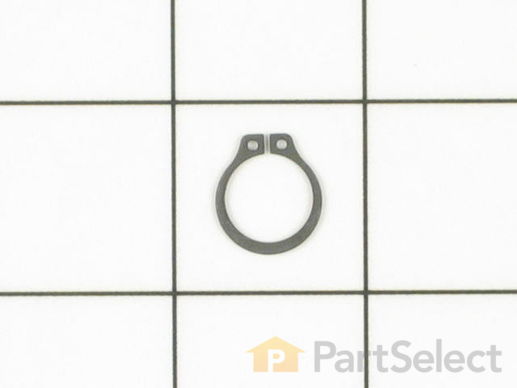
This blower wheel clamp, used in a clothes dryer, is a clamp that holds the blower wheel to the motor shaft. This part helps hold the blower wheel in place to function easily and properly. If your clothes dryer has any of the following symptoms then replacing the clamp can be a solution: making loud noises, not producing enough heat or no heat at all, and/or clothes are taking too long to dry. Make sure to unplug thedryer from power source before installing this part and refer to the installation instructions provided by the manufacturer for further guidance.

$ 13.61
  In Stock
PartSelect Number PS11740752
Manufacturer Part Number WP312967
Fixes Symptom 3% of time

Rated by 3 customers 


Easy 

15 - 30 mins 

Ratings submitted by customers like you who bought this part.   

This part works in conjunction with the blower wheel.

  No Longer Available
PartSelect Number PS2026490
Manufacturer Part Number 25-7855
Fixes Symptom 3% of time
★★★★★
★★★★★
3 Reviews

Rated by 5 customers 


Easy 

1- 2 hours 

Ratings submitted by customers like you who bought this part.   

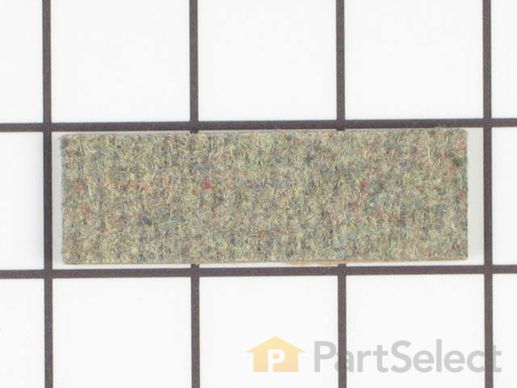
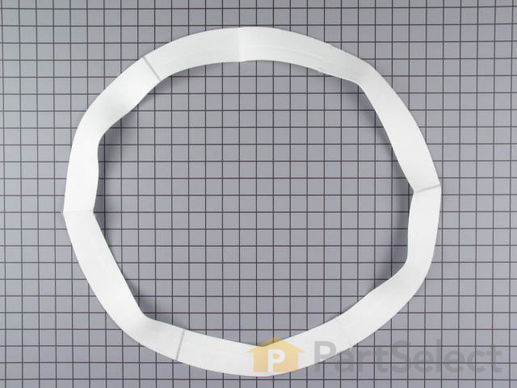
The drum felt seal, used in dryers, allows the drum to smoothly glide with minimal friction. If any of the following symptoms occur with your dryer, replacing the felt seal can be a solution to your problem: makes noises, does not tumble, takes too long to dry, not enough heat, or no heat at all. First take off the front panel of the dryer and remove the drum. Next, unscrew the old drum support wheels by following the instructions from the manufacturer manual. To get the retaining clips on, place them in front of the wheel shaft and clamp down on the clip and shaft as you snap it in. This part can be used for both the front and rear in some models. Remember to unplug your dryer from the power source before beginning this project.

$ 39.87
  In Stock
PartSelect Number PS11740735
Manufacturer Part Number WP31001747

Replacing your Norge Dryer Drum Felt Seal

Replacing your Drum Felt Seal
Fixes Symptom 3% of time
★★★★★
★★★★★
1 Review

Rated by 6 customers 


Easy 

1- 2 hours 

Ratings submitted by customers like you who bought this part.   

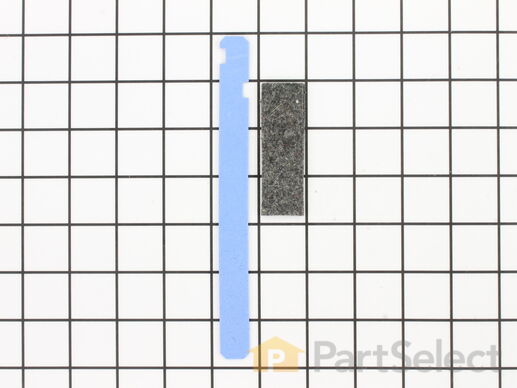
Pad has adhesive backing.

$ 27.64
  In Stock
PartSelect Number PS2162266
Manufacturer Part Number LA-1006

Customer Repair Stories

drum slide worn out

removed front cover, lifted drum up with a clamp and replaced slides. Replaced front cover
  • Richard from GORHAM, ME
  • Difficulty Level:
    Really Easy
  • Total Repair Time:
    30 - 60 mins
  • Tools:
    Nutdriver, Screw drivers
3 of 3 people found this instruction helpful.
Was this instruction helpful to you?
Thank you for voting!

Maytag Performa squeaking loudly when running.

My wife's dryer started squeaking very high pitched, intermittently and then continuously when running. It progressed to a loud shrieking, unbearable throughout the house. Make sure you unplug the dryer. First I replaced the Drum glide and cushion kit. This was easy to do. Pry open the top of the dryer open with a screwdrive or putty knife. Now reach in and remove the retaining screws holding the front panel against the side panels. After releasing the front panel, let it fall forward about 4 inches and then unplug the two wire connected to the door closed sensor. Now carefully slide the thin belt towards the back of the dryer, it will release eventually as it is pulled off the pulley (dont worry, getting it back on is not that hard). Now you can remove the drum. After removing the drum, there are two tan or bluse plastic drum glides that the fron of the drum rests on. They can be worn out along with the cushion beneath them. Replace them with new one. This actually did NOT fix the problem. I put everything back together and....SQUEAK!! Next I undid everything as before and removed the drum. Now I decided to lubricate the rear rollers. First I used a silicone lubricant that again did not fix the problem. I could not find hi-temp lubricant, so I decided to use Axle grease. Bingo...no more squeak. To lubricate the rollers, remove the retaining clip and pull the wheel off. I put an even thin coat on the post they rest on and the inside hole of the wheel. Replace them and remember to put the retaining clip back on. Now replace the belt onto the metal pulley first, with the threaded side of the belt down towards the drive shaft, it should loop around the drive shaft and then you can pull it around the drum, slowly feedingthe drum farther and pulling the belt back along the drom. The smooth side of the belt should be on top of the drum. Now you have to reach back under the drum on the bottom right corner below the lint trap and pull the belt over the tensioner. Sounds harder than it is. Volia...that should fix it. Its been 3 days of non-stop laundry since the repair and no squeak. Next time I will purchase the replacement roller package, but this worked for now. Good luck.
  • Jason from Temecula, CA
  • Difficulty Level:
    Easy
  • Total Repair Time:
    15 - 30 mins
  • Tools:
    Pliers, Screw drivers
10 of 12 people found this instruction helpful.
Was this instruction helpful to you?
Thank you for voting!
Fixes Symptom 2% of time

Rated by 7 customers 


Easy 

30 - 60 mins 

Ratings submitted by customers like you who bought this part.   

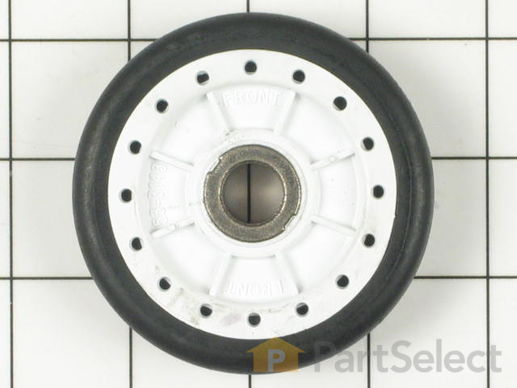
Sold individually.

  No Longer Available
PartSelect Number PS2030837
Manufacturer Part Number 31001096

Customer Repair Stories

roller wore out and fell off

I just used screw driver to pop of clip put new roller on poped clip back on
  • Tina from Selma, NC
  • Difficulty Level:
    Really Easy
  • Total Repair Time:
    Less than 15 mins
  • Tools:
    Screw drivers
3 of 4 people found this instruction helpful.
Was this instruction helpful to you?
Thank you for voting!

dryer made a horrible racket when running

my ex husband took the top and front of dryer off and removed the drum and belt. he pulled off the worn roller and replaced it with the new one. we put the drum in backwards and had to turn it around but all went well and the dryer is quiet again!!!
  • cheryl from international falls, MN
  • Difficulty Level:
    Easy
  • Total Repair Time:
    15 - 30 mins
  • Tools:
    Screw drivers
4 of 5 people found this instruction helpful.
Was this instruction helpful to you?
Thank you for voting!
Fixes Symptom 1% of time

Rated by 4 customers 


Easy 

1- 2 hours 

Ratings submitted by customers like you who bought this part.   

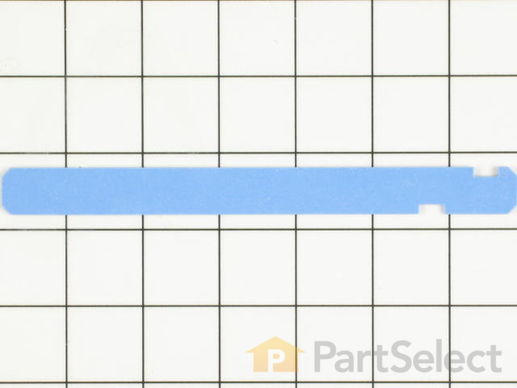
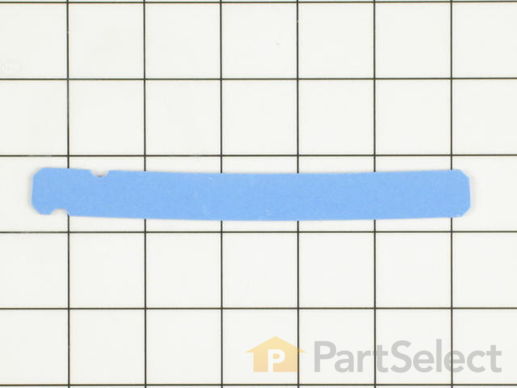
This dryer drum glide is almost six inches long and is blue in color. This glide is made of plastic and is designated for the left side of some clothes dryers. This glide is also available as part of a glide kit, part number PS177273.

$ 57.77
  In Stock
PartSelect Number PS11740714
Manufacturer Part Number WP31001470
Fixes Symptom 1% of time
★★★★★
★★★★★
1 Review

Rated by 7 customers 


Easy 

30 - 60 mins 

Ratings submitted by customers like you who bought this part.   

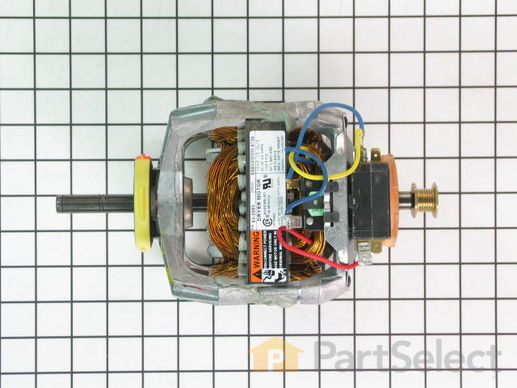
This drive motor rotates the drum by turning the belt.

$ 333.16
  In Stock
PartSelect Number PS3497647
Manufacturer Part Number W10410996

Customer Repair Stories

Motor froze up

First lift the top and remove 2 screws holding the front panel on, at each top corner. Release the door switch from its clip (or disconnect the wires). Remove the front panel by tilting out and then lifting it up off the bottom tabs. Remove the belt from the motor by releasing the tensioner. Then lift the drum out. Remove the front blower cover, then remove the tensioner by first removing the spring, then pull the tensioner out toward the back. Remove the strap on the back of the motor near the pulley. It takes a little effort to get the strap off. Remove the 3 bolts holding the blower case (with the motor still attached. Remove the motor wires, then lift the motor and blower case out. Next remove the clip holding the blower fan on and remove the fan. It may be stubborn so be patient and slowly work it off. Remove the next clip behind the fan. Then remove the motor from the blower case by turning it counter clockwise (as viewed from the motor side). Installation is the reverse.
  • Randy from Loganville, GA
  • Difficulty Level:
    A Bit Difficult
  • Total Repair Time:
    30 - 60 mins
  • Tools:
    Nutdriver, Pliers, Screw drivers, Wrench (Adjustable)
5 of 5 people found this instruction helpful.
Was this instruction helpful to you?
Thank you for voting!

Dryer Quit running

First off I want to say I ordered my motor on Sunday night at 11:30 PM on veterans day and got the two day delivery. My part was sent out on that Monday (fed. holiday) and I received it Tuesday around 1:00 pm after I disconnected the wiring harness, took the blower fan C-clips off, unscrewed about 6 screws, and pulled the assembly apart I just done everything in reverse and replaced the new motor. I discovered that my thermostat fuse was blown so I ordered the High temp thermostat kit from here (two day delivery) on Wednesday at 10:30 PM and got the parts Friday at around 2:00 PM. After taking out four screws and four wires I replaced the fuse and high temp. set, pushed the start button to see if it worked and it started up like new. Now it heats twice as fast and everything doesn't have a light burnt smell. So dry time is faster (no more 80-90 min. cycle times), less dryer sheets (to cover smell) and all this added up to cost savings on electric bill and dryer sheets. It took a week to get my dryer back (because I just looked at the motor) but in the end I needed the fuse and motor. The quick turn around time to get the parts, the pictures to see if I had the right parts, and the ease of ordering the parts meant only one run to the laundry mat, and that wouldn't have happen if the dryer hadn't messed up on laundry day.
  • William from Marion, VA
  • Difficulty Level:
    Really Easy
  • Total Repair Time:
    30 - 60 mins
  • Tools:
    Screw drivers
6 of 7 people found this instruction helpful.
Was this instruction helpful to you?
Thank you for voting!
Fixes Symptom 1% of time

Rated by 2 customers 


Easy 

1- 2 hours 

Ratings submitted by customers like you who bought this part.   

This dryer drum glide is used with many dryers. It is almost three inches long, and it has an adhesive backing.

$ 68.89
  Special Order
PartSelect Number PS11740710
Manufacturer Part Number WP31001356
Fixes Symptom 1% of time

Rated by 4 customers 


Easy 

1- 2 hours 

Ratings submitted by customers like you who bought this part.   

This dryer drum glide is just under seven inches long. It is all blue in color and is made of a hard plastic. This front drum support is intended for use with the right side of clothes dryers.

$ 57.93
  In Stock
PartSelect Number PS11740713
Manufacturer Part Number WP31001469
Fixes Symptom less than 1% of time

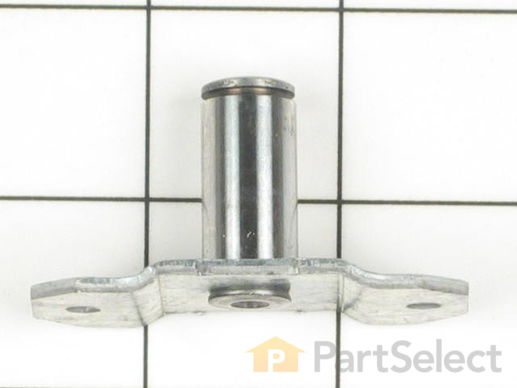
This drum support roller bracket and shaft assembly is two inches long. It is made of metal.

$ 46.65
  In Stock
PartSelect Number PS11742804
Manufacturer Part Number WP53-0197
Fixes Symptom less than 1% of time
★★★★★
★★★★★
2 Reviews

Rated by 4 customers 


Easy 

More than 2 hours 

Ratings submitted by customers like you who bought this part.   

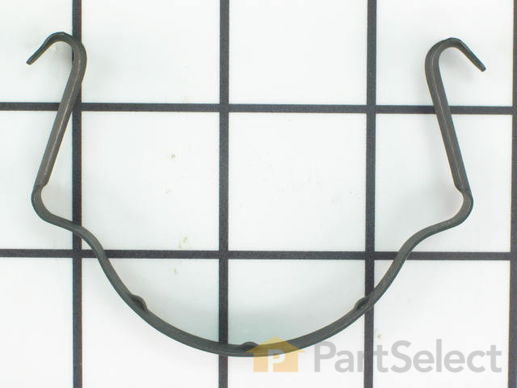
This clamp is used to secure the drive motor.

$ 11.13
  In Stock
PartSelect Number PS11743369
Manufacturer Part Number WP660658

Customer Repair Stories

Dryer drum wouldn't turn and motor would shut off

First I was told by the maytag repair man that the motor was shot and it would be 467 dollars to repair. Since I didn't have that kind of money I decided to take it apart to see if I could replace the motor myself. Once I had it apart I saw the part that held the motor in place was broken off and the motor was out of place causing it too shut itself off. Once I figured it all out it took about 2 minutes to replace the less than 6 dollar part! Thanks partSelect!!!
  • Cynthia M from Westfield, MA
  • Difficulty Level:
    Easy
  • Total Repair Time:
    More than 2 hours
  • Tools:
    Screw drivers
2 of 3 people found this instruction helpful.
Was this instruction helpful to you?
Thank you for voting!