Parts That Fix Whirlpool Washer Dryer Combo LTE6234DQ2 Noisy
Noisy is a commonly reported symptom for the LTE6234DQ2 Whirlpool Washer Dryer Combo, and we have put together a full guide on how to fix this. This advice is based on feedback from people who own this exact appliance. We have listed the most common parts for your LTE6234DQ2 Whirlpool Washer Dryer Combo that will fix Noisy. We have included repair instructions, and helpful step-by-step video tutorials. If you are experiencing this issue, not to worry, DIYers just like you have fixed this, and shared their experience to help you!
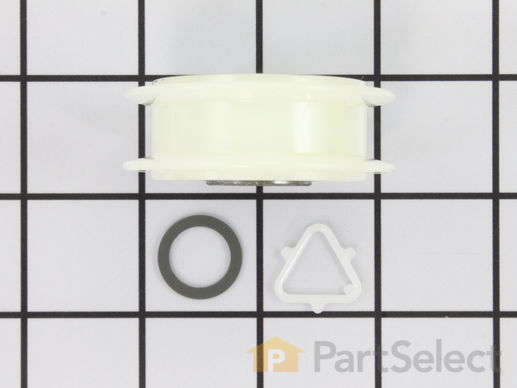
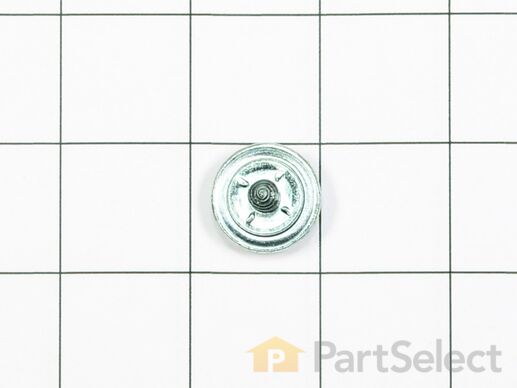
This Idler Pulley includes the tri-ring and gasket and everything included here is manufacturer-certified. This part maintains correct tension on the drive belt in order to spin the drum properly. If damaged or broken the dryer will not dry properly, will not tumble properly, or may not even start. Installation is rated as "Medium" difficulty. This part is located on the dryer drum, around the tension pulley. Refer to your user manual and model number for repair instructions and to ensure this part is right for you. For this repair project, the tools needed are a Phillips screwdriver, 1/4 inch nut driver, putty knife, small flat blade screw driver, and needle nose pliers.
Replacing your Whirlpool Dryer Idler Pulley

Customer Repair Stories
TOb stopped turning after a week or so of high pitched "squeals" coming from inside the dryer.
-
Robert from Princeton, WV
-
Difficulty Level:Really Easy
-
Total Repair Time:Less than 15 mins
-
Tools:Nutdriver, Screw drivers
Very Loud Squeaking Noise
-
GREGORY from Wilsonville, OR
-
Difficulty Level:Easy
-
Total Repair Time:15 - 30 mins
-
Tools:Nutdriver, Pliers, Screw drivers
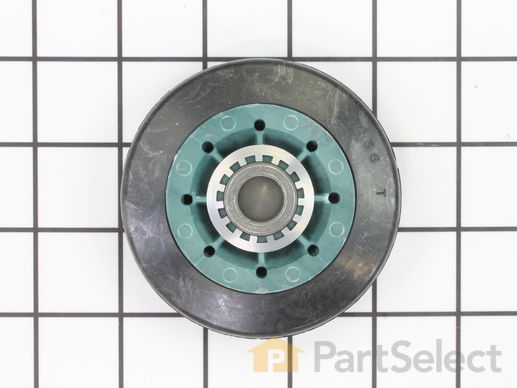
This drum support roller is sold individually. Most dryers require two. The tri-rings are included. This is a drum support roller for a dryer. It is a genuine replacement part. The part includes the drum roller only and does not include the tri-rings. This part is sold separately. Most dryers require two drum rollers. It is recommended to check and replace both drum support rollers at the same time to ensure proper drum rotation and because they often wear at the same rate. The drum support roller holds the drum in the proper position while it spins on the support wheels. If rollers are worn out, they will cause the dryer to be noisy.
Replacing your Whirlpool Dryer Dryer Drum Support Roller

Customer Repair Stories
Dryer drum turned hard because rollers were worn
-
Paul from STONE CREEK, OH
-
Difficulty Level:Easy
-
Total Repair Time:30 - 60 mins
-
Tools:Nutdriver, Pliers
noisy drum
-
Jeff from Mesa, AZ
-
Difficulty Level:A Bit Difficult
-
Total Repair Time:30 - 60 mins
-
Tools:Nutdriver, Screw drivers, Wrench (Adjustable), Wrench set
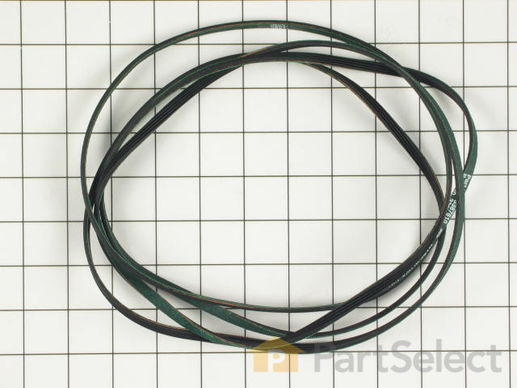
This dryer drum belt from Whirlpool/Kenmore has five ridges. It is used for many of Whirlpool's brands of clothes dryers. This flat belt is 1/4 of an inch wide.
Replacing your Whirlpool Dryer Multi Rib Belt

Customer Repair Stories
Dryer not spinning
-
john from goldsboro, NC
-
Difficulty Level:A Bit Difficult
-
Total Repair Time:30 - 60 mins
-
Tools:Nutdriver, Pliers, Screw drivers
broken belt
-
Larry from exeter, RI
-
Difficulty Level:Easy
-
Total Repair Time:30 - 60 mins
-
Tools:Nutdriver, Screw drivers
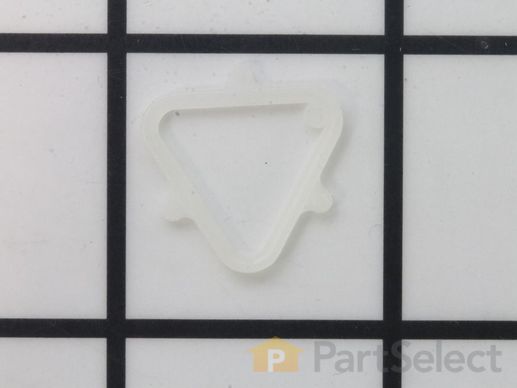
If you notice that your dryer is noisy or will not tumble, you may need to replace the tri ring. This part is triangular, and is less than an inch in size. Tri rings can be found both on the idler pulley shaft, or on the rear drum roller shaft. In either case, you will need to remove the front panel of the dryer and the drum to access the part for repair. Once you have accessed the damaged tri ring, you will simply need to slip it off and replace it with the new one. This part is sold individually. Be sure to disconnect the power source from the dryer before you begin this repair.
Replacing your Kenmore Dryer Roller Support Tri-Ring

Customer Repair Stories
My daughter threw a heavy wet comforter into the dryer and the tri-ring sheared off.
-
Joe from St. Louis, MO
-
Difficulty Level:Easy
-
Total Repair Time:30 - 60 mins
-
Tools:Nutdriver, Pliers
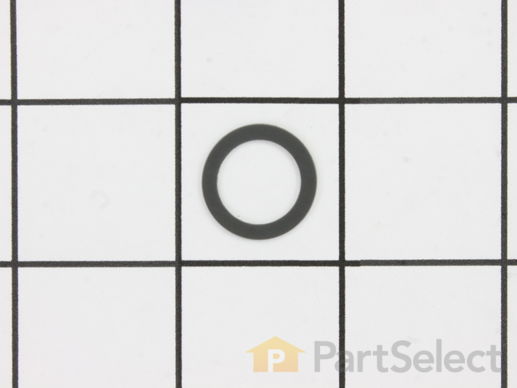
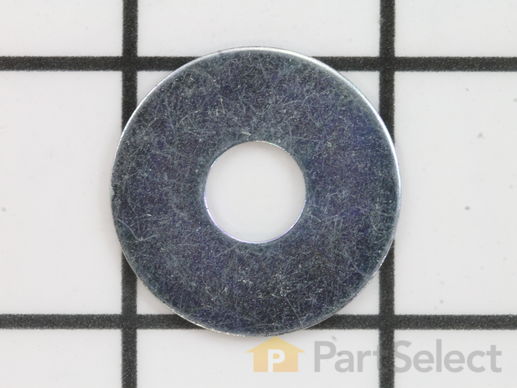
This genuine OEM washer has a 3/4 inch outside diameter. This thrust washer can be used on most makes and models of dryers. A complete list of compatible dryers is available below. The washer is found on dryers around the drum support rollers and idler pulleys, and helps prevent the rollers and pulleys from bumping up against the brackets they are installed on. Your thrust washer could be defective if you notice your dryer wont tumble, rotate, or turn; or there is a load squealing or whining noise when the dryer tumbles. The repair is a relatively easy job. You will require a putty knife, 5/16 inch nut driver, and E-Ring pliers. Remember to disconnect the power to your dryer before you begin the repair.
Replacing your Amana Dryer Thrust Washer

Customer Repair Stories
Clanging of dryer when rolling
-
John from Bel Air, MD
-
Difficulty Level:Easy
-
Total Repair Time:15 - 30 mins
-
Tools:Nutdriver, Screw drivers
belt was cracking and dryer was somewhat noisy
-
Melody from Silverton, CO
-
Difficulty Level:Easy
-
Total Repair Time:More than 2 hours
-
Tools:Nutdriver, Screw drivers
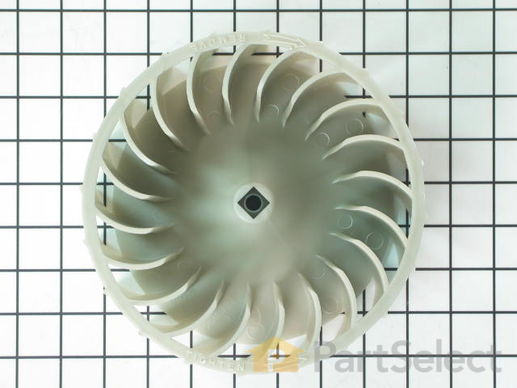
The blower wheel pulls air over the heat source, through the clothes drum, and past the thermostats, then pushes it out the exhaust duct. The blower wheel, which is usually plastic, may wear out over time. But if it's noisy, it may simply be clogged with lint. Clean the blower and test to see if the dryer is still noisy. If it is, you probably need to replace it.
Replacing your Whirlpool Dryer Blower Wheel

Customer Repair Stories
craked blower motor
-
joe from cheswick, PA
-
Difficulty Level:A Bit Difficult
-
Total Repair Time:15 - 30 mins
-
Tools:Nutdriver, Pliers, Screw drivers, Socket set, Wrench (Adjustable), Wrench set
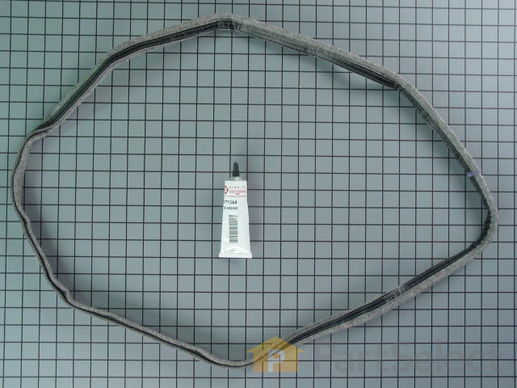
This drum seal with a silicone rubber adhesive is used in dryers. This part seals the drum to make sure air does not escape from the dryer. If your dryer is making loud noises, is not producing enough heat, or no heat at all, or there are marks left on your clothes, replacing the seal on your dryer can solve the problem. The tools needed for this installation project are: 1/4 inch nut driver, Phillips screwdriver, small flat blade screwdriver, and putty knife. Remember to unplug your dryer from the power source before beginning this installation project. Refer to the manual provided by the manufacturer for installation instructions.
Customer Repair Stories
Rear dryer drum seal came out
-
William from Pontiac, MO
-
Difficulty Level:Easy
-
Total Repair Time:More than 2 hours
-
Tools:Screw drivers, Socket set
Rear tub seal failure
-
Jerry from Everett, WA
-
Difficulty Level:Easy
-
Total Repair Time:30 - 60 mins
-
Tools:Screw drivers, Socket set
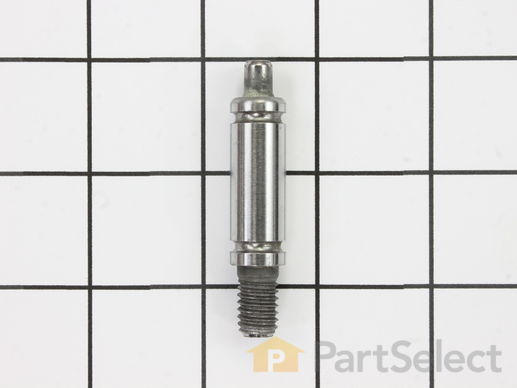
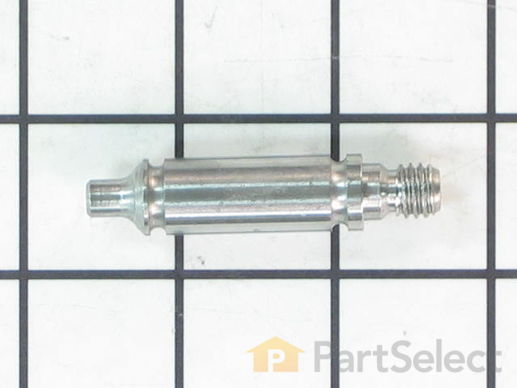
Shaft for dryer drum support roller. Rear shaft with left hand threads. Part is updated so nuts may need to be replaced as well on older dryers.
Replacing your Whirlpool Dryer Drum Support Shaft - Rear Shaft with Right Hand Threads

Customer Repair Stories
Rollers making a noise.
-
Carl from MARION, KY
-
Difficulty Level:Really Easy
-
Total Repair Time:More than 2 hours
-
Tools:Nutdriver, Pliers, Socket set
This front shaft with right hand threads is used in dryers. The shaft and the drum support rollers ride on to support the drum. If your shaft has flat spots and the rollers do not spin, replacing the shaft can solve the problem. The tools needed for this repair are: 5/16 inch socket or nut driver, 1/4 inch socket or nut driver, small flathead screw driver, channel-lock pliers, 9/16 inch socket. Remember to unplug your appliance from the power source before beginning this installation project. Refer to the diagram provided by the manufacturer for further installation instructions.
Replacing your Whirlpool Dryer Drum Support Roller Shaft - Right Hand Threads

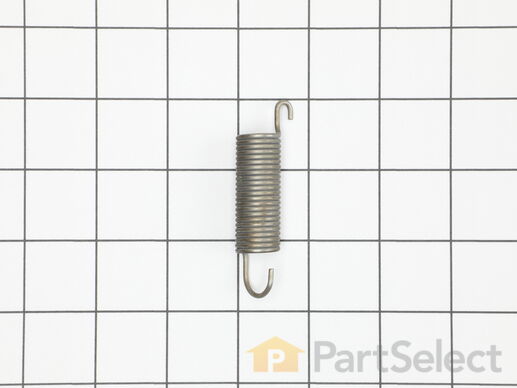
Replacing your Whirlpool Dryer Spring

This part is located on the drum roller support shaft in your dryer appliance. The exterior of the washer is 1 inch in diameter with a hole in the middle and is made of metal. They are installed alongside the drum support rollers and idler pulleys. If you notice that your dryer is making an unusual sound it could be due to the washer becoming loose on the drum support. They help prevent the rollers and pulleys from bumping up against the brackets they are installed on. If you are replacing the rollers, we suggest you replace the washers at the same time.
Sold individually.
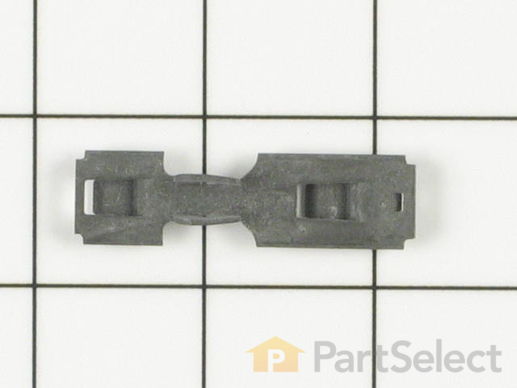
This part is the replacement single front panel clip for your dryer. It is made of metal and is approximately 2 inches long and ¾ inch wide. The front panel retainer clip is what holds the front panel on to the dryer. If the clip is damaged or missing, or if the front panel appears loose, you may need to replace the clip. This part is sold individually and is an authentic OEM part.
Customer Repair Stories
Broken clips
-
Roger from Twinsburg, AL
-
Difficulty Level:Easy
-
Total Repair Time:30 - 60 mins
-
Tools:Nutdriver, Screw drivers
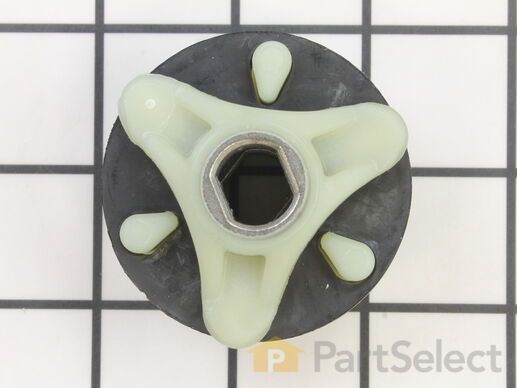
This direct drive motor coupling (Direct Drive Washer Motor Coupling, Motor Coupling, Washer Motor Coupling, Coupling Kit) provides a cushioned connection between the transmission and the motor shaft. It attaches to the direct-drive transmission and the motor shaft. If this part is defective it will affect the agitator in your washer because of its direct connection with the motor. Your washer may not agitate, spin slowly, or not spin at all. The coupling must be replaced when there is no longer a consistent connection between the transmission and the motor shaft. The coupling can wear over time because of its location between two major parts of the dryer. It is subject to material fatigue over time from normal use, or breakage caused by frequent overloading. The part measures approximately 2 inches in diameter, and is constructed of plastic and metal. This model comes in black/white.
Replacing your Whirlpool Washer Direct Drive Motor Coupling

Customer Repair Stories
Broken Coupling
1. Removed hoses from the pump
2. Removed Wiring harness from the motor
3. Unscrewed saftey screws from both clamps which hold the motor against the motor bracket.
4. Using a screw driver I easily removed/pryed the clamps from the motor.
5. I then removed the broken plastic coupler from the motor sha ... Read more ft and installed the new one coupler.
6. I did the same thing on the clutch side.
7. I set the Rubber coupler in clutch side.
8. Put motor back on until couplers joined together.
9. Placed Brackets back on Motor (patience here).
10. screwed back saftey screws on clamps.
11. connected hoses back.
Thats it... 45 minutes at most .. Save me from having to buy a new easher. I was convinced I was going to have too until I peeked underneatch the washer and saw the rubber coupler on the ground...
-
Hugo from Frisco, TX
-
Difficulty Level:Really Easy
-
Total Repair Time:30 - 60 mins
-
Tools:Pliers, Screw drivers, Socket set
No movement from Basket & agitator
First take off the water pump by removing the two clips that hold it in place. Place a shallow pan under the pump to catch the water that is in the pump and hoses. Open the hose clamps with a pair of pliers or channel locks (better) and slide the hoses off of the water pum ... Read more p.
The motor comes off next. Unplug the electrical connector from the motor and two wires from the capacitor. Remove the two screws holding the clamps in place and then pop off the two clamps. You will need to hold up the motor with one hand while you remove the clamps or it will fall to the floor once the clamps are removed.
One piece of the coupling assemble will be attached to the motor and the other will be attached to the gearcase drive shaft. If you want to clean up the mess created by the shredded rubber center piece of the coupling assembly you will have to take off the motor mounting plate. It is held on by two bolts and removing it makes installing the coupling easier but probably not necessary.
Push the back half of the coupling on to the gearcase drive shaft until the shaft is flush with the face of the coupling. Install the new rubber center piece on to the coupling then re-install the motor mounting plate. Install the other half of the coupling on to the motor shaft and lift the motor up to the coupling. You have to rotate the motor shaft by spinning the fan blades until the coupling lines up so you can slide it into the other half of the coupling. Then just reattach the motor, connectors and water pump in the reverse order of disassembly.
-
Jeff from Wayne, NJ
-
Difficulty Level:Easy
-
Total Repair Time:30 - 60 mins
-
Tools:Pliers, Screw drivers, Socket set
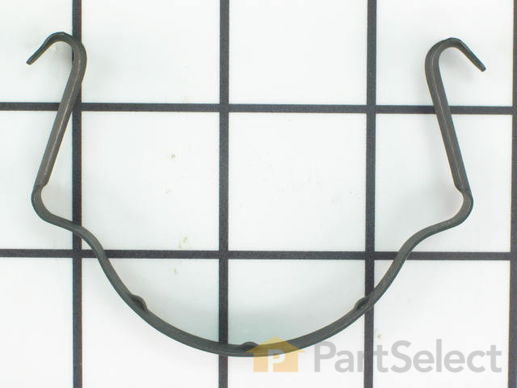
This clamp is used to secure the drive motor.
Customer Repair Stories
Dryer drum wouldn't turn and motor would shut off
-
Cynthia M from Westfield, MA
-
Difficulty Level:Easy
-
Total Repair Time:More than 2 hours
-
Tools:Screw drivers


