Parts That Fix Maytag Washer LAT9416AAE Will not agitate
Will not agitate is a commonly reported symptom for the LAT9416AAE Maytag Washer, and we have put together a full guide on how to fix this. This advice is based on feedback from people who own this exact appliance. We have listed the most common parts for your LAT9416AAE Maytag Washer that will fix Will not agitate. We have included repair instructions, and helpful step-by-step video tutorials. If you are experiencing this issue, not to worry, DIYers just like you have fixed this, and shared their experience to help you!
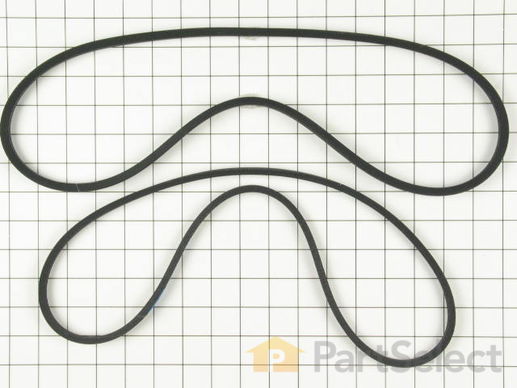
This kit includes both the drive belt and the pump belt which are both V-shaped. If your washer does not toss, spin, or drain water properly, this might be because one of these belts has worn or stretched out. This results in the belt losing its grip and no longer driving the pump. The pump belt is black and made of rubber. The pump belt is located between the motor and pump underneath the washer. Simply remove the belt and hook the new one around the pulley. You may need to loosen or tighten the belt to ensure it is set in place properly.
Replacing your Maytag Washer Belt Kit

Customer Repair Stories
My washer stopped draining
I tried checking the fuses, then read that the belt could be broken or worn. I checked under the hood and the belt was broken right in two. I drained the washer manually then ordered the new belt.
I was able to replace the belt in no time with no effort at all.
-
Jenna from St. Louis, MO
-
Difficulty Level:Really Easy
-
Total Repair Time:Less than 15 mins
-
Tools:Screw drivers
Washer wouldn't spin
-
Ben from Truro, AL
-
Difficulty Level:Easy
-
Total Repair Time:Less than 15 mins
-
Tools:Screw drivers
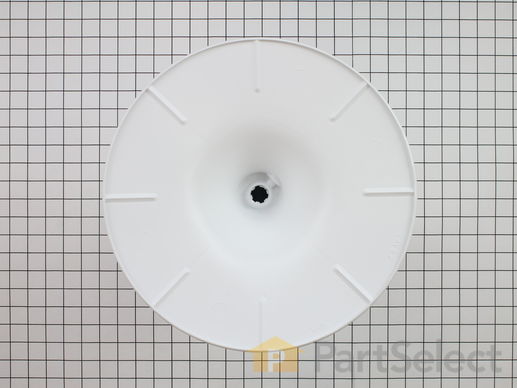
This part does not include the dispenser cup that is found on the top of the upper agitator.
Replacing your Maytag Washer Agitator Auger and Base Assembly

Customer Repair Stories
agitator not agitating
pulled up and out old agitator, aligned and pushed (hard) down new agitator, tightened nut.
easy-squeezy!
-
Steve from Check, VA
-
Difficulty Level:Really Easy
-
Total Repair Time:Less than 15 mins
-
Tools:Nutdriver
Agitator top section was broken
done
-
Beverly from Conehatta, MS
-
Difficulty Level:Really Easy
-
Total Repair Time:Less than 15 mins
-
Tools:Nutdriver
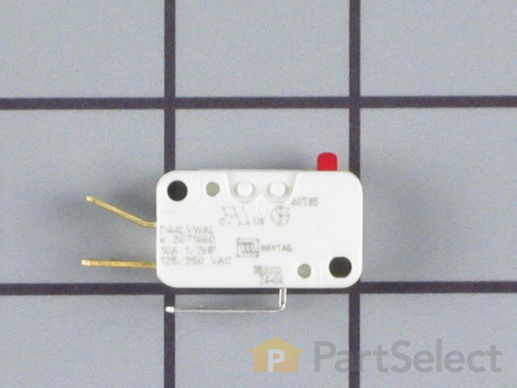
This lid switch check is used in washers to detect if the washer lid is open or closed. This prevents a cycle from spinning when the lid is still open and is also used to start your washer once a certain water level is reached. If your washer will not start, agitate, drain, or fill with water, replacing the switch can be a solution to the problem. As a safety precaution, remember to unplug your washer from the power source before beginning this installation project. Refer to the manual provided by the manufacturer for further installation instructions and accurate guidance.
Customer Repair Stories
because the lid check switch was broken or expired - my washer would not go on and I have a baby!
thank you so much!
-
Lisa from San Diego, CA
-
Difficulty Level:Really Easy
-
Total Repair Time:Less than 15 mins
Washer was dead and would not turn on
Checked the fuse, and found blown. Replaced the fuse, cl ... Read more osed the panel and plugged it in. Still not working. Checked the Check switches and found the Check Switch really limp. Checked with Digital Multimeter and found no continuity at either position. Unscrewed the check switch. Removal and re inspection with DMM of the check switch confirmed it was bad. Opened up the check switch and found contacts were blown.
Installed a new check switch making sure all the connecting wires go in the right places. The wiring diagram in the washer was very helpful in doing so since u dont want these wires reversed. Adjusted the plunger which operates the check switches when the lid is opened to make sure it is not over or under operating the switches. This is done by loosening the bolt holding down the check switch assembly and slidint the whole assembly forwards or backwards till the plunger has just enough push on the switches. This is done to avoid the plunger from exerting excessive pressure on the check switch and the safety switch in lid open or lid closed position. (both switches are operated by the same plunger according to the lid position)
Closed panel cover and plugged the washer in. There u go, it was alive again!
-
Suleman from Canoga Park, CA
-
Difficulty Level:Easy
-
Total Repair Time:15 - 30 mins
-
Tools:Screw drivers, Wrench set
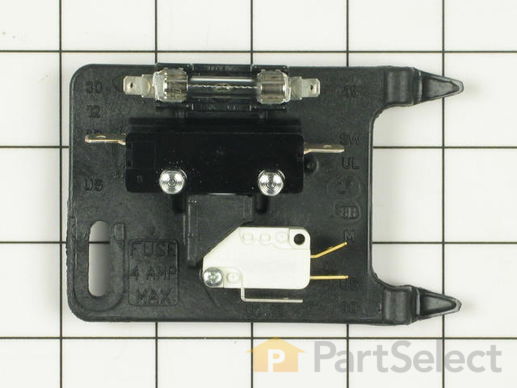
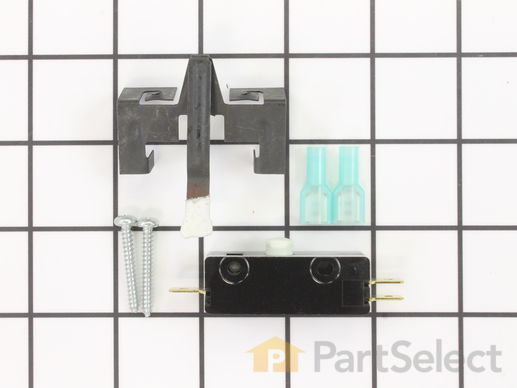
This black lid switch assembly comes complete with a bracket, two switches, and a fuse. An open fuse might indicate that the lid switch is bad. The point of the lid switch is for the tub to stop spinning when the washer lid is opened. It is a safety precaution just in case someone decides to stick their hand inside the washer while the tub is spinning.
Replacing your Maytag Washer Lid Switch Assembly

Customer Repair Stories
Filled with water OK but nothing more
-
Basil from St Charles, MO
-
Difficulty Level:Easy
-
Total Repair Time:15 - 30 mins
-
Tools:Nutdriver, Screw drivers
The washer wouldn't start unless you slammed the lid shut.
-
Richard from Houston, TX
-
Difficulty Level:A Bit Difficult
-
Total Repair Time:Less than 15 mins
-
Tools:Screw drivers, Socket set
This 3 prong lid switch is used for washing machines that do not have a tub light.
Replacing your Kenmore Dryer Lid Switch

Customer Repair Stories
Washer would fill up, wash, then stop
I removed the two screws holding the control panel on. Pulled the control panel back.
Disconnected the ground wire of the lid switch.
removed the two top clamps that hold the panel to the top of the machine.
Pulled back the casing (outside of the washer) and placed ... Read more it on it's side on the floor. Here I could reach the switch. Removed old, installed new and reversed the process.
The part that gave me the biggest problem was setting the casing back on to the frame. You have to slide the front part in at the bottome, then lean back the rest of it.
-
Glen from Plano, TX
-
Difficulty Level:A Bit Difficult
-
Total Repair Time:30 - 60 mins
-
Tools:Screw drivers
Lid closes, switch wouldn't turn on machine.
-
Kenneth from Wilmington, IL
-
Difficulty Level:Easy
-
Total Repair Time:1- 2 hours
-
Tools:Nutdriver, Screw drivers, Socket set
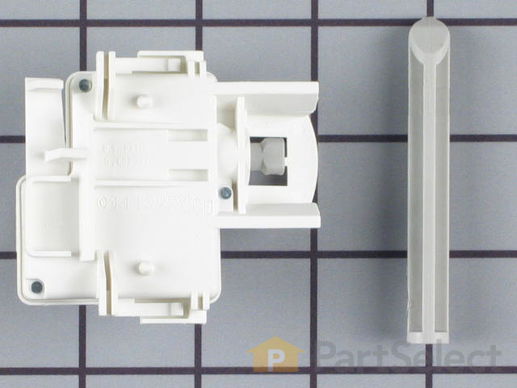
This kit includes the lid switch and the plunger. The pin on the lid pushes on the lever of the switch to tell the machine that the lid is closed.
Customer Repair Stories
Washer would not run without opening and closing lid several times.
-
Barry from Fallston, MD
-
Difficulty Level:Easy
-
Total Repair Time:Less than 15 mins
-
Tools:Screw drivers, Socket set
No power on washing machine
-
Daniel from Rio Vista, CA
-
Difficulty Level:A Bit Difficult
-
Total Repair Time:Less than 15 mins
-
Tools:Screw drivers, Wrench set
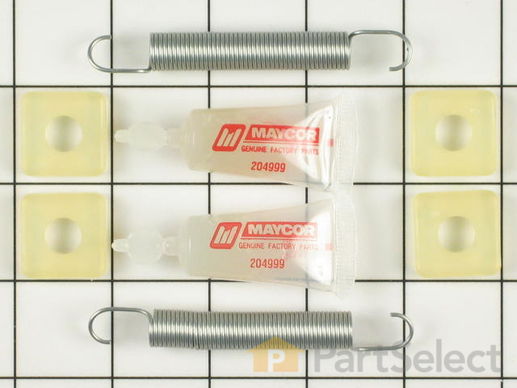
This glide and spring kit contains two three inch springs, four one inch square glides, and two tubes springs. This kit replaces older style round roller glides.
Replacing your Maytag Washer Glide and Spring Kit

Customer Repair Stories
The belts were not staying tight enough to agitate properly.
After removing the front panel of the washer (two philips screws), I loosened and removed the plastic motor cover and removed three hex head screws holding the motor. Have someone help you tilt the washer so you can remove the belts by "rolling" them off of the pullies (pump pully and motor pully ... Read more ). What I did was use a chemical degreaser to clean the motor base metal channel where the nylon sliders reside. After doing that and letting it dry, I removed the two old
springs. I ended up reinstalling the old springs because they were not stretched and I installed a new spring (total three) on the right side of the mount. A stiff metal rod with a hook on the end will help you install the springs. Squirt some of the included silicone lubricant on both sides of the motor mount channel and exercise the lube. Reinstall the motor and plastic cover over top of motor. Clean hands and clean belts while you have them out, reinstall belts and front cover and you're finished. My wife said it never ran better!
-
dominic from weirton, WV
-
Difficulty Level:A Bit Difficult
-
Total Repair Time:30 - 60 mins
-
Tools:Nutdriver, Screw drivers
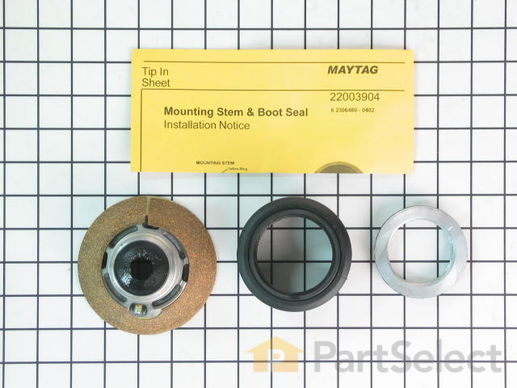
This kit comes with a hub assembly, agitator seal, and spanner nut. If your washer leaks once it is full (with or without clothes in it) or leaks during agitation, then you should replace the seal. This part will also fix symptoms such as loud noises or the washer not agitating. The seal may become damaged or deteriorate over time and will need to be replaced. The mounting stem goes between the two tubs and seals the water into the tubs. When the water leaks, it goes into the bearing, which will cause it to also go bad, which is why you will likely change these at the same time.
Replacing your Maytag Washer Mounting Stem/Tub Seal Kit

Customer Repair Stories
leaked water when agitating in wash cycle
-
Jonathan from Lavonia, GA
-
Difficulty Level:A Bit Difficult
-
Total Repair Time:More than 2 hours
-
Tools:Nutdriver, Screw drivers, Socket set, Wrench set
water leaking from around center shaft below fixed tub
-
douglas from bonita springs, FL
-
Difficulty Level:A Bit Difficult
-
Total Repair Time:1- 2 hours
-
Tools:Nutdriver, Pliers, Socket set
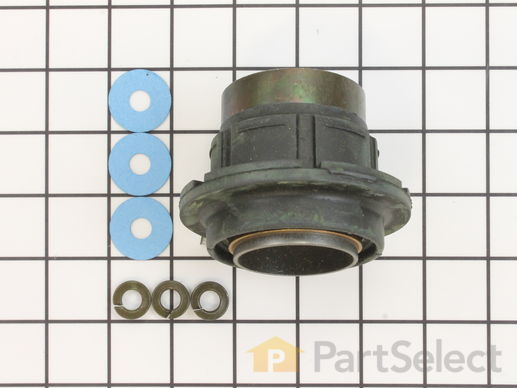
This kit is used on 2-belt washers. It is recommended to change the seal kit at the same time. The tub bearing kit fixes issues with leaking, loud noise, excessive shaking/moving or if your pump is not spinning. The tub bearing kit is fastened in the middle of the outer tub of your washer. The tub bearing ensures the inner tub is spinning effortlessly. If the rub bearing is faulty it might lock up and cause the washer to stop spinning. This is an OEM part that is obtained straight from the manufacturer.
Replacing your Maytag Washer Tub Bearing Kit

Customer Repair Stories
Leaking water at bottom of unit
-
Alice from Antlers, OK
-
Difficulty Level:Easy
-
Total Repair Time:1- 2 hours
-
Tools:Screw drivers
Water leaking from the underside center of the tub. Only on the rinse cycle.
The removal of the retaining ring/nut (which is under the agitator) . After 10 + years, it was very hard to move this part and it was eventually broke it to remove it. WD40 was used but not effective (to much calicum build up). You must turn the cone shaped piece (located under the inner ... Read more tub) clock wise to get it to remove. A spanner wrench was not used to remove this. I used a punch and a tack hammer. We could not remove the old tub bearing (closest to the shaft), so we just cleaned it up with emory cloth and used the new tub seal/outer bearing. Spins great but have not been able to check the water leakage problem yet.
Caution: there are two dark colored ring (very thin) that go back on top of the rubber collar. These must be reused. These are hard to see. I pushed the old tub seal/bearing out with the end of a 2x4 (very slowly and carefully). I put the tub up on two of the 2x4's, for clearance off of the floor and used the third to knock the old bearing out. Old machine are very messy.
-
Mark from King George, VA
-
Difficulty Level:A Bit Difficult
-
Total Repair Time:More than 2 hours
-
Tools:Nutdriver, Screw drivers, Socket set, Wrench set
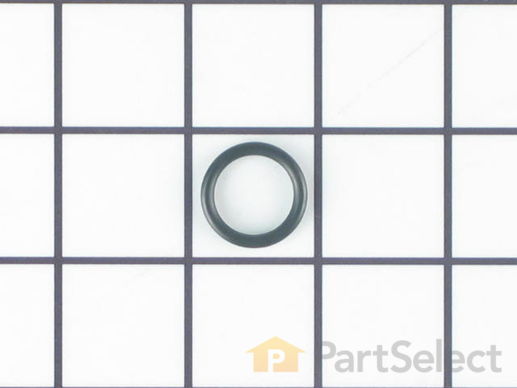
Also known as Rubber Seal.


