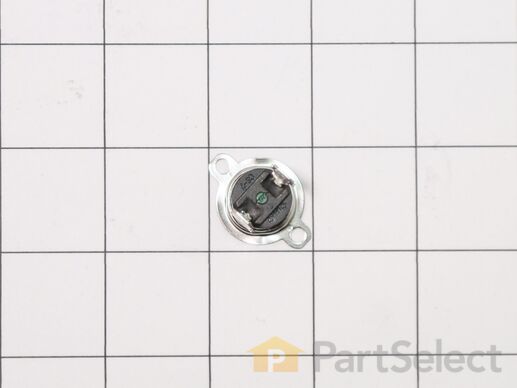
Parts That Fix KitchenAid Microwave Oven Combo KEMS308SSS05 Little to no heat when baking
Little to no heat when baking is a commonly reported symptom for the KEMS308SSS05 KitchenAid Microwave Oven Combo, and we have put together a full guide on how to fix this. This advice is based on feedback from people who own this exact appliance. We have listed the most common parts for your KEMS308SSS05 KitchenAid Microwave Oven Combo that will fix Little to no heat when baking. We have included repair instructions, and helpful step-by-step video tutorials. If you are experiencing this issue, not to worry, DIYers just like you have fixed this, and shared their experience to help you!
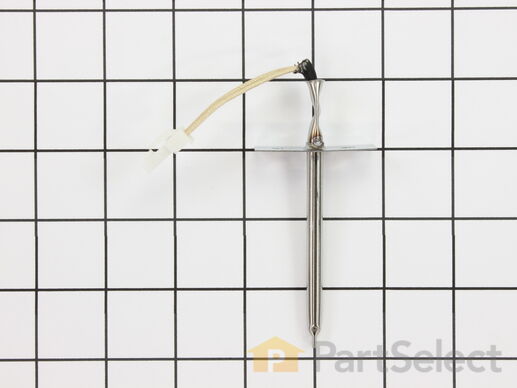
The temperature sensor measures the temperature inside the oven. If your oven is too hot, not heating evenly, is not heating enough when baking, or simply will not start, you could have a faulty temperature sensor. A faulty temperature sensor can be a fire risk. If your sensor is not working properly, you should look to replace it straight away. A failed oven sensor is most often responsible for F3 or F4 error messages on electronically-controlled ovens. Make sure you disconnect the power to your range before you start your repair.
Replacing your KitchenAid Wall Oven Temperature Sensor

Customer Repair Stories
Oven will not maintain set temp
-
Sam from TINLEY PARK, IL
-
Difficulty Level:Easy
-
Total Repair Time:30 - 60 mins
-
Tools:Screw drivers
bUILT IN OVEN NOT COMING UP TO TEMPERATURE
-
Kenneth from BUFFALO, NY
-
Difficulty Level:Very Easy
-
Total Repair Time:15 - 30 mins
-
Tools:Screw drivers
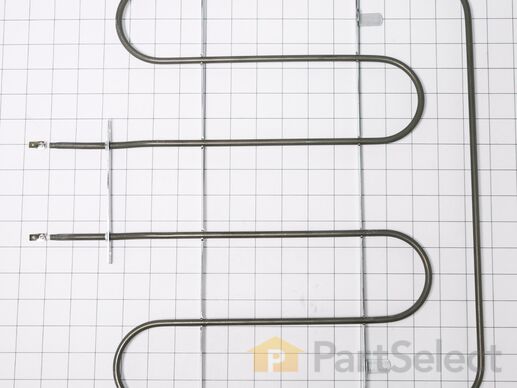
This bake element is found on the bottom of the oven.
Customer Repair Stories
Bad Bake Element
-
Gary from NELLYSFORD, VA
-
Difficulty Level:Very Difficult
-
Total Repair Time:More than 2 hours
-
Tools:Nutdriver, Pliers, Screw drivers, Socket set, Wrench (Adjustable), Wrench set
Corroded bake element
-
Tim from Langley, WA
-
Difficulty Level:Difficult
-
Total Repair Time:30 - 60 mins
-
Tools:Pliers, Screw drivers
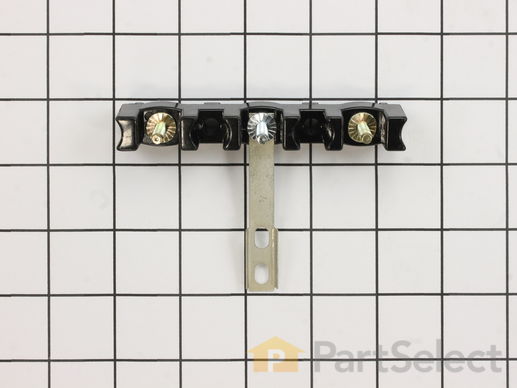
This part is for oven ranges, it connects individual wires and protects the device from electrical surges, voltages, and current. With this part, the house power is connected to the range wire harness. Some symptoms replacing the terminal block could be a solution for are little to no heat when baking, element will not heat and/or it will not start. This part will prevent loosening and will reduce damage caused by corrosion (by two different metals). Refer to the instructional diagram for further replacement guidance and exact placement. You must unplug the appliance before installing this part and wear gloves to protect your hands.
Replacing your Maytag Range Terminal Block

Customer Repair Stories
Stove top wouldn't come on. Oven couldn't go higher than low heat
Jumped on Part Select website, placed a question with my stove problem through the chat. Immediately they answer ... Read more ed my question and told me the problem was the Terminal Block. Cost of part and shipping $25.00. Replaced it myself and everything works fine.
Thank you, Thank you Part Select for your help and honesty.
Sincerely
Peter from Maryland
-
Peter from FREDERICK, MD
-
Difficulty Level:Really Easy
-
Total Repair Time:Less than 15 mins
-
Tools:Screw drivers, Socket set
Burned terminal block and filter board
-
Joseph from Decatur, GA
-
Difficulty Level:Easy
-
Total Repair Time:30 - 60 mins
-
Tools:Nutdriver, Screw drivers, Socket set, Wrench set
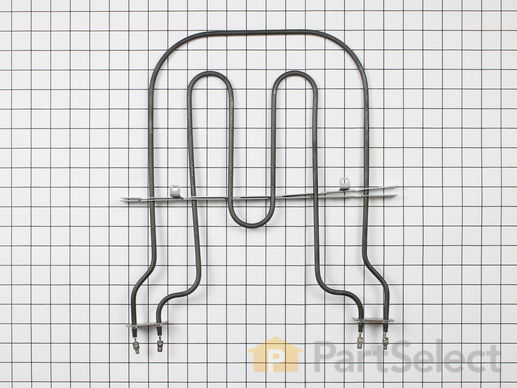
This broil element is found on the roof of the oven. The broil element is at the top of the oven and supplies the heat to broiling. 14" x 15" with 1-3/8" inserts. This part works with the following brands: Whirlpool, Roper, Admiral, Maytag, Hardwick, Jenn-Air, Estate, Magic Chef, Crosley, Inglis, Norge, Modern Maid, Amana, Kenmore, KitchenAid, Caloric.
Replacing your KitchenAid Range Element, Broil

Customer Repair Stories
Smaller broiler coil stopped working.
-
Patrick from SANTA CLARA, CA
-
Difficulty Level:Easy
-
Total Repair Time:30 - 60 mins
-
Tools:Pliers, Screw drivers
The broiler element in my wall oven burned out
Aft ... Read more er turning off the circuit to the wall oven and confirming that the power was off, I had to remove the oven from the wall in order to access the wires and connections in the back. Normally, this wouldn't have been necessary because usually the broiler element can be disconnected from the clasps that connect it to the electric source by simply unscrewing the defective element from the roof of the oven, pulling gently on the connection ends from inside the oven cavity in order to "pull out" an inch or two of the electric source wires and the metal clasps that accept the "male" connecting ends of the broiler element. Once the a bit of the wire and the metal connecting clasps are exposed and able to be held with pliers, the element can be disconnected from the connector clasps by simply pulling on the prongs of the element (hard).
But in my case, one of the metal connecting clasp for one of the wires had melted, presumably when the element burned out, and that clasp could only be accessed and replaced from the back of the oven. Also, I would imagine that the wires and clasps could "slip" back behind the unit when they're disconnected if that's not done carefully. However, removing the wall oven was pretty easy for me -- even as a one-person job. I just put a tall table in front of it and slid it out so that it rested on the table.
If you have to replace a metal connector clasp, they're inexpensive and available in the electrical departments of hardware/home stores.
In my case, there's a metal panel at the back of the oven that had to be unscrewed and removed so that I could access the areas where the electrical source wires connect through the back wall of the oven to the broiler element. This was just a matter of removing a few screws and then removing the metal panel.
Once the metal panel at the back of the oven was removed, I was able to replace the melted connection clasp by using a wire cutter/stripper and then pliers to secure the clasp on the end of the exposed wired by deforming the clamp with the pliers. Once that was done, I simply removed the screws that held the broiler element to the top of the oven cavity, disconnected the remaining three clasps that connect the element to the source wires (the fourth clasp was the one that had melted and that I'd replaced), removed the defective element, inserted the four "male" prongs of the broiler into the four clasps that connect them to the source wires, replaced the metal panel at the back of the oven, screwed the new element back into the top of the oven, slid the oven back into the wall cavity, turned the circuit back on, crossed my fingers, and everything worked like a charm.
I saved a money, but more importantly (for me) I saved a lot of time that I would have had to have spent waiting around for a repair person.
-
David from Catonsville, MD
-
Difficulty Level:Easy
-
Total Repair Time:15 - 30 mins
-
Tools:Pliers, Screw drivers, Wrench set


