Parts That Fix KitchenAid Wall Oven KEBS207SSS04 Oven is too hot
Oven is too hot is a commonly reported symptom for the KEBS207SSS04 KitchenAid Wall Oven, and we have put together a full guide on how to fix this. This advice is based on feedback from people who own this exact appliance. We have listed the most common parts for your KEBS207SSS04 KitchenAid Wall Oven that will fix Oven is too hot. We have included repair instructions, and helpful step-by-step video tutorials. If you are experiencing this issue, not to worry, DIYers just like you have fixed this, and shared their experience to help you!
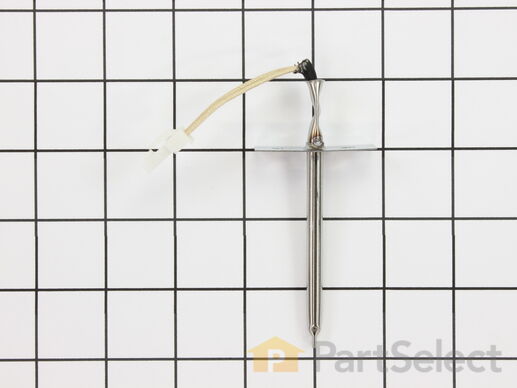
The temperature sensor measures the temperature inside the oven. If your oven is too hot, not heating evenly, is not heating enough when baking, or simply will not start, you could have a faulty temperature sensor. A faulty temperature sensor can be a fire risk. If your sensor is not working properly, you should look to replace it straight away. A failed oven sensor is most often responsible for F3 or F4 error messages on electronically-controlled ovens. Make sure you disconnect the power to your range before you start your repair.
Replacing your KitchenAid Wall Oven Temperature Sensor

Customer Repair Stories
Oven will not maintain set temp
-
Sam from TINLEY PARK, IL
-
Difficulty Level:Easy
-
Total Repair Time:30 - 60 mins
-
Tools:Screw drivers
bUILT IN OVEN NOT COMING UP TO TEMPERATURE
-
Kenneth from BUFFALO, NY
-
Difficulty Level:Very Easy
-
Total Repair Time:15 - 30 mins
-
Tools:Screw drivers


