Models > JVM6175EF1ES > Symptoms > Won’t turn on

Parts That Fix General Electric Microwave JVM6175EF1ES Won’t turn on

Won’t turn on is a commonly reported symptom for the JVM6175EF1ES General Electric Microwave, and we have put together a full guide on how to fix this. This advice is based on feedback from people who own this exact appliance. We have listed the most common parts for your JVM6175EF1ES General Electric Microwave that will fix Won’t turn on. We have included repair instructions, and helpful step-by-step video tutorials. If you are experiencing this issue, not to worry, DIYers just like you have fixed this, and shared their experience to help you!

Fixes Symptom 37% of time
★★★★★
★★★★★
45 Reviews

Rated by 30 customers 


Easy 

15 - 30 mins 

Ratings submitted by customers like you who bought this part.   

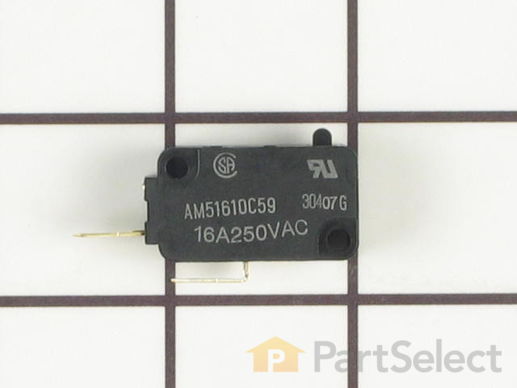
The secondary door switch is a simple on/off mechanism that stops the microwave from operating when the door is open (normally opened). The switch monitors the door latch position, and communicates whether the door is open or closed to the electrical control board. This door switch is approximately 1 inch long, and has 2 metal prongs called terminals that extend out of its body. Common symptoms related to a faulty secondary door switch include: microwave will not turn/shut off, or the microwave will not heat properly. NOTE: Before you begin this repair, first make sure your microwave is unplugged, and that your capacitor is discharged. A capacitor stores large amounts of electricity even when your microwave is unplugged.

$ 45.34
  In Stock
PartSelect Number PS237421
Manufacturer Part Number WB24X829

Customer Repair Stories

Microwave Fan Turned on When Door Was Opened

To get to the switches you need to remove the metal cover/housing of the microwave, by first removing several screws that hold it in place, and then sliding the cover towards the back of the unit. You'll find the switches in some plastic holders above the door-open button, and it's its easy to see how the mechanism engages/disengages the switches when the door is opened and closed.

If it is not obvious which switch is bad, in our case the bad switch felt "soft" when we pressed the switch button with our fingers. A good switch has a firm "click" when pressed.

The switches are easy to replace - pop out the old switch (no tools required) and pull off the electrical connectors. Then pop in the new switch and reattach the connectors.
  • Bishop from Coupland, TX
  • Difficulty Level:
    Easy
  • Total Repair Time:
    30 - 60 mins
  • Tools:
    Screw drivers
46 of 57 people found this instruction helpful.
Was this instruction helpful to you?
Thank you for voting!

light worked, timer and control pad worked, but no turntable, no heat, no noises of any sort, just didn't start up

Noted on partselect.com that someone else with this problem, found it to be secondary door switch. There are three door switches in this model, but online info noted that one of the three might feel "soft" (in my case, one switch clicked in a rather "jiggly" way, the other two were strong decisive clicks.) To access the door switches on this model was the only difficult part. First use a torx bit to remove the two torx screws below the latches inside the microwave. This frees the latching part inside, that holds the door switches, which you will remove after you take off the control panel. The top grill has to come off before you can remove the door panel. Remove the screws above the grill, on the microwave top cover, The grill on this model is covered with a panel that moves out when it vents. After removing the two top screws, the covered grill vent slides left to remove. Be careful, as the sliding tabs are plastic. Wiggle and jiggle it, to slip it off. Below the removed grill, is a small metal grill with one screw in lower center. Remove that screw, and wiggle that out. You'll then see the one screw that holds on the control panel. Remove this screw, and lift the control panel up to remove. Again, go slowly and gently, as the bottom tabs holding the control panel in, are also plastic and easily broken. Lay the control panel on something, (I used the coffee maker) and pull out the wire bundles tucked on the left, that are attached to the latching panel. Wiggle the latching panel gently to lift it up off of it's plastic tabs and pull it out towards you, so you can see the three door switches. Each switch (part number WB24X829) has a little black switch on it. Feel each switch with either your finger, or a screwdriver to see which one doesn't "click" strongly. The weak one is the one you will replace. The door switches are fitted into a tab, and plugged into their wires. Remove the defective switch, pull out the wires, and replace it with the new switch, plugging back the wires, and slipping it back into it's plastic tabs. Then put everything back together in reverse order. The entire job took me fifteen minutes EXCEPT for figuring out how to slide off the upper grill, which I have told you. A repairman would have cost $150, the part was $18. AND, there's a good chance, the other two switches will get "used up" in the next year or so as well, so I'll be ready next time. Thank you, Partselect, why work all day, to make money, only to give it to somebody else, for fifteen minutes of work. All I needed was the knowledge.
  • Marla from Arlington, TX
  • Difficulty Level:
    Easy
  • Total Repair Time:
    Less than 15 mins
  • Tools:
    Screw drivers
311 of 371 people found this instruction helpful.
Was this instruction helpful to you?
Thank you for voting!
Fixes Symptom 19% of time
★★★★★
★★★★★
18 Reviews

Rated by 33 customers 


Easy 

15 - 30 mins 

Ratings submitted by customers like you who bought this part.   

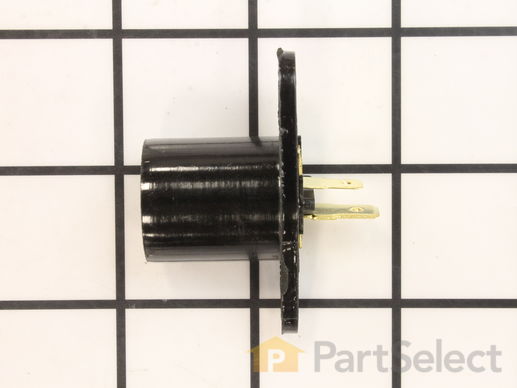
This light bulb socket that is used in microwaves. The socket is meant to fit small-base light bulbs. * Please note: The light bulb is not included with this part and is sold separately. If the following symptoms occur, you may need to replace this part: existing socket is broken or cracked, light bulb is not turning on, or new light bulb does not work. Remember to unplug microwave before installing this part and refer to the manual provided by the manufacturer for installation instructions and a detailed diagram.

$ 23.29
  In Stock
PartSelect Number PS230544
Manufacturer Part Number WB08X10016

Customer Repair Stories

Light socket replacement

I unscrewed the entire undersurface of the microwave (I didn't do this before!) and replaced the light socket. Easy job and I'm glad the part was still available.
  • lester from orlando, FL
  • Difficulty Level:
    Really Easy
  • Total Repair Time:
    Less than 15 mins
  • Tools:
    Screw drivers
11 of 12 people found this instruction helpful.
Was this instruction helpful to you?
Thank you for voting!

Socket cracks and goes brittle from heat from bulb.

Unplugged the microwave first, then removed the screws that hold the cover in place. This gives easy access to the socket. Remove the screws that hold the socket in, unplug old socket, replace with new one and you are back in the light again.
  • Thomas from Deltona, FL
  • Difficulty Level:
    Easy
  • Total Repair Time:
    Less than 15 mins
  • Tools:
    Screw drivers
59 of 70 people found this instruction helpful.
Was this instruction helpful to you?
Thank you for voting!
Fixes Symptom 18% of time
★★★★★
★★★★★
14 Reviews

Rated by 14 customers 


Really Easy 

15 - 30 mins 

Ratings submitted by customers like you who bought this part.   

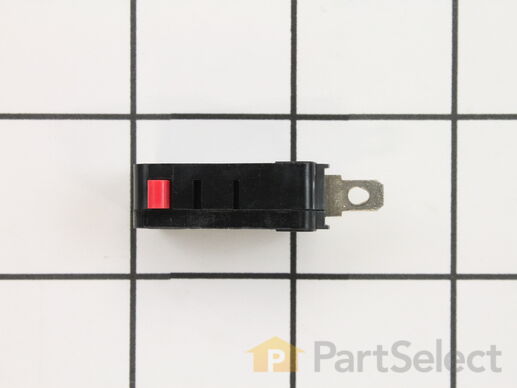
Unplug your microwave before attempting this repair. You will need to remove the grill, which is held into place by two screws at the top of the grill (open your microwave door before doing this). Remove the grill. Remove the screw on the left holding the control panel in place. Loosen the screw behind the panel. You should now be able to lift the panel up and pull forward to detach. You will find the door switch by removing the screws to detach the switch assembly. Press on the release tab to remove the middle switch. Disconnect the wire connector to release the old switch. The door switch is normally closed.

$ 37.02
  In Stock
PartSelect Number PS237422
Manufacturer Part Number WB24X830

Customer Repair Stories

When you open the door at the start the fan wood come on

I removed the unit from the wall removed the top two screws holding the panel above the door I the two screws holding the control panel removed the three switchs I found the top one to be blown and replaced it
  • Larry from CHARLOTTE, NC
  • Difficulty Level:
    Easy
  • Total Repair Time:
    15 - 30 mins
  • Tools:
    Screw drivers
8 of 8 people found this instruction helpful.
Was this instruction helpful to you?
Thank you for voting!

Microwave would not go on

All electrical worked (fan, lights, control panel) door switch was broke. Pulled the oven out. Took out two big screws from the cabinet above. (be careful not to drop oven)Set the oven on kitchen counter. Took off five screws that held the vent cover. Removed vent cover. Took out one screw that held the control panel. Lifted, turned and slid the panel into the space below so I could get to the upper door switch. Replace door switch and re-assemble.
  • Jim from Lincolnshire, IL
  • Difficulty Level:
    A Bit Difficult
  • Total Repair Time:
    15 - 30 mins
  • Tools:
    Screw drivers
17 of 29 people found this instruction helpful.
Was this instruction helpful to you?
Thank you for voting!
Fixes Symptom 12% of time
★★★★★
★★★★★
2 Reviews

$ 16.97
  In Stock
PartSelect Number PS2370184
Manufacturer Part Number WB27X11094
Fixes Symptom 6% of time
★★★★★
★★★★★
4 Reviews

Rated by 1 customer 


Easy 

30 - 60 mins 

Ratings submitted by customers like you who bought this part.   

$ 11.65
  In Stock
PartSelect Number PS2370185
Manufacturer Part Number WB27X11095

Customer Repair Stories

Microwave ran, but wouldn't heat

I thought the thermal cutoff was out, ordered a new one. Turns out the TCO I was looking at was normally-open, and closes if overheated. My advice: No matter what your microwave is doing, start with a full inspection of each of the door switches. I did a continuity test, which initially passed; after replacing TCO didn't fix it, I found that one of hte door switches was intermittent - it had failed mechanically, would appear closed if jostled just right. After replacing that door switch the problem was fixed. Next time I'll start with the door switches - they're the easiest part to find, coulda gotten it locally - is most likely to fix the prob, and if not at least you've ruled them out for future troubleshooting.
  • Lewis from HGHLNDS RANCH, CO
  • Difficulty Level:
    Easy
  • Total Repair Time:
    30 - 60 mins
  • Tools:
    Pliers, Screw drivers
3 of 3 people found this instruction helpful.
Was this instruction helpful to you?
Thank you for voting!
Fixes Symptom 4% of time

$ 18.94
  In Stock
PartSelect Number PS2370041
Manufacturer Part Number WB21X10162
Fixes Symptom 3% of time
★★★★★
★★★★★
3 Reviews

Rated by 2 customers 


Really Easy 

30 - 60 mins 

Ratings submitted by customers like you who bought this part.   

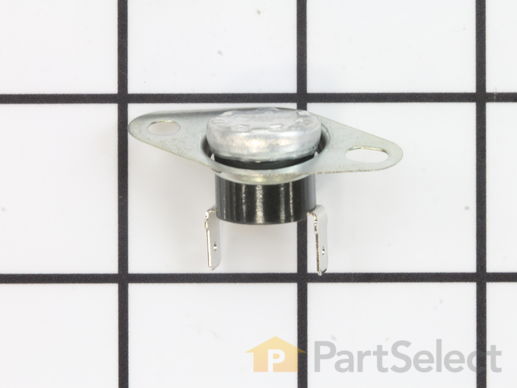
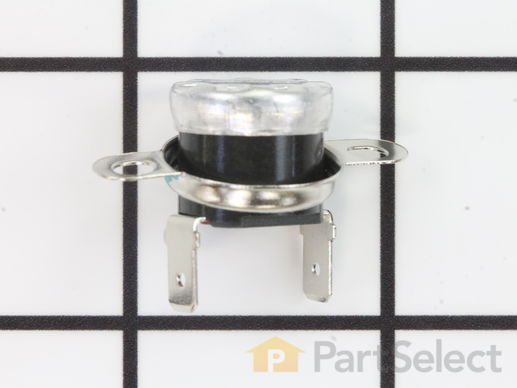
The thermostat opens and closes if it gets too hot to run the vent fan.

$ 54.27
  In Stock
PartSelect Number PS240278
Manufacturer Part Number WB27X709

Customer Repair Stories

Total power loss of microwave

GE slate microwave approximately 2 years old. Completely dead. Power to outlet was good, no gfci was tripped. Started checking fuses, 250v ceramic fuse good, two fuses at the bottom behind the control panel. One on the left labeled 12 on the diagram tested no continuity. One on the right labeled 13 tested good with continuity. So i figured number 12 was bad. Got the part and turns out to be the wrong fuse. Part number was the same but the terminals were the wrong size. Im pretty sure GE has the diagram labeled wrong because i ordered number 13 and it was the right size. Just an FYI if you are ordering those fuses for your microwave that 12 and 13 on the diagram may be reversed. Anyway received the right fuse and tested the new fuse and it tests open continuity and did not fix my issue. Microwave is still dead. There are two other fuses in the back that i need to check so hopefully i find the issue. Hope this helps someone, remember one fuse behind the control panel tests open and the other tests closed and thats how it is suppose to function.
  • Jason from SHEFFIELD LK, OH
  • Difficulty Level:
    Really Easy
  • Total Repair Time:
    30 - 60 mins
  • Tools:
    Screw drivers
3 of 3 people found this instruction helpful.
Was this instruction helpful to you?
Thank you for voting!

MICROWAVE SHUT OFF COMPLETELY

UNPLUG MIRCOWAVE.REMOVE THE HARDWARE, COVERS, AND DECONNECT THE CONTROL PANEL. REMOVE AND REPLACE VENT THERMOSTAT. REINSTALL EVERTHING IN REVERS ORDER. WORK FINE NOW. ADVISE IF YOUR FIRST TIME GET INSTRUCTIONS ON INTERNET SEARCH OR YOU TUBE
  • GENE from SHREVEPORT, LA
  • Difficulty Level:
    Really Easy
  • Total Repair Time:
    30 - 60 mins
  • Tools:
    Nutdriver, Screw drivers
4 of 4 people found this instruction helpful.
Was this instruction helpful to you?
Thank you for voting!