Models > JS750SF1SS > Symptoms > Element will not heat

Parts That Fix General Electric Wall Oven JS750SF1SS Element will not heat

Element will not heat is a commonly reported symptom for the JS750SF1SS General Electric Wall Oven, and we have put together a full guide on how to fix this. This advice is based on feedback from people who own this exact appliance. We have listed the most common parts for your JS750SF1SS General Electric Wall Oven that will fix Element will not heat. We have included repair instructions, and helpful step-by-step video tutorials. If you are experiencing this issue, not to worry, DIYers just like you have fixed this, and shared their experience to help you!

Fixes Symptom 52% of time
★★★★★
★★★★★
29 Reviews

Rated by 1 customer 


Really Easy 

30 - 60 mins 

Ratings submitted by customers like you who bought this part.   

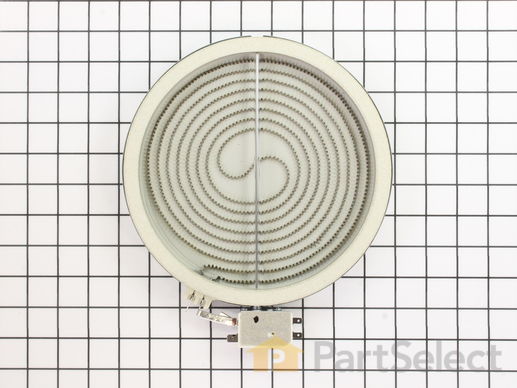
This radiant stovetop element, or burner, is a genuine replacement part, and is 8 inches in diameter. The radiant element heats your cookware as you prepare food on the stovetop. To complete this repair, you will need a screwdriver to remove the screws holding the cooktop in place. Lift the cooktop up, and remove the screw and clip holding the old burner in place. Replace with the new element.

$ 63.22
  In Stock
PartSelect Number PS2321566
Manufacturer Part Number WB30T10132

Customer Repair Stories

Back burner was not working.

Took top of stove off, disconnected the heating element, re-installed the new element and now my stove works fine.
  • Vilas from HANOVER TWP, PA
  • Difficulty Level:
    Really Easy
  • Total Repair Time:
    30 - 60 mins
  • Tools:
    Pliers
2 of 5 people found this instruction helpful.
Was this instruction helpful to you?
Thank you for voting!
Fixes Symptom 28% of time
★★★★★
★★★★★
14 Reviews

Rated by 3 customers 


Easy 

30 - 60 mins 

Ratings submitted by customers like you who bought this part.   

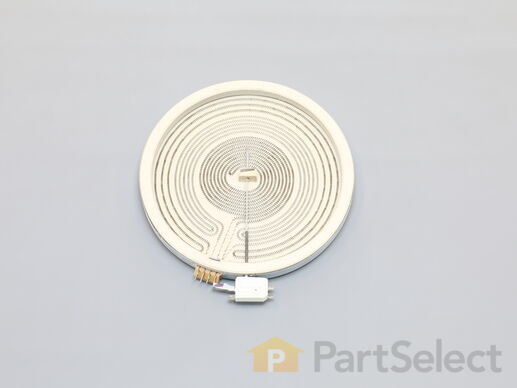
This surface element is for ranges. Surface element supplies the heat to a cooking area on top of the range. Unplug the range or shut off the house circuit breaker for the range before installing this part. Wear work gloves to protect your hands.

$ 246.36
  In Stock
PartSelect Number PS8754838
Manufacturer Part Number WB30T10155

Customer Repair Stories

Center part of the heating element failed. (Broken, not burned)

Cut all power to the range. Easy to remove front panel and then screws and nuts that hold both white frame and glass top to range. Once the top can be lifted, cut the plastic zip tie that retains the harness. Unplug the harness and then remove the top. make provision for new zip tie before
the range top is re-installed. The range top is to be inverted for installing clips to the new heating element. Make sure that the holes line up to the pointed clips that hold the element. Not required to move the range.
  • Norman from Sebring, FL
  • Difficulty Level:
    Really Easy
  • Total Repair Time:
    30 - 60 mins
  • Tools:
    Nutdriver, Screw drivers
2 of 2 people found this instruction helpful.
Was this instruction helpful to you?
Thank you for voting!

The center burner element of the large triiple burner was not working

The real challenge on this particular glass top range was to figure out which screws had to be removed to lift the glass top to get at the burner elements to do a replacement.

Removed the two side screws holding the control panel in place. Disconnected the two wire harnesses and took off the control panel to allow easier access. Then examined the screws attaching the vertical plate in front of the glass top. Most of them were on the on the vertical plate but a few were in the bottom of the horizontal plate. If successful, the vertical plate can be moved forward giving access to the glass top. You pull up on the front of the glass top and when it just clears the vertical front plate you pull the top forward a bit to get the back end of the top out of the read chrome vent piece. I then leaned the glass top up to about a 75 deg angle and then propped the top with a 24” wooden garden stake. I used two stakes to hold the top up. The challenge after that is to remove the old burner and carefully note the colored wiring and locations of the connectors and removed the three old clips. That took a bit of effort. several of the wiring harnesses were very short so you had to be careful when removing and installing the new burner. The burner has numbers stamped on the metal and you must note each number where the clips are located. The rest is to reverse the process. Some of the insulation pieces came off and some of the insulation clips fell off and you must be sure to get the insulation pieces back on in the correct location. Expect a lot of gunk that needs to be cleaned on the top and trim pieces. I save around $200 by doing my own replacement.
  • Leonard from NAPLES, FL
  • Difficulty Level:
    Difficult
  • Total Repair Time:
    1- 2 hours
  • Tools:
    Pliers, Screw drivers, Socket set
4 of 5 people found this instruction helpful.
Was this instruction helpful to you?
Thank you for voting!
Fixes Symptom 7% of time
★★★★★
★★★★★
18 Reviews

Rated by 15 customers 


Easy 

30 - 60 mins 

Ratings submitted by customers like you who bought this part.   

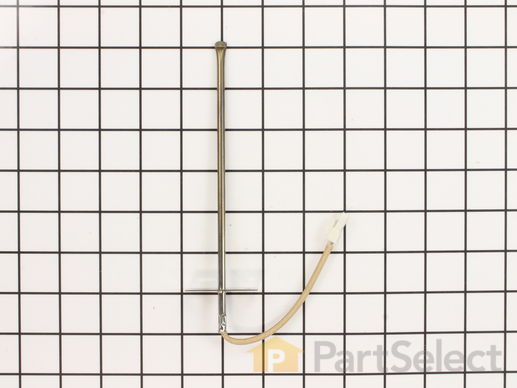
The function of the oven sensor is to detect the temperature within the oven cavity. If you notice that the oven is too hot or too cold, or it is not heating evenly, you may need to replace the oven sensor. The oven sensor is typically located in the back of the oven so you will most likely need to pull your oven out to access it. Many of our customers have rated this repair as easy. You will need a Phillips screwdriver to complete this repair. Be sure to disconnect the power source and shut off the gas valve before doing this repair.

$ 36.68
  In Stock
PartSelect Number PS236398
Manufacturer Part Number WB23T10015

Customer Repair Stories

Actual temperature did not match set temp

Removed the oven door for easy acces to oven. Unscrewed (philips screwdriver) the screw holding temp sensor in place. Gently pulled the wiring until quick connector was located. Pushed down on locking level on quick connect while holding other end of wiring (so wiring would not fall back behind oven). Connected the new sensor and screwed back in place. Reinstalled oven door. Tested temperature settings by turning on oven and comparing with a separate oven thermometer.
  • Brian from Fairfield, CA
  • Difficulty Level:
    Easy
  • Total Repair Time:
    15 - 30 mins
  • Tools:
    Screw drivers
21 of 26 people found this instruction helpful.
Was this instruction helpful to you?
Thank you for voting!

Oven was not coming up to temperature

I had to remove the oven from the wall because the sensor plug connction is behind the unit. Two screws hold the sensor inside the oven and then I disconnected the lead and pulled the sensor out from the front. I installed the new sensor, tightened the two screws holding it in and connected the lead. Then reinstalled the oven into the wall. Overall, a very easy repair once you get the oven out.
  • Sean from Highlands Ranch, CO
  • Difficulty Level:
    Really Easy
  • Total Repair Time:
    15 - 30 mins
  • Tools:
    Nutdriver, Screw drivers
55 of 69 people found this instruction helpful.
Was this instruction helpful to you?
Thank you for voting!
Fixes Symptom 6% of time
★★★★★
★★★★★
5 Reviews

Rated by 1 customer 


Easy 

15 - 30 mins 

Ratings submitted by customers like you who bought this part.   

$ 125.86
  In Stock
PartSelect Number PS2370248
Manufacturer Part Number WB30T10145

Customer Repair Stories

Stovetop radiant burner went out

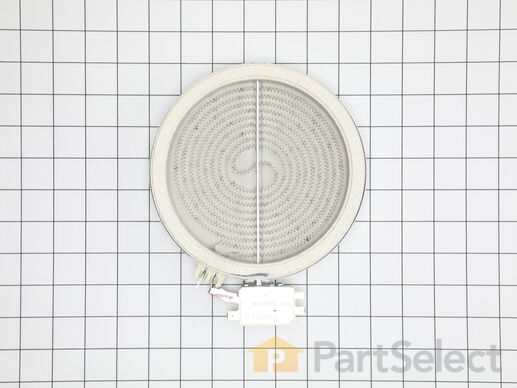
Turned off power at circuit breaker. Disconnected electrical connections from stove and lifted stove top out of counter. Removed glass top by removing about 8 screws from side of stove top.Replaced burner element and replaced glass top.
  • Frank from Marietta, GA
  • Difficulty Level:
    Easy
  • Total Repair Time:
    15 - 30 mins
  • Tools:
    Screw drivers
1 of 5 people found this instruction helpful.
Was this instruction helpful to you?
Thank you for voting!
Fixes Symptom 4% of time
★★★★★
★★★★★
3 Reviews

Rated by 4 customers 


Really Easy 

15 - 30 mins 

Ratings submitted by customers like you who bought this part.   

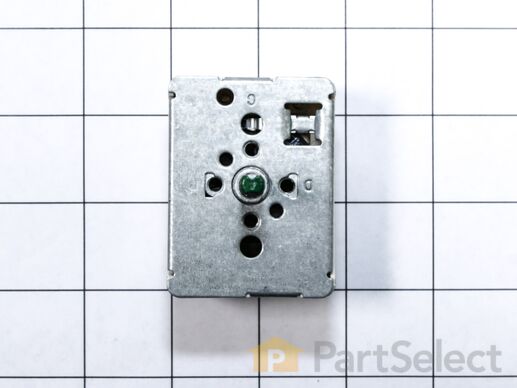
This surface element control switch is for ranges. Surface element control switch turns the surface element on and off and controls how much heat the element produces. Unplug the range or shut off the house circuit breaker for the range before installing this part. Wear work gloves to protect your hands.

$ 48.18
  In Stock
PartSelect Number PS236751
Manufacturer Part Number WB24T10026

Customer Repair Stories

Eye on stove would intermittently heat on high even when low was selected.

Disconnected breaker. Removed knobs, plastic retaining nuts mounted to each switch shaft. Removed four 1/4 inch hex head screws on front panel and two screws securing defective switch. Removed bad switch, and replaced with new part. Took photo of wiring before removing old part. Referred to photo to ensure correct wiring of new part. Reassembled front panel in reverse order of disassembly. Turned breaker to on, and tested new switch. All worked well.
  • Nellie from ATHENS, AL
  • Difficulty Level:
    Very Easy
  • Total Repair Time:
    Less than 15 mins
  • Tools:
    Nutdriver, Screw drivers, Wrench (Adjustable)
5 of 5 people found this instruction helpful.
Was this instruction helpful to you?
Thank you for voting!

left front burner would not turn on

Removed panel to gain access, removed wires from switch from burner that was not operating and attached them to switch for burner that was working. Burner worked, problem identified. Replaced bad switch with new switch. Problem solved.
  • manuel from key west, FL
  • Difficulty Level:
    Easy
  • Total Repair Time:
    Less than 15 mins
  • Tools:
    Wrench (Adjustable)
7 of 8 people found this instruction helpful.
Was this instruction helpful to you?
Thank you for voting!
Fixes Symptom 3% of time
★★★★★
★★★★★
13 Reviews

Rated by 3 customers 


Easy 

15 - 30 mins 

Ratings submitted by customers like you who bought this part.   

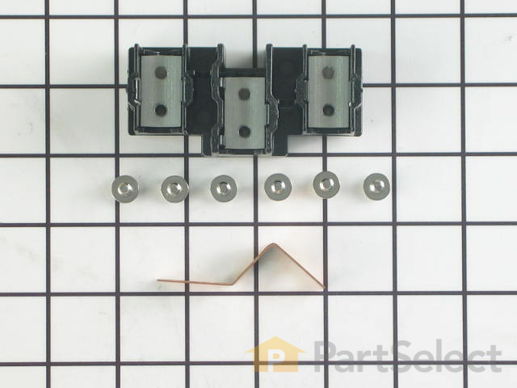
This part provides a way of connecting individual electrical wires and offers protection of the device from electrical surges (voltages and/or currents).

$ 56.72
  In Stock
PartSelect Number PS953027
Manufacturer Part Number WB17T10011

Customer Repair Stories

Original terminal block plastic shielding melted, protecting appliance when the wires overheated.

Safety first * Unplugged 220 VAC from outlet. Removed shield cover screws with 1/4" hex nut driver (5 screws). Removed all 6 silver screws from terminal block with 1/4" nut driver, freeing all wires. Removed the green ground screw and ground bracket from center terminal. Cut away (using the drill) melted original terminal block plastic to access the 2 black 1/4" nuts holding original terminal block onto appliance. Discarded the original damaged terminal block. Attached the new terminal block, aligning the mounting holes and the terminal block the same way the original terminal block was lined up and re-used the black 1/4" nuts (original used because the replacement package did not include new black screws). I bought a new appliance cord, since the original cord overheated. Reattached all wires using the 6 new silver screws. Start with the middle terminal by attaching the appliance wires and the ground bracket. The ground must be attached to the bracket and the bracket bridges between the terminal block and the range body. Reattached shield cover. Plugged in appliance. Note: it doesn't matter which outside wire attaches to the outside terminals (both are hot), but the middle wire (neutral) must attach to the middle terminal. However, the ring terminal should be flush on the terminal block so you don't bend the ring.
  • Brian from DOVER, PA
  • Difficulty Level:
    Really Easy
  • Total Repair Time:
    30 - 60 mins
  • Tools:
    Nutdriver
5 of 7 people found this instruction helpful.
Was this instruction helpful to you?
Thank you for voting!

terminal block melted

The existing terminal block on my Ge oven/Range had melted due to a loose wire causing sparking and starting the plastic casing of the terminal block on fire and melting it, Part select made the part easy to find and had it at my house in 2 days. All I had to do was remove six screws to take the back sheet metal cover off of the oven. Unscrew the terminal connections remove two mounting screws that held the terminal on to the oven body. This was a little trickier than it should have been because the melted plastic had reformed making it very hard to access the mounting screws. i then mounted the new piece and plugged the oven in, it took 15 minutes and was very easy. definitely saved me at-least a $100 for the service call i would have made if finding the part wasn't so convenient
  • jonathan from willow springs, IL
  • Difficulty Level:
    Easy
  • Total Repair Time:
    Less than 15 mins
  • Tools:
    Nutdriver, Screw drivers
53 of 68 people found this instruction helpful.
Was this instruction helpful to you?
Thank you for voting!