Models > HSWP1000M3WW > Symptoms > Will not agitate

Parts That Fix Hotpoint Washer HSWP1000M3WW Will not agitate

Will not agitate is a commonly reported symptom for the HSWP1000M3WW Hotpoint Washer, and we have put together a full guide on how to fix this. This advice is based on feedback from people who own this exact appliance. We have listed the most common parts for your HSWP1000M3WW Hotpoint Washer that will fix Will not agitate. We have included repair instructions, and helpful step-by-step video tutorials. If you are experiencing this issue, not to worry, DIYers just like you have fixed this, and shared their experience to help you!

Fixes Symptom 38% of time
★★★★★
★★★★★
106 Reviews

Rated by 32 customers 


Really Easy 

15 - 30 mins 

Ratings submitted by customers like you who bought this part.   

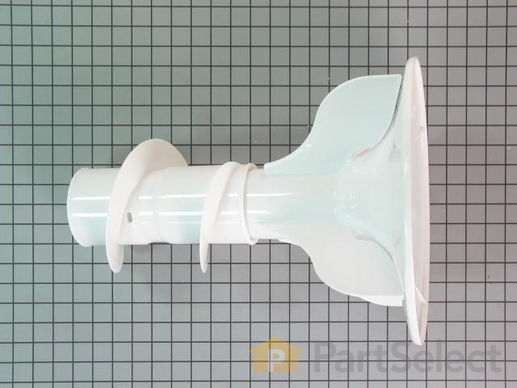
This is a dual-action agitator for a washer. It is an OEM replacement part that is sourced from the manufacturer. The agitator tosses your clothes to clean them efficiently. This plastic dual-action agitator is white in color. It is approximately 18 inches tall with a base diameter of about 12 1/4 inches. No tools are required for this repair. Your agitator has eight tabs that fasten on the drive block of your washer, which is driven by the transmission. This part does not include the agitator coupling kit, which is frequently purchased at the same time as the agitator.

$ 75.31
  In Stock
PartSelect Number PS1482519
Manufacturer Part Number WH43X10034

Replacing your General Electric Washer Dual Action Agitator

Replacing your Dual Action Agitator

Customer Repair Stories

Two paddles on the agitator broke off.

After reading how others have done this and how easy it was, I decided to give it a try. And, sure enough, it was really easy. However, one concern I had was on lifting the old agitator off from the axle using both hands. I didn't want to have the agitator come crashing into my face as I pulled up. So I put a pillow on top of the agitator.
  • Karen from Hamilton, NY
  • Difficulty Level:
    Really Easy
  • Total Repair Time:
    Less than 15 mins
14 of 18 people found this instruction helpful.
Was this instruction helpful to you?
Thank you for voting!

Blades broken off agitator

Simply put hands, one under each side of the agitaror and pulled up. The part snapped off very easily. I then placed the new part in the tub and pressed down. Extremely easy, should have done it sooner!
  • Michael from Itasca, IL
  • Difficulty Level:
    Really Easy
  • Total Repair Time:
    Less than 15 mins
69 of 81 people found this instruction helpful.
Was this instruction helpful to you?
Thank you for voting!
Fixes Symptom 28% of time
★★★★★
★★★★★
21 Reviews

Rated by 17 customers 


Really Easy 

30 - 60 mins 

Ratings submitted by customers like you who bought this part.   

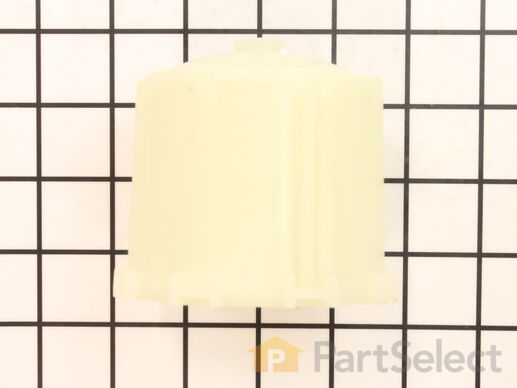
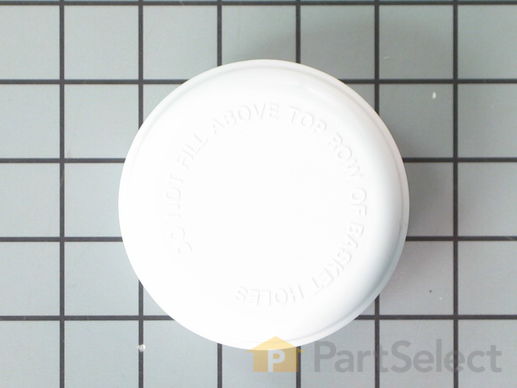
Bolt not included. This part connects the transmission drive shaft to the agitator base.

$ 25.63
  In Stock
PartSelect Number PS1482517
Manufacturer Part Number WH43X10032

Replacing your General Electric Washer Agitator Coupling

Replacing your Agitator Coupling

Customer Repair Stories

No Agitation Spins OK

Followed your video instructions and removed agitator.Used 7/16 3/8 in socket wrench to remove bolt in the agitator coupling and replaced coupling. Put new bolt in and tightened. Installed Agitator.Works Great.
  • Raymond from TRAVELERS RST, SC
  • Difficulty Level:
    Very Easy
  • Total Repair Time:
    Less than 15 mins
  • Tools:
    Socket set
5 of 7 people found this instruction helpful.
Was this instruction helpful to you?
Thank you for voting!

not agatating

pulled off cup on top of agataor. scrwed off nut. pulled off agatator. flipted up side down. took off agatator bell wich is on the bottom of the agator. sliped on bell. put agatator back on and scrwed on nut. dont reamber the size of the nut.sorry. put cap on and your done.
  • pilar from covert, MI
  • Difficulty Level:
    Really Easy
  • Total Repair Time:
    30 - 60 mins
  • Tools:
    Screw drivers, Socket set
13 of 22 people found this instruction helpful.
Was this instruction helpful to you?
Thank you for voting!
Fixes Symptom 15% of time
★★★★★
★★★★★
19 Reviews

Rated by 25 customers 


Easy 

1- 2 hours 

Ratings submitted by customers like you who bought this part.   

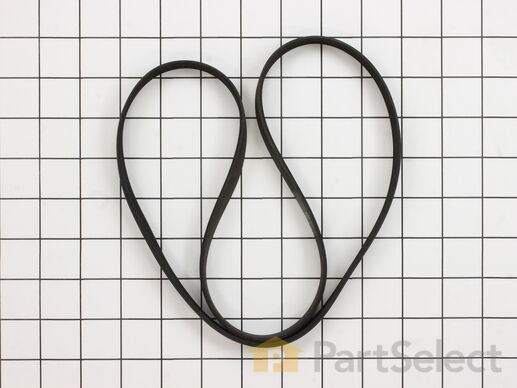
This drive belt is made to slip on the motor pulley to bring the basket up to the speed required and this makes the belt get wear and tear.

$ 25.75
  In Stock
PartSelect Number PS1482278
Manufacturer Part Number WH01X10302

Replacing your General Electric Washer 6-Rib Drive Belt

Replacing your 6-Rib Drive Belt

Customer Repair Stories

Broken belt.

Used 1" puddy knife to depress spring loaded retainer tabs. Front panel is removed by prying the top of the front panel away from the machine. Lift front panel to release bottom from machine. Set panel aside. New belt is installed by placing it on the drive pulley and then rolling belt onto the motor pulley. Rotate the motor by hand while moving belt so it is properly seated on pulley.
  • Mike from Meridian, ID
  • Difficulty Level:
    Easy
  • Total Repair Time:
    Less than 15 mins
33 of 37 people found this instruction helpful.
Was this instruction helpful to you?
Thank you for voting!

broken drive belt

To diagnose, first I unhooked the washer: power, water supply, and drain pipe. I then slid the washer out, laying it on its front. With nutdriver, I unscrewed two screws that held the other end of the drain tube and removed it completely. Then, again with the nutdriver removed 4 screws from the back near the legs, two in between the legs in the middle, and approx. 4 to 6 on the bottom. This let me pull the bottom off partially to access the motor area. (I did did not take the bottom completely off, only about 2/3 off and let it bend over, as it was flexible tin) The belt was broken. After receiving the new belt, I positioned it between the pulley and the motor and between the drum and the big pulley. Then I rotated the big pulley, pulling the belt onto it as I rotated. At the same time, as I rotated, I pulled the other end of the belt on to the little pulley. Once it was on, I would put pressure on it as I turned the pulley, to jump the belt to the appropriate grooves on the little pulley. Note: the replacement belt had been modified, so it had one less groove than the pulley. I would have known this if I had read the insert that came with the belt first! Anyway, this was not a problem, only a design change. Also it was important to start the belt on the inside, so if it slipped, you didnt loose your bite. Total diagnostic, repair, and reassembly time: 30 minutes plus or minus. I had read other online forums that said you had to loosen the motor, etc. And I do know some type of a belt installation tool was offered on line, but I got along fine with my installation method. An extra set of hands would have been helpful, but not necessary.
  • jon from barry, IL
  • Difficulty Level:
    A Bit Difficult
  • Total Repair Time:
    15 - 30 mins
  • Tools:
    Nutdriver
91 of 110 people found this instruction helpful.
Was this instruction helpful to you?
Thank you for voting!
Fixes Symptom 12% of time
★★★★★
★★★★★
18 Reviews

Rated by 17 customers 


Really Easy 

15 - 30 mins 

Ratings submitted by customers like you who bought this part.   

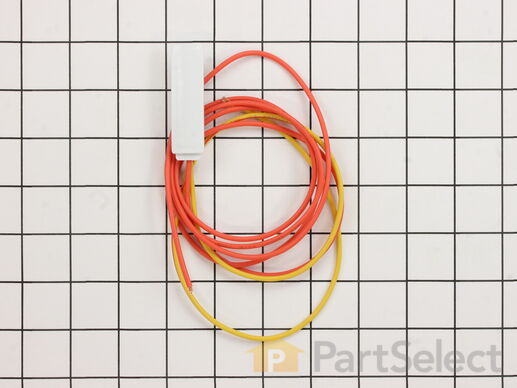
This lid switch with wire harnesses is used in washing machines. The pin on the lid switch pushes onto the lever of the switch to communicate to the machine that the washer lid is closed. If your washing machine is not running when the lid is closed, not spinning, draining, or agitating, replacing the lid switch could solve the problem. The tools needed for this repair are: putty knife, 1/4 inch nut driver, wire strippers and crimpers. Refer to the manual for further installation instructions. Remember to unplug your washer from the power source as a safety precaution.

$ 53.87
  In Stock
PartSelect Number PS1482372
Manufacturer Part Number WH12X10334

Replacing your General Electric Washer Lid Switch with Wire Harness

Replacing your Lid Switch with Wire Harness

Customer Repair Stories

Washer didn't wash/spin

Replaced lid switch with wire harness. Video available on this web page. The technician said bad motor. We counted the flashes, light on top of motor, was 7 times. Diagnoses are very important, save you money! Do it more times, be sure. Biggest problem is socket size for the screws, size 6,5mm or 1/4 inch. Do not call technician or throw away your washer!...
  • Eva from NAPLES, FL
  • Difficulty Level:
    Easy
  • Total Repair Time:
    30 - 60 mins
  • Tools:
    Pliers, Screw drivers, Socket set
14 of 16 people found this instruction helpful.
Was this instruction helpful to you?
Thank you for voting!

washing machine would not go through all cycles or agitate

After removing frt panel which prys off I checked for anything obvious like a loose belt. Then I jiggled the magnet switch located on the inside of the loading cover. I saw the machine start agitating the it stopped again when I stopped touching it. I ordered the new part and spliced it in with the wire crip tool. Now the machine is A ok.
  • Brian from Millerplace, NY
  • Difficulty Level:
    Easy
  • Total Repair Time:
    15 - 30 mins
226 of 285 people found this instruction helpful.
Was this instruction helpful to you?
Thank you for voting!
Fixes Symptom 3% of time
★★★★★
★★★★★
35 Reviews

Rated by 50 customers 


Easy 

30 - 60 mins 

Ratings submitted by customers like you who bought this part.   

The tub dampening straps support the wash tub and reduce vibration by keeping the tub at the center of the cabinet. If your washer shakes and moves, or is making a loud banging noise during the wash cycle, the washing machine tub could be off-balance, meaning one or more of these straps may be loose, or broken. Other symptoms include: the washer leaking, not agitating, or pumping but not spinning. These straps are sold individually. However, we recommend that you replace all 4 straps at the same time. It is also recommended that you check the tub for cracks where these straps mount.

$ 9.61
  In Stock
PartSelect Number PS271100
Manufacturer Part Number WH1X2727

Replacing your General Electric Washer Tub Dampening Strap

Replacing your Tub Dampening Strap

Customer Repair Stories

Noticed 3 straps were broken when we replaced the hose

I removed the front cover, then unscrewed the top to expose the top. There are two screws that hold each strap, which turns out are different sizes, so I had to use two different sockets. I also had to remove the hose & plastic tube for the bleach. Once that was done, the replacement was easy, I replaced all 4 straps, reconnected the tube for the bleach, screwed the top back on and snapped the front cover into place. This took maybe 30 minutes - and I am female!
  • Christine from Tempe, AZ
  • Difficulty Level:
    Easy
  • Total Repair Time:
    15 - 30 mins
  • Tools:
    Pliers, Socket set
14 of 20 people found this instruction helpful.
Was this instruction helpful to you?
Thank you for voting!

loud noise upon aggitation

replaced Tub dampeners Straps.
  • Robert from Covington, PA
  • Difficulty Level:
    Really Easy
  • Total Repair Time:
    15 - 30 mins
  • Tools:
    Nutdriver
16 of 21 people found this instruction helpful.
Was this instruction helpful to you?
Thank you for voting!
Fixes Symptom 1% of time
★★★★★
★★★★★
1 Review

Rated by 2 customers 


Really Easy 

15 - 30 mins 

Ratings submitted by customers like you who bought this part.   

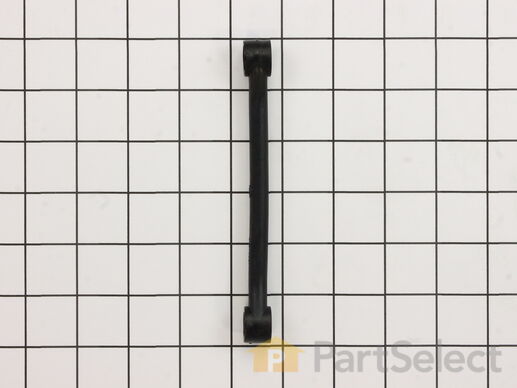
Sold individually.

$ 8.06
  In Stock
PartSelect Number PS12073992
Manufacturer Part Number WH43X25443
Fixes Symptom 1% of time
★★★★★
★★★★★
1 Review

Rated by 3 customers 


Very Easy 

15 - 30 mins 

Ratings submitted by customers like you who bought this part.   

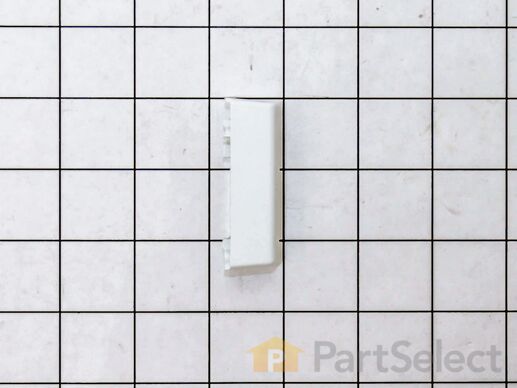
$ 25.04
  In Stock
PartSelect Number PS960654
Manufacturer Part Number WH12X10276

Replacing your General Electric Washer MAGNET Assembly

Replacing your MAGNET Assembly

Customer Repair Stories

water, spin cycle not functioning

After receiving the wrong part 2x instead of magnet assy I received a metal clip ring. ordererd magnet assy from another source. iNSTALLATION IS VERY SIMPLE. REMOVE 2 SCEWS IN THE LID WHICH HOLD THE MAGNET IN PLACE AND REPLACE THE MAGNET WITH NEW ONE. TEST TO MAKE SURE ALL OPERATIONS ARE NORMAL.
  • Helmut J from New Berlin, WI
  • Difficulty Level:
    Really Easy
  • Total Repair Time:
    15 - 30 mins
  • Tools:
    Screw drivers
1 person found this instruction helpful.
Was this instruction helpful to you?
Thank you for voting!
Fixes Symptom 1% of time
★★★★★
★★★★★
8 Reviews

Rated by 27 customers 


A Bit Difficult 

More than 2 hours 

Ratings submitted by customers like you who bought this part.   

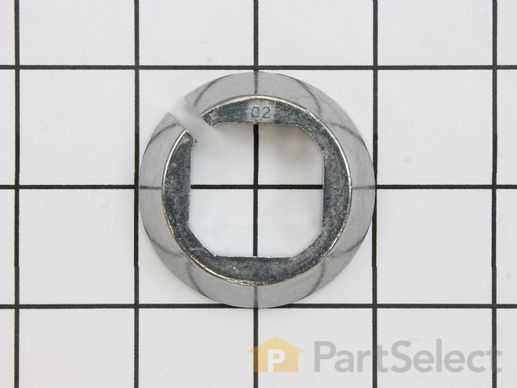
This split ring is supplied by the original equipment manufacturer, and it is designed to secure the tub bearing in washing machines. It is a circular metal ring, with an outer diameter of 2 inches. The ring has a split or gap, which allows it to expand and contract for easy installation and removal. It is typically located on the inner side of the washing machine outer tub, where it provides stability and prevents the washer from excessively shaking during use. It is normal for the split ring to become worn, corroded, or damaged due to age, exposure to moisture, and excessive stress. A faulty split ring will lead to a noisy, unstable washer and eventually cause the tub assembly to fall out of alignment. Remove the washer panels to access the outer tub and split ring. Carefully detach the damaged split ring from the tub and position the new split ring in its place. Ensure that it is properly aligned and securely fastened before reattaching the panels.

$ 14.41
  In Stock
PartSelect Number PS1766022
Manufacturer Part Number WH02X10265

Replacing your General Electric Washer Split Ring

Replacing your Split Ring