The rack track stop on your dishwasher is designed to stop the dish rack at the appropriate place when opening and closing the rack. If your dishwasher is not cleaning your dishes properly, the rack s...
This manufacturer-certified heating element is used to create heat during the dry cycle and increase water temperature during portions of the wash cycle when certain options are selected. If your dish...
The mounting bracket is sold individually, without screws. This part secures the upper side of the dishwasher to the underside of the counter or cabinet to prevent the dishwasher from moving, shaking,...
This one-piece door gasket provides a water tight seal between the tub and the door, to keep water from leaking out of your dishwasher. If your dishwasher is leaking, tears, or there are gaps in your ...
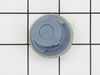
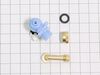
The rinse aid cap (sometimes referred to as the dispenser cap), covers the rinse aid dispenser on the dishwasher door. If your dishwasher will not dispense detergent, or it is leaking detergent, there...
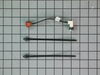
This part is used as a safety device to protect the dishwasher circuit from overload. If the temperature gets to high it will shut off the electrical current to the heating unit in the appliance. Als...
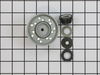
This drain pump is used in dishwashers to remove water from the dishwasher tub. If the impeller in the dishwasher is damaged or the motor has been shorted out and will not drain, it is possible the bo...
This is an upper dishrack roller designed for use with dishwashers. This dishrack roller allows you to insert and pull out the upper dishrack of your dishwasher easily and conveniently. If this roller...
The rubber washer is a part which is specific to dishwashers and should not be substituted by a similar part. It works with the heating element to seal the receptacle opening where the heating element...
$7.76
In Stock
Questions And Answers for GU2275XTVY1
Ask our experts a question about this model and we'll get back to you as soon as possible!
6 questions answered by our experts.
Sort by:
< Prev
1
2
Next >
Search filter:
Clear Filter
Your search term must have 3 or more characters.
Keep searches simple. Use keywords, e.g. "leaking", "pump", "broken" or "fit".
Sorry, we couldn't find any existing answers that matched.Try using some different or simpler keywords, or submit your new question by using the "Ask a Question" button above!
Sohan
June 4, 2022
Dishwasher power is on but the wash cycle does not start.
For model number GU2275XTVY1
Hello Sohan, Thank you for the question. We suggest testing the Door Switches first to check for continuity. If the appliance thinks the door is open, the cycle will not start. Also check the Door Latch for damage or wear preventing the door from closing and latching properly.
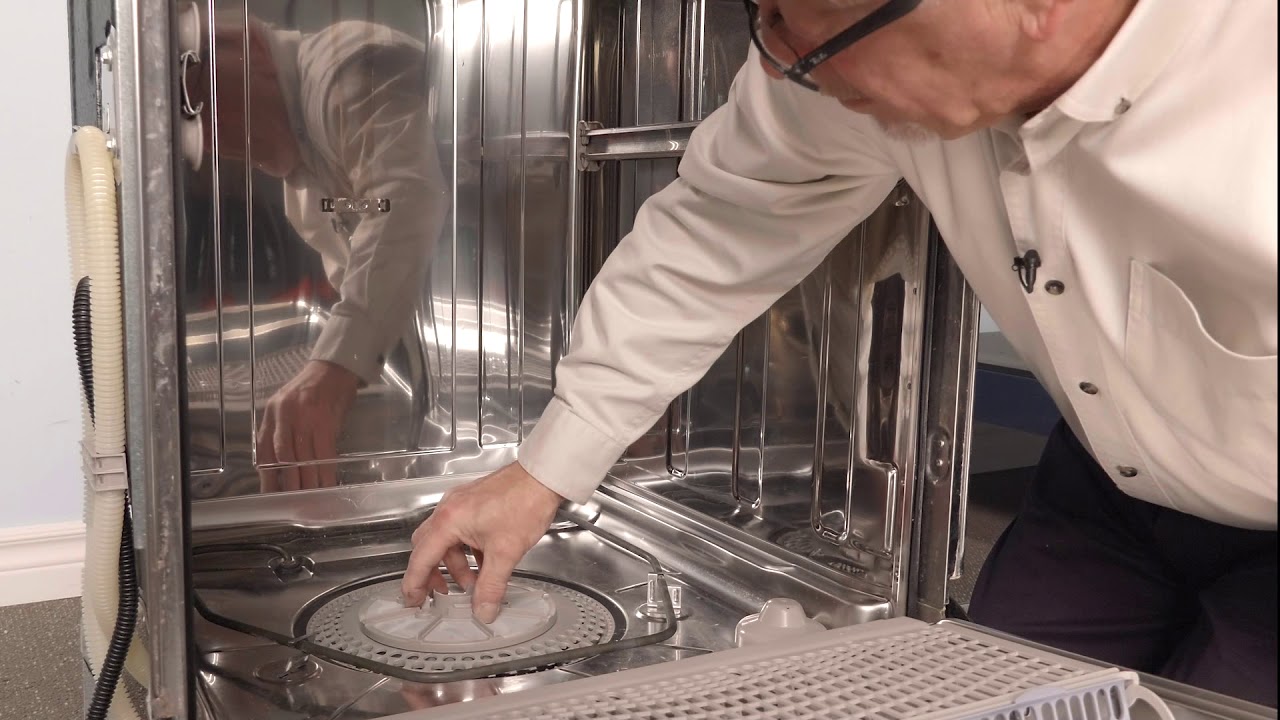
Where is the filter located and how can I clean it
For model number GU2275XTVY1
Hi Christine, thank you for the question. Based on our research, the filter is located at the bottom of the dishwasher under the lower rack. We have attached a link to a video which might help you to access this part. Now, to clean the filter, let it soak in warm, soapy water for about 10 minutes. Use a soft brush to gently scrub the inside and outside of the filter to remove all food particles and buildup. Avoid wire brushes or rough scrubbing that could damage the filter. Once clean, rinse it thoroughly with water. We hope this information is useful!
Was this helpful?
Thank you for voting!
JOANNE
February 15, 2024
GOT A NEW RINSE AGENT CAP BECAUSE THE OLD ONE WAS DAMAGED AND LEAKING RINSE AGENT. NOW THE RINSE AGENT IS NOT BEING DISPURSED BECAUSE THE LEVEL OF RINSE AGENT NEVER GOES DOWN, IT STAYS THE SAME AT FULL, AND MY DISHES ARE CLOUDY, NOT CLEAN.HOW DO I FIX THIS PROBLEM?
For model number GU2275XTVY1
Hello Joanne, thank you for contacting us. Based on our understanding of the issue, we would suggest replacing the detergent dispenser assembly, part number PS11750167, to solve the problem. It attaches to the inner door panel and holds dishwasher detergent and rinse aid in covered compartments. We hope that helps!
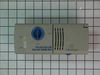
Control panel shows discoloration and start button plastic has broken through plastic, can this be replaced without replacing entire control panel?
For model number GU2275XTVY1
Hello Carolyn, thank you for your question. The control panel, part number PS11749579, consists of the overlay and the supporting circuit for various buttons on the panel. We recommend replacing the entire control panel to resolve your problem. If you require assistance to place an order, please contact customer service. We hope that helps!
Looking for parts 4 and 5 for upper wash and rinse mechanism
For model number GU2275XTVY1
Hello Steve, thank you for contacting us. The parts you are requesting, the push-in screw cover, part number PS11741624, and the upper wash arm mount, part number PS11745432, are compatible with your model. Customer service is available 7 days a week if you require assistance placing an order. Thanks again for reaching out!
Caviat: The actual repair is less than 15 minutes, but I spent a lot of time playing with it before I figured out it was that easy and fast. You don't need to remove the dishwasher from the counter to do this. And it will probably help to look at the new part closely so you can understand where the retainer clip is to press it and release
... Read more the old pump.
First remove the water from the dishwasher pan that would not drain with a wet/dry vac. Otherwise the water will all drain on the floor when you remove the pump. Then remove the two screws on the kickplate on the front of the unit below the door. Remove the kickplate/maintainence access cover. The drain pump is on the right about 8 inches in. Using two hands you grasp the drain pump with your right hand and use the left hand to push the retaining clip down. Then the drain pump will rotate 1/4 turn counterclockwise and can be removed without pulling the dishwasher out. There is likely to be some water leak out that was traped in the pump housing that you can not reach with the vac. Disconnect the wire. Connect the wire to the new pump, put it in place and 1/4 turn clockwise to install it. Replace the kickplate and you're done.
I did a search on the website and read the instructions for trouble shooting. I took the inside door off by taking the screws out. I pulled the part and tested it and found it did not in fact have no ampage. I then ordered the part on line. It came in two days, I plugged it in, put the door back together and the total time was about 15-
... Read more20 minutes. Easy, simple, great instructions and the entire thing only costed me the part itself. It's working great now! And I've never worked on appliances before.


 Diagram and Parts List for Whirlpool Dishwasher")